Chapter 7. Working with media
Up to this point, we have only worked with documents as content within the Microsoft SharePoint 2013 platform. But, if your organization is like others, you might find that documents are not the only content sources you have; you probably also have to work with video, audio, and image files.
In previous sections, we have gone into detail about the concept of metadata and how it is used. Recall that metadata is simply information about content (or, put more generically, information about information). When it comes to an image file, some examples of metadata might include the date the picture was taken, the individuals in the image, and GPS coordinates of where the image was taken. You might also hear people refer to metadata as tags, as well. In the end, whether the term used is metadata or tags, its primary purpose is to assist in searching for content based on the assigned values.
In this section we will show how to create, configure and work with the improved features within SharePoint 2013—the SharePoint Asset Library app. Using this template, you can store media files by using the expanded feature set, which will also make it possible for you to recognize metadata fields, promote them as columns, facilitate navigation and filtering based on metadata values, and associate related content to media files.
Introducing the Asset Library app
An asset library is a SharePoint 2013 app that has been optimized for the storage of digital assets, which can include audio, image, and video assets. The default view for this library presents the assets in a thumbnail view.
Create an asset library
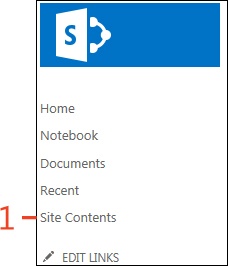
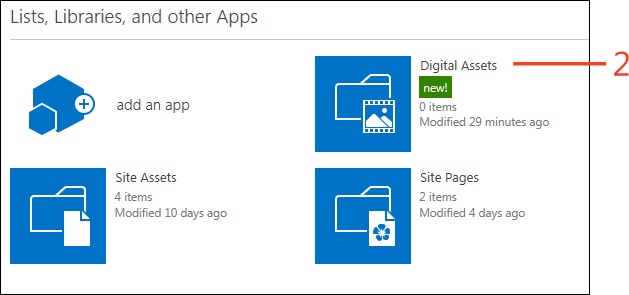
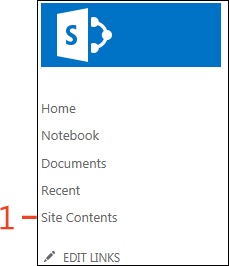
On the Quick Launch bar, click Site Contents.
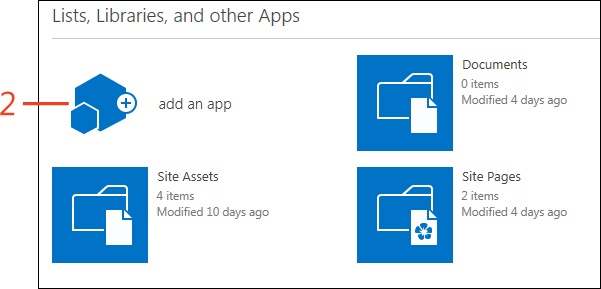
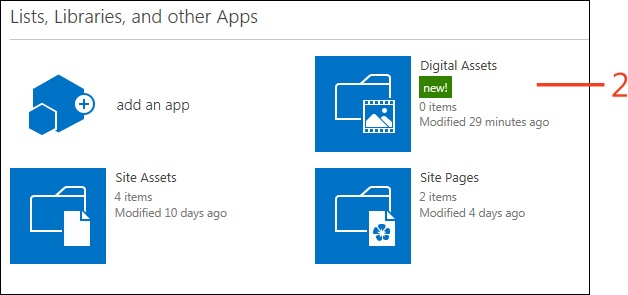
On the Site Contents page, in the Lists, libraries, And Other Apps section, click the Add An App icon.
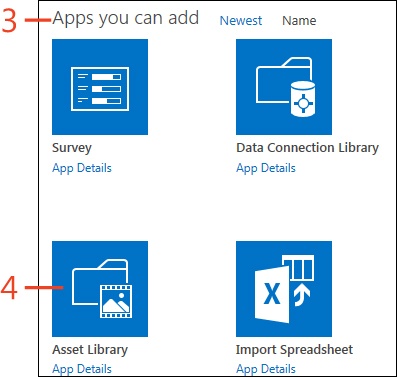
On the Your Apps page, scroll to the Apps You Can Add section.
Click the Assets Library icon.
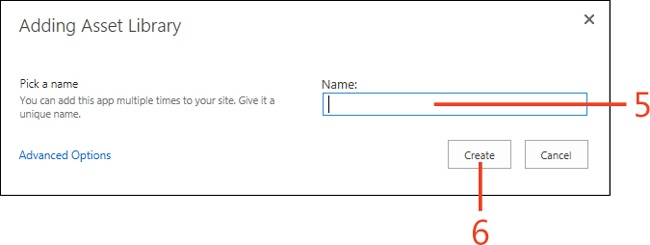
In the Adding Asset Library dialog box, in the Name text box, enter a name for the asset library.
Click the Create button.
Uploading and tagging media files
One of the optimizations implemented out of the box is the library’s ability to recognize extended metadata information contained with the media, such as author, date taken, individuals in the image, resolution of the camera, and comments. The SharePoint 2013 library also has the ability to generate and display a thumbnail image.
Upload and tag media files
On the Quick Launch bar, click the Site Contents link.
On the Site Contents page, in the Lists, libraries, And Other Apps section, click the asset library with which you want to work.
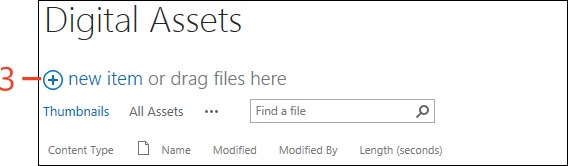
In the library, click the New Item link.
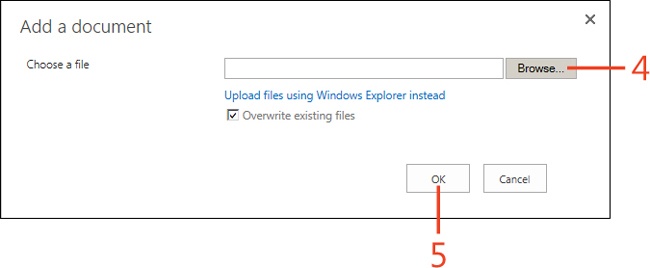
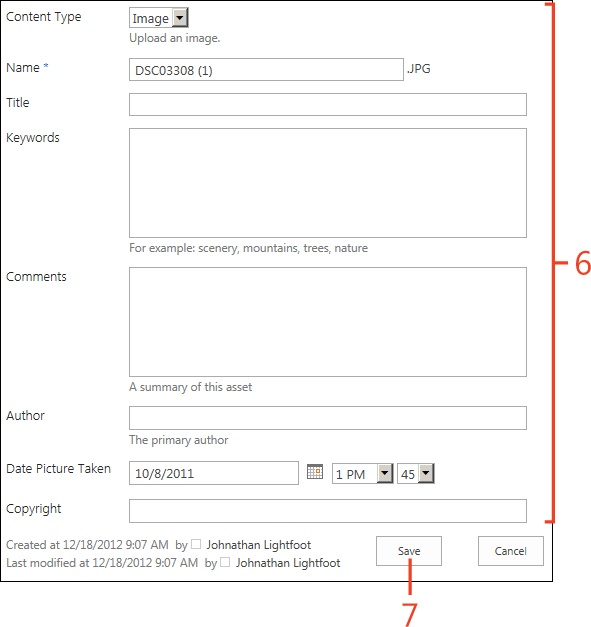
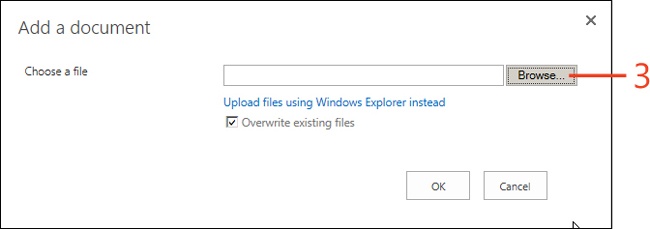
In the Add A Document dialog box, click the Browse button to select a single image to upload
Click OK.
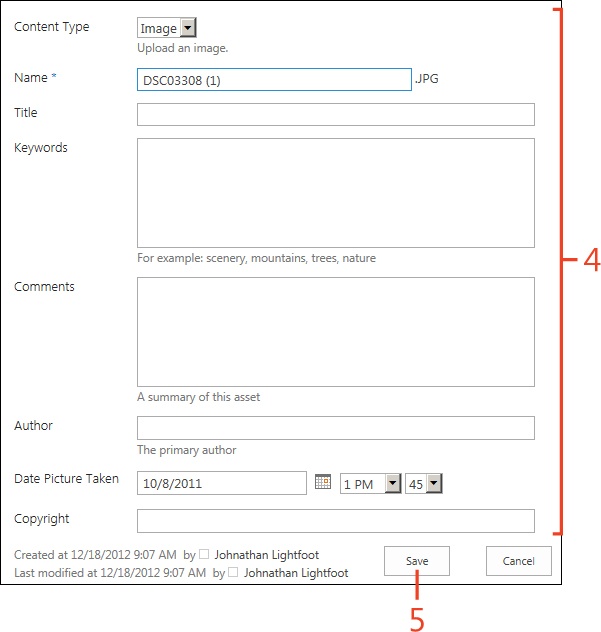
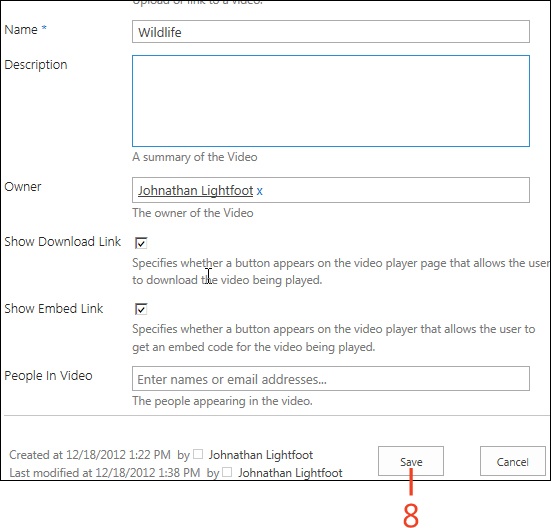
In the Metadata Input dialog box, fill in the relevant information.
Click the Save button.

Tip
The preceding steps will assist you when you are uploading single items. If you need to upload multiple items, though, this procedure can be cumbersome. The following task, Upload multiple files, will assist you.
Upload multiple files
On the Site Contents page, in the Lists, libraries, And Other Apps section, click the asset library with which you want to work.
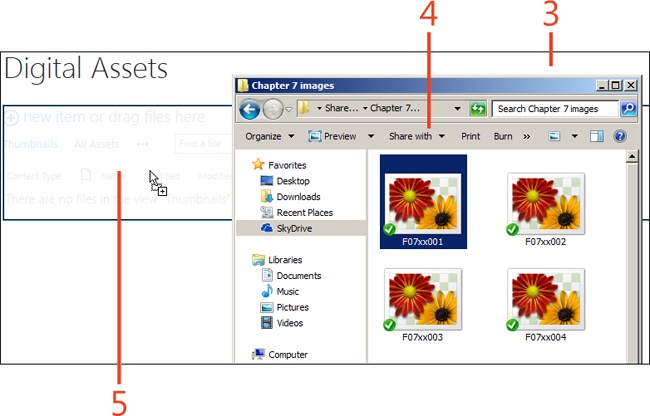
In another window, navigate to and open and the folder that contains the files that you want to upload in Windows Explorer.
Select the files that you want to upload.
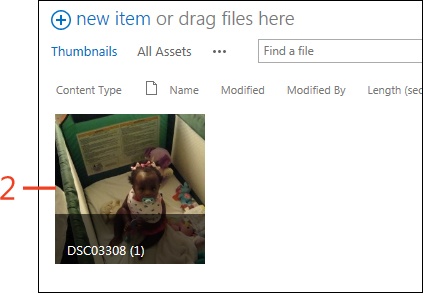
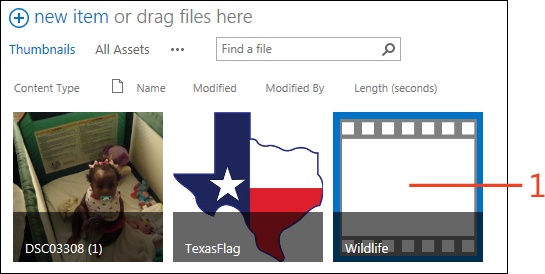
Drag the files over to the section in SharePoint labeled New Item Or Drag Files Here and release the mouse.
Tagging media files
You might have noticed that when you use the drag-and-drop method to upload images to SharePoint 2013 that you are not presented with the dialog box prompting you to enter metadata information. This might seem like an inconvenience initially, but can you imagine if you uploaded five, ten, or more images, simultaneously having to go through all of those separate dialog boxes? All is not lost, however. If you need to tag multiple files individually you still have the ability to do so.
Tag media files
On the Site Contents page, in the Lists, libraries, And Other Apps section, click the asset library that contains the files you need to tag.
Click the file to which you want to add metadata.
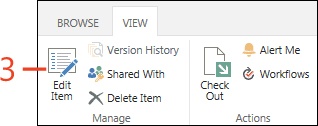
On the ribbon, click the View tab and then, in the Manage group, click the Edit Item button.
In the Add Content Dialog box, fill in the metadata information for the file.
Click the Save button.

Organizing by using keywords and metadata
Media files (audio, image, and video) oftentimes share similar characteristics, such as file formats, size, and so on. SharePoint 2013 is able to use this information to assist you in organizing information and ease the search effort for certain kinds of content.
With SharePoint, you have the ability to extend the capabilities of a standard asset library. Metadata navigation assists you by filtering media files based on metadata.
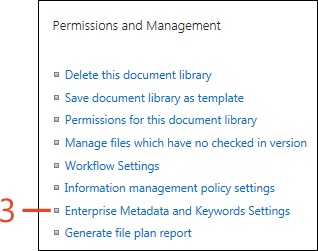
Enable Enterprise Keywords
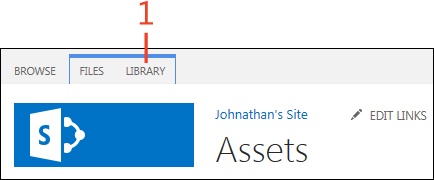
In the asset library for which you want to enable Enterprise Keywords, on the ribbon, click the Library tab.
In the Settings group, click Library Settings.
On the Library Settings page, in the Permissions and Management group, click the Enterprise Metadata And Keywords Settings link.
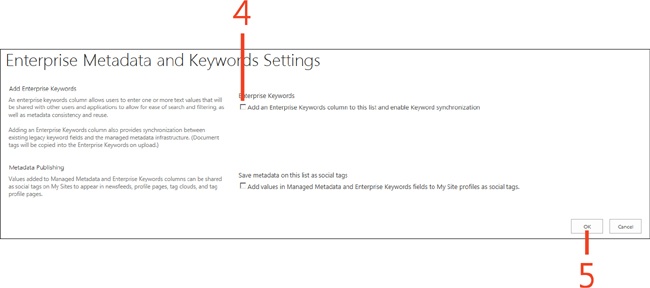
On the Enterprise Metadata And Keywords Settings page, select the check box adjacent to Add An Enterprise Keywords Column To This List And Enable Keyword Synchronization.
Click the OK button.

Working with video files
The asset library has several new features for working with video files. In the past, you only had the ability to upload a file with an out-of-the-box configuration of SharePoint. Within SharePoint 2013, however, you can also select a frame, an image from your computer, or a web address to use as the thumbnail image for the video. You can also associate related content to a video file. This could be a separate document located in a different library such as a workbook.
The upload process for a video is the same as if you were going to upload any other type of file. It is when you are shown the metadata dialog box that you can see the differences. In this task, you learn how to choose a thumbnail image for a video and how to associate related files to video files.
Capture a thumbnail from the video
In your assets library, select the video file with which you want to work.
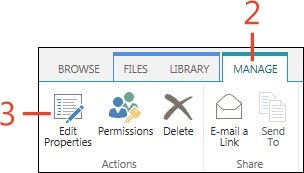
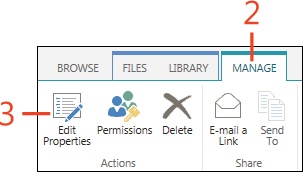
On the ribbon, click the Manage tab.
In the Actions group, click the Edit Properties button.
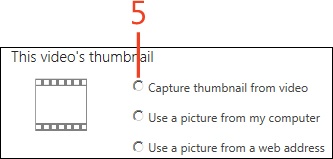
In the the Edit Properties dialog box, click the Change Thumbnail link.
From the three options that appear, click the Capture Thumbnail From Video option.
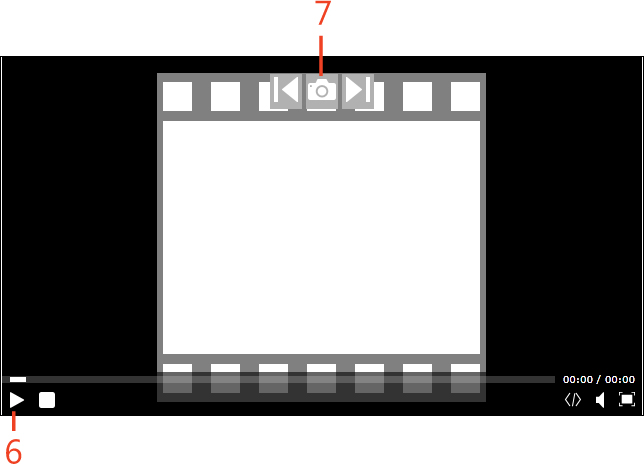
In the video window that opens, click the Play button.
Click the Camera icon to capture the image.
On the Video Properties page, click Save.


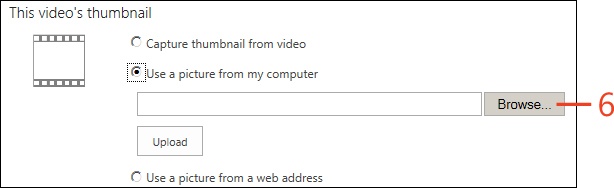
Use an image from your computer as a thumbnail
In your assets library, select the video file with which you want to work.
On the ribbon, click the Manage tab.
In the Actions group, click the Edit Properties button.
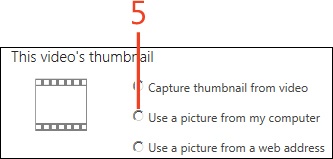
In the Edit Properties dialog box, click the Change Thumbnail link.
From the three options that appear, click the Use A Picture From My Computer option.
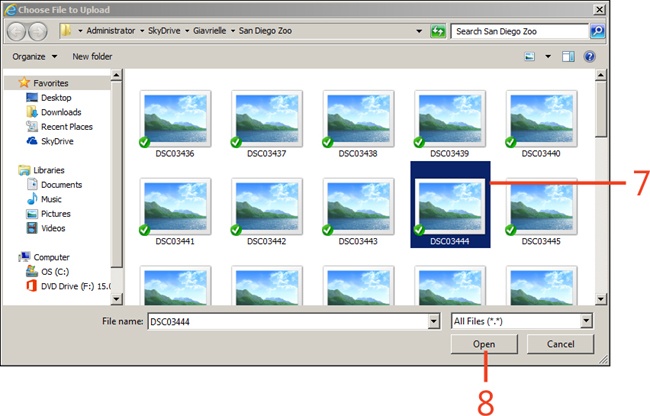
In the Choose File To Upload dialog box, select the image that you want to use.
Click the Open button.
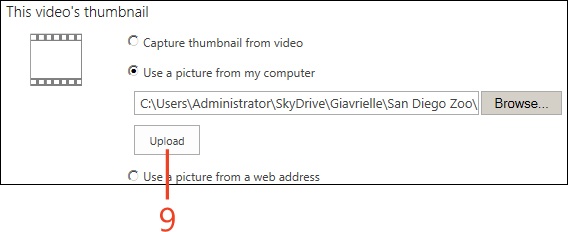
Click the Upload Button.
On the Video Properties page, click Save.

Use a picture from a web address (on the Internet) as a thumbnail
In your assets library, select the video file with which you want to work.
On the ribbon, click the Manage tab.
In the Actions group, click the Edit Properties button.
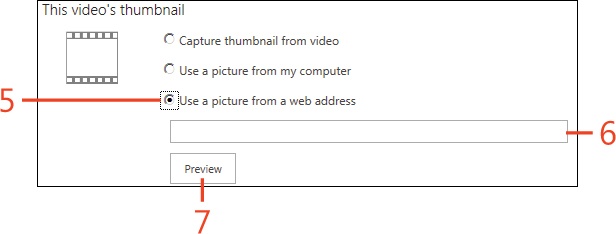
In the Edit Properties dialog box, click the Change Thumbnail link.
From the three options that appears click the Use a picture from a web address option.
Type the web address for the image.
Click the Preview button.
Click the Save button.


Associate related content to a video file
In your assets library, select the video file with which you want to work.
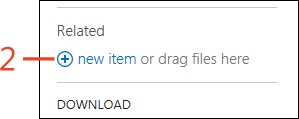
In the Related section, click the Add New Item link.
In the Add A Document dialog box, click the Browse button.
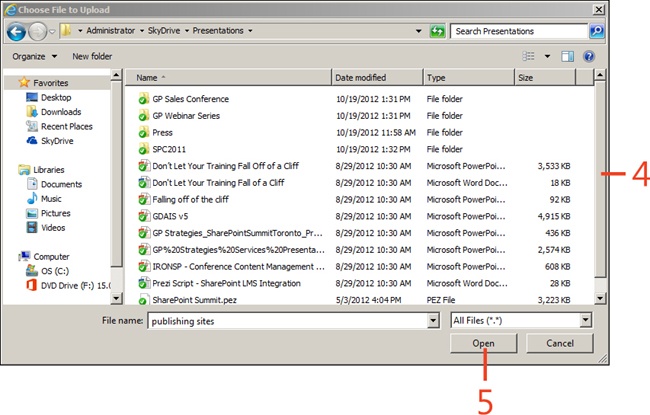
In the Choose A File To Upload dialog box, select the file that you want to associate with the video.
Click the Open button.
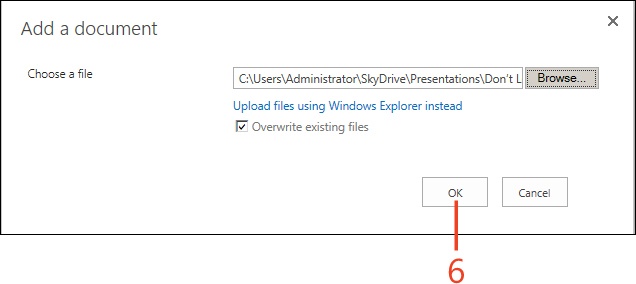
Click the OK button.
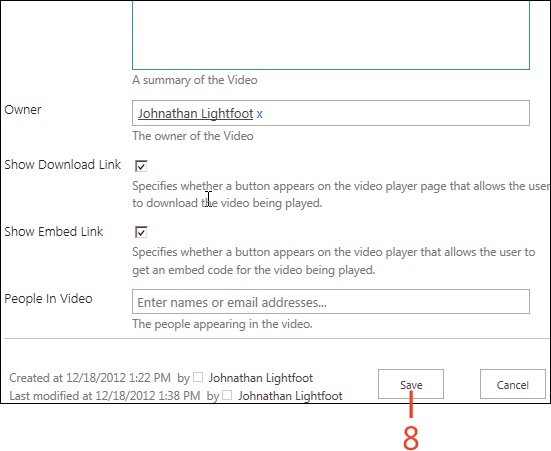
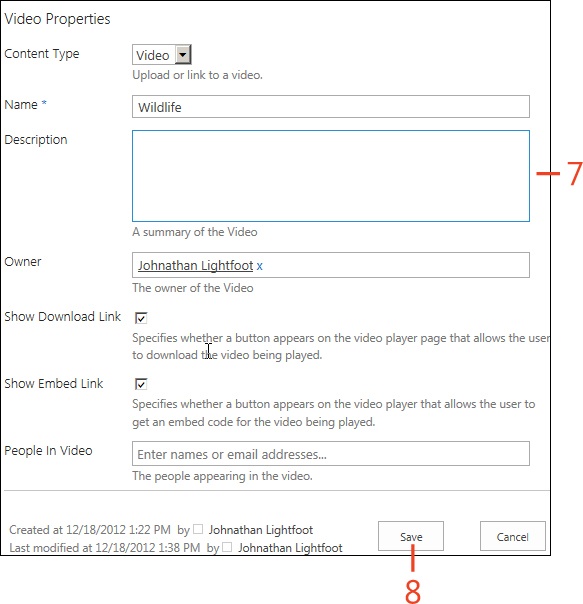
Fill out the metadata information.
Click Save.

Using SharePoint assets in Microsoft Office
Today, so much of what we do entails creating and working with documents. In the past, documents typically consisted mainly of text, but now, they increasingly contain images, charts and spreadsheets, as well. Again, in bygone days, to process this type of document usually involved calling upon the services of a professional typesetter. Several years ago Microsoft introduced Microsoft Office, a suite of products that revolutionized desktop publishing for the masses. Through the Office interface, anyone can incorporate digital assets into documents with ease.
Microsoft SharePoint 2013 carries on the tradition introduced within SharePoint 2010 of providing a tight integration between SharePoint and the Office product line. Thus, assets that are stored in SharePoint can be added into Office documents.
Connect an asset library to Office
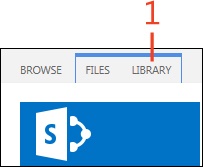
In your assets library, at the top of the window, click the Library tab.
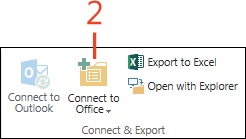
On the ribbon, in the Connect & Export group, click the Connect To Office button.
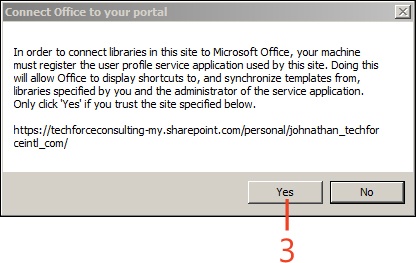
In the pop-up message box that appears, click the Yes Button.
Connect to Office 365
Open an Office application, such as Microsoft Word 2013, Microsoft PowerPoint 2013, or Microsoft Excel 2013.
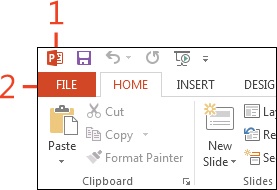
Click the File tab to display the Backstage view.
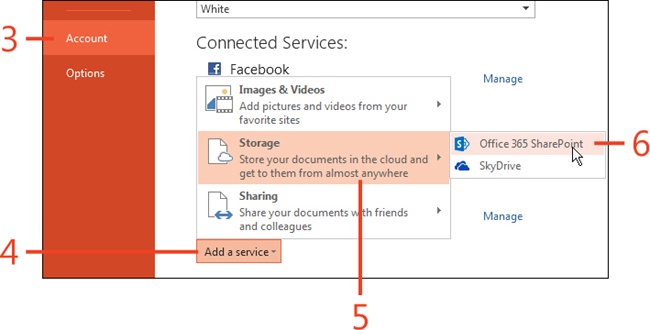
Click the Account tab.
Click Add A Service.
On the menu that opens, point to the Storage option.
On the submenu that appears, click Office 365 SharePoint.
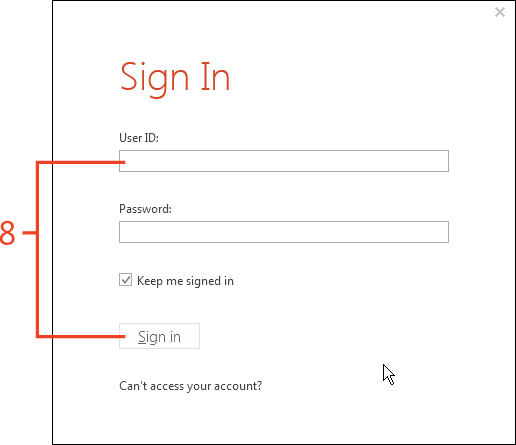
In the Sign In To Office dialog box, click the Sign In Button.
Enter your User ID and Password and then click Sign In.

Adding media to a SharePoint page
You might have a need to add images to a SharePoint page. In these instances, you will note that SharePoint has provided an easy interface through which you can use do this.
Insert an image from SharePoint
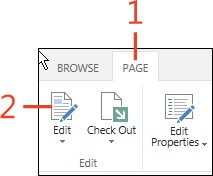
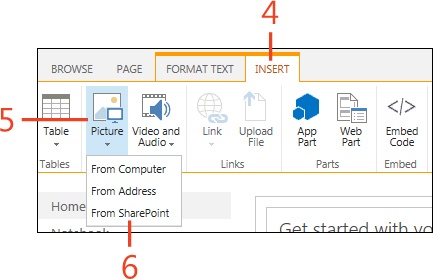
Go to the page on which you want to insert an image and then, on the ribbon, click the Page tab.
In the Edit group, click the Edit Button.
Click in a blank area of the page.
Back on the ribbon, click the Insert tab.
In the Media group, click the Picture button.
On the menu that appears, click From SharePoint.
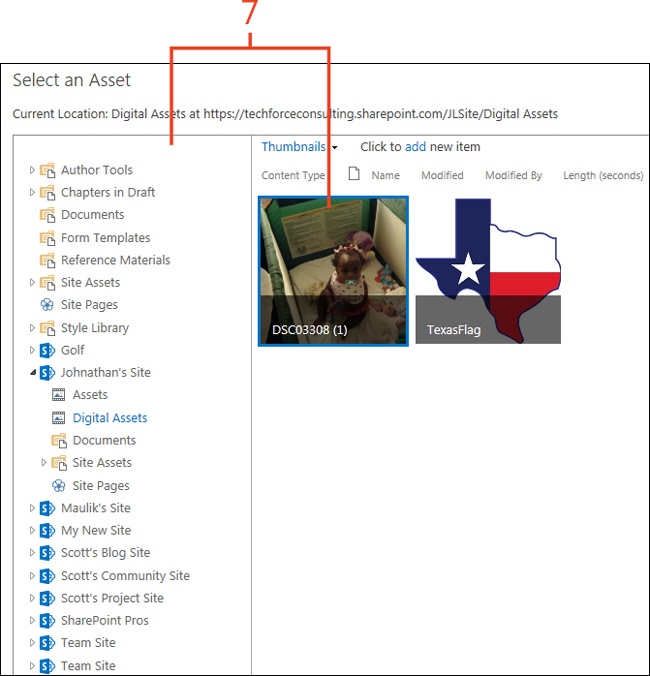
In the Select An Asset dialog box, in the pane on the left, select the image that you want to add from the library in which it resides.
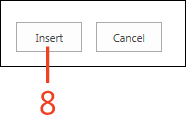
Click the Insert button.
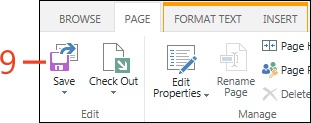
Click the Save button.
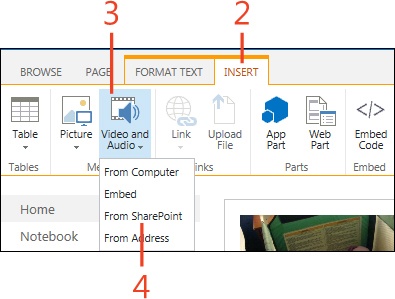
Insert video on a SharePoint page
On the ribbon, click the Insert tab.
In the Media group, click the Video And Audio button.
On the menu that opens, click From SharePoint.
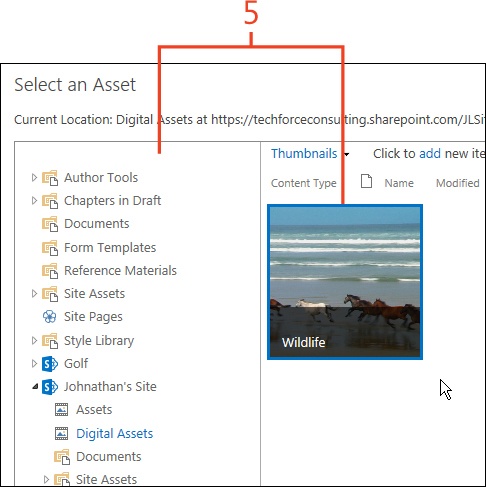
In the Select An Asset dialog box, in the pane on the right, select the video that you want to add from the library (in the left pane) in which it resides.
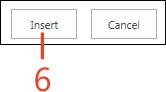
Click the Insert button.
Click the Save button.
Tip
If you previously selected a thumbnail image for a video from a source other than a frame within the video, when the video is added to a page, the thumbnail might not show. This is due to the size of the thumbnail image that you are using. If you have a need to have a thumbnail display when added to a page you can either obtain an image that is the same size that the video will be or select a thumbnail by capturing a frame from the video.