
Inserting Audio Files into Your Blog Posts
Audio files can be music files or voice recordings, such as recordings of you speaking to your readers. These files add a nice personal touch to your blog. You can easily share audio files on your blog by using the Upload Audio feature in WordPress. After you insert an audio file in a blog post, your readers can listen to it on their computers, or download it onto an MP3 player and listen to it on their drives to work, if they want.
Click the Add Audio icon on the Edit Post or Add New Post page, and then follow these steps to upload an audio file to your blog post:
- Click the Select Files button.
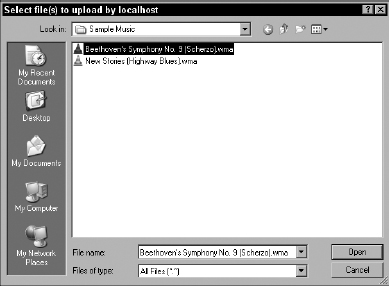
An Open dialog box appears, as shown in Figure 4-2.
- Select the file that you want to upload and click Open (or simply double-click the filename).
The file uploader window reappears in WordPress, which shows a progress bar while your audio file uploads. When the upload is complete, a dialog box that contains several options opens.
Figure 4-2: Add Audio Files from your computer.
- Type a title for the file in the Title text box.
- Type a caption for the file in the Caption text box.
- Type a description of the file in the Description text box.
- Click the File URL button.
Clicking this button provides a direct link in your post to the video file itself.
- Click Insert into Post.
A link to the audio file is inserted into your post. WordPress doesn't embed an actual audio player in the post; it only inserts a link to the audio file. Visitors click the link to open another page, where they can play the audio file.
Some great WordPress plugins for audio-handling can enhance the functionality of the file uploader and help you manage audio files in your blog posts. Check out Book VII for information on how to install and use WordPress plugins in your blog.