
Starting with a Simple Subject
Intricate, complex scenes are certainly visually interesting, but they can also be challenging to draw. A better way to begin is to choose a simple subject, which can be equally compelling, even with a limited palette. Before you start drawing, look closely at your subject and try to break it down into basic shapes (such as circles, triangles, and wedges). You can also reduce the distractions in your scene by keeping the background vague, as Debra Yaun did here in this simple portrayal of colorful daylilies.
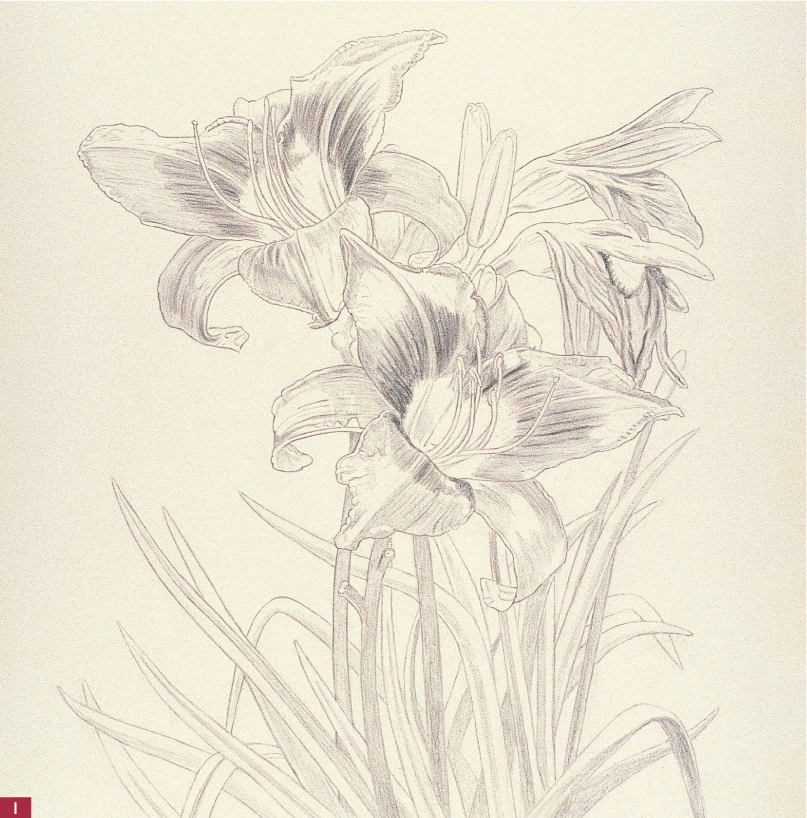
Step One First I sketch out the day lilies in graphite pencil, taking care to draw the correct proportions. Then I use black colored pencil to indicate the darkest veins on the flower petals, creating long strokes that start at the center of each flower. I am using a grisaille technique here (see box on page 33), applying black colored pencil to the stems and leaves with short, even strokes. This will establish a foundation for all the subsequent values in the drawing.

Step Two Next I lightly apply short strokes of cobalt blue over the black on the leaves. I also layer blue over the rest of the leaves, but I retain some of the white of my paper on the leaves in the foreground. This helps set the background leaves behind the foreground leaves. I give the stems a little heavier application of blue, since they appear a bit darker in my reference photo.

Step Three With short strokes, I add a light layer of dark green to the centers of the two open flowers. Then I apply dark umber to the ends of the stamens, leaving the pollen edges white. I use short strokes of dark green along the length of the leaves and stems, and then I lightly layer dark green on the flower buds and the bases of the two closed flowers. Next I add dark umber to the stems and some of the darker leaves and layer canary yellow over the green buds and leaves, using a paper stump to blend the colors. Then I apply more yellow to the leaves in the foreground. (Remember that warm colors appear to “pop” forward.) I layer black on the base of the stamen to indicate the shadow and apply a fairly heavy layer of yellow to the centers of the flowers. Then I use a sharp yellow pencil to indicate pollen on the stamens, leaving a white edge for contrast.
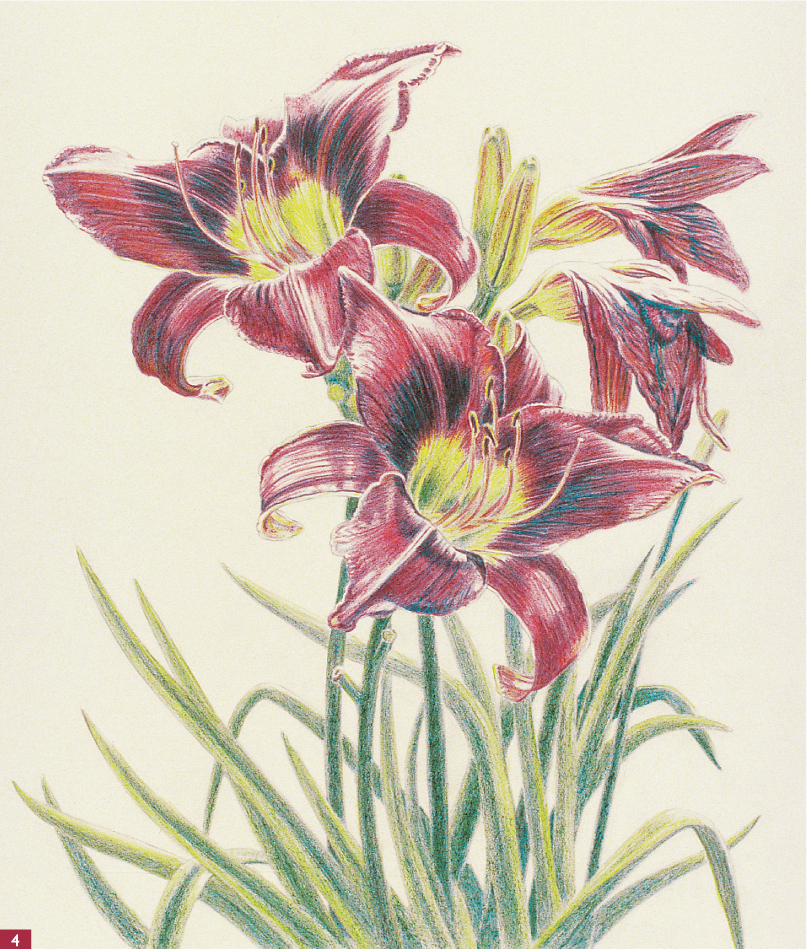
Step Four Using strokes that follow the direction of the veins, I add a layer of magenta to the open petals, leaving some white to indicate the sunlit areas. To achieve a “glow” on the petals, I layer magenta over the yellow to create orange; notice also that the cobalt blue I’ve added shows through under the magenta, creating a purple hue. Developing this variety of reds gives a better contrast between the shadows and the lighter areas. Next I lightly apply magenta along the petal lines and inner edges of the buds to indicate some reflected color from the surrounding flowers. I give the closed flowers a layer of magenta as well, pressing firmly where the petals fold. Then I layer magenta over the brown on the ends of the stamens to darken and warm them.
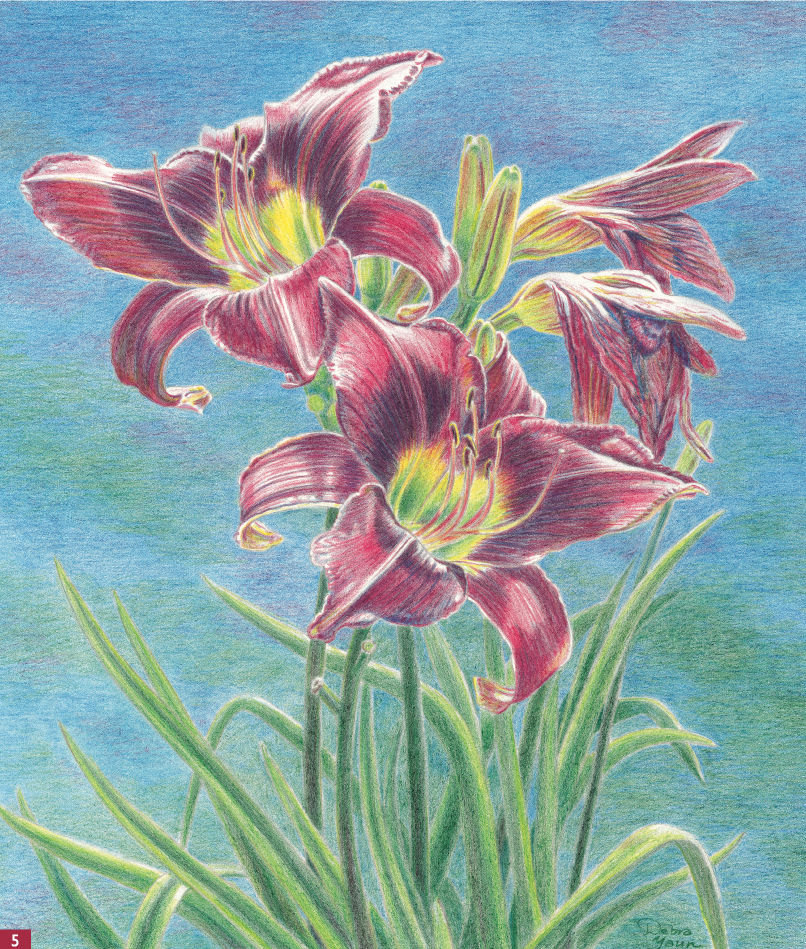
Step Five Next I erase any graphite lines that are still visible along the outside of the petals. Using medium pressure, I apply a layer of cobalt blue to the background with horizontal strokes. I keep the point of the pencil very sharp and stroke along the edges of the petals. Then I layer dark green and magenta onto the blue in horizontal strokes to add some color and interest to the background. Next I use a paper blending stump to soften and blend the background colors; I want to make sure I don’t have a complex or distracting backdrop that would detract from these simple flowers. Finally I take another look at the leaves and decide they seem a little light, so I darken them in a few areas with some blue and more dark green.