

Step One I start by using an HB pencil to sketch the basic shapes on a piece of scrap paper. I block in the cat’s head and body, using ovals for the paws and tail and triangle shapes for the ears. I also indicate the rounded chest and the centerline of the cat’s face. Then I indicate the facial features. Now I check the proportions, making sure the turned head is positioned correctly.

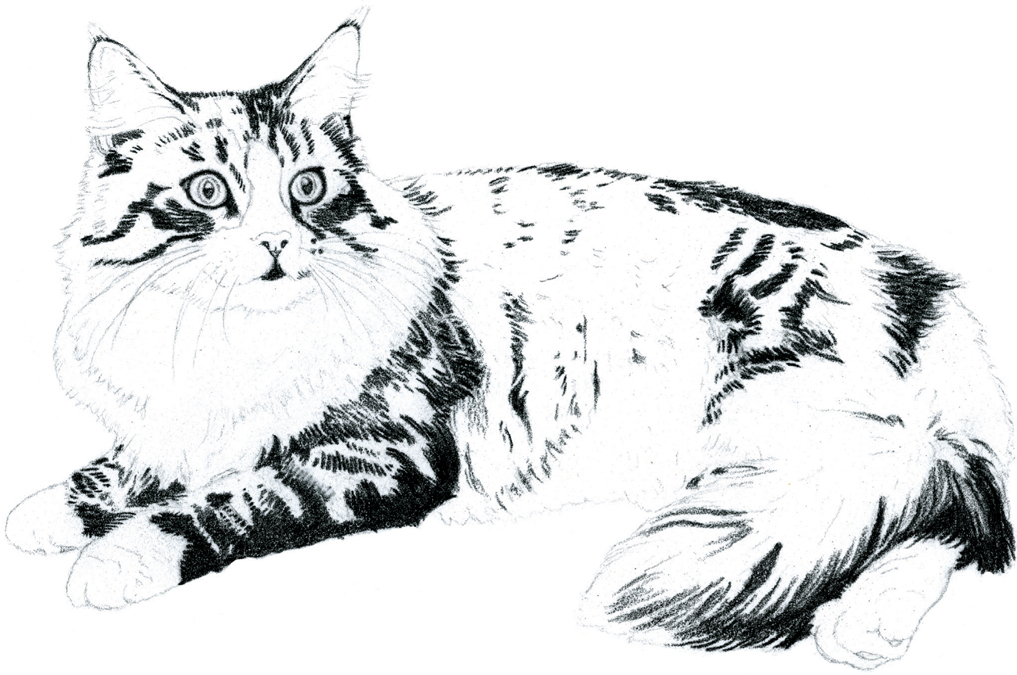
Step Two Now I develop the details, erasing unneeded lines as I go. I create a few short strokes on the face to indicate the direction of the fur. Then I add the lines around the eyes that extend down along the nose. I also draw the pupils, which are shaped like footballs. I indicate a few whiskers, as well as the white areas on the front paws and some of the fur patterns on the body. Next I transfer this drawing to a sheet of sanded pastel paper.
Place a sheet of tracing paper on top of your photo reference and trace the major outlines of the animal. Then use transfer paper—thin sheets of paper that are coated on one side with an even application of graphite—to transfer the image to your drawing paper. Place the transfer paper on top of your drawing paper, graphite-side down, holding the transfer paper in place with artist’s tape. Then place the tracing paper on top of the transfer paper (you may need to enlarge or reduce the image on a photocopier to fit your drawing paper) and lightly trace the lines with a pencil or a sharp object that won’t leave a mark, such as a stylus or the pointed edge of the handle of a thin paintbrush. The lines will transfer to the drawing paper below.
You can purchase transfer paper at an art supply store, or you can make your own. Just cover the back of the traced image with an even layer of graphite, place the graphite side on top of the drawing paper, and lightly trace the lines of the sketch to transfer them. Check underneath the transfer paper occasionally to make sure the lines that have transferred aren’t too light or too dark.

Step Three Using cool gray 90%, I shade the “whites” of the eyes and the pupils. Then, with short strokes and medium-to-hard pressure, I create the darkest areas of fur on the head and body, following the direction of fur growth. The fur on the tail is longer than elsewhere, so my strokes reflect this.

Step Four Now I apply geranium lake to the nose and pads on the paws. Then I add a light layer of dark brown to areas of the head and body. Next I color the irises with cedar green. I fill in the pupils with black, being sure to leave a highlight in each pupil.

Step Five Referring to my reference photo, I continue to add color to the cat. I apply a bit of jasmine to a few patches on the body, as well as on the ears, nose, and around the mouth. Then I apply French gray 70% to areas of the face and body, using short strokes that follow the direction of fur growth. Using medium pressure, I add a layer of chartreuse to the irises; then I apply black to the side of the nose and the mouth. Next I apply henna to the pads on the paws and use short strokes of cool gray 90% on the paws, indicating the fur. Then I use medium pressure to apply cool gray 90% to the undersides of the chin, stomach, and paws to suggest shadows; I use heavier pressure under the paws. I layer short strokes of burnt umber over the jasmine areas of the head and body to deepen the color. I also apply long strokes of burnt ochre and French gray to the tail. Next I add some long strokes of French gray 70% for the fur inside the ears.

Step Six I apply cool gray 90% on the sides of the neck, making sure to avoid the overlapping whiskers; then I apply the same color all over the body to darken the fur. I add a small spot of true blue to the highlights of the pupils, then blend it with white. Next I layer canary yellow over the chartreuse in the irises, making the color of the eyes more intense. Next I shade areas on the chest and neck to help define the whiskers with cool gray 50%. I also add a bit of cool gray 30% to the lower part of the stomach. Now I stand back to determine whether any area needs more color. For extra contrast, I add a little more burnt ochre to the areas where I’ve already applied it, and I add black to the darkest areas of the fur. Then I gently pull a stiff bristle brush over the fur to help blend and soften the color. I do this very carefully, though, as too much blending can smudge the drawing. I avoid blending the eyes, as I want them to be clear and shiny. I stand back from the drawing again, make any necessary adjustments, and sign my name.

The shape of a cat’s pupils changes with the amount of light it receives. For example, in low lighting the pupils appear larger and more circular (as shown here), whereas in strong lighting the pupils can appear like tiny vertical slits. When drawing a cat from a straight-on view, make sure the pupils are facing straight ahead (instead of angled as they are in the featured three-quarter view). Also keep in mind that a cat’s sclera, or “white” of the eye, is much less visible than a human’s, as cats’ irises cover a much larger area than humans’ do.