Chapter 10. Organizing people and work
Microsoft SharePoint 2013 provides users with several list templates to assist you with managing people and work. Contact lists are perfect for keeping up to date information for partners or clients. Issue lists can help you with tracking helpdesk incidents, change management requests, or project tasks.
Special features specific to the type of task list are in place automatically. A project tasks list can track dependencies between tasks, include a Gantt Chart of task schedules, and synchronize with Microsoft Project. An events list includes a calendar view to track individual or recurring meetings.
Creating a project schedule by using a tasks list
Gantt Charts in SharePoint 2013 help managers coordinate project schedules and assign tasks to team members. A SharePoint task list combines the functionality of a standard task list with a Gantt Chart, making it possible for you to display start and end dates and report task progress based on the percentage complete value of the task.

Adding tasks
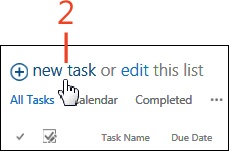
After your task list is created, you can begin populating it with tasks. Tasks in SharePoint 2013 can be a simple checklist or a more complex project in which you can relate tasks to one another or assign predecessors. The graphic timeline view also makes it possible for you to see your task dates at a glance.
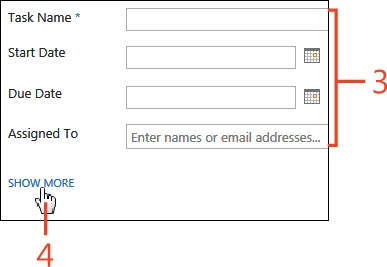
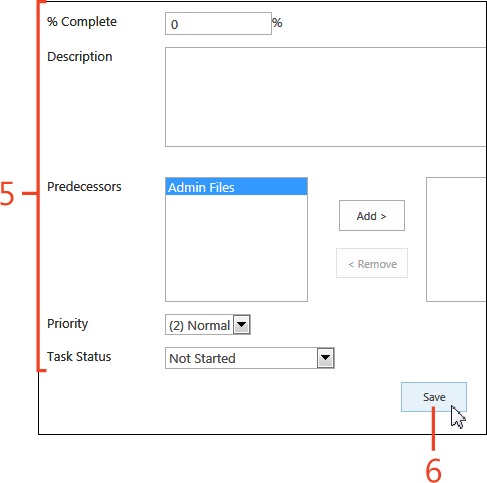
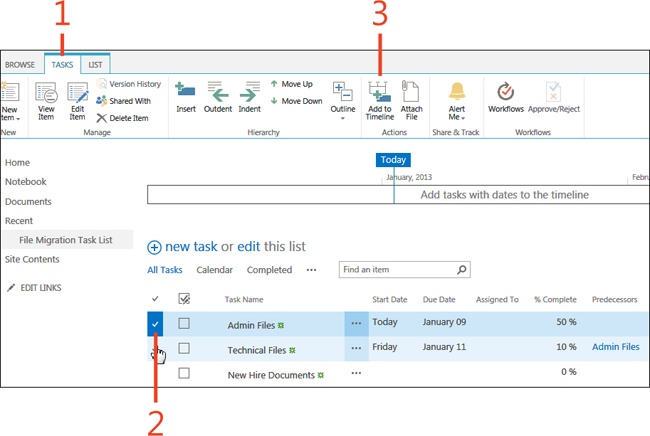
Add a task
Add a task to a timeline
On the ribbon of your Task List page, click the Tasks tab.
Select the check box to the left of a task. (Hover over the title to see the check mark option.)
On the ribbon, in the Actions group, click Add To Timeline.
Viewing tasks in a Gantt Chart
Gantt Charts are a common scheduling management tool used to view phases and tasks of a project. SharePoint 2013 uses a timeline and Gantt bars to visually associate the start and end dates of your project’s tasks.
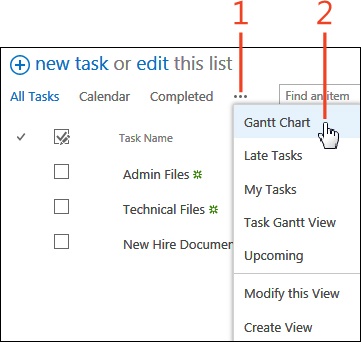
View tasks in a Gantt Chart
On your Task List page, to the right of the column headings, click the drop-down ellipsis (...).
On the menu that appears, choose Gantt Chart.
Tip
The Gantt Chart View splits the content display and the Gantt chart with a slider. Move the slider to display the columns that you want to see.
See Also
For more information about editing views, see Chapter 5.
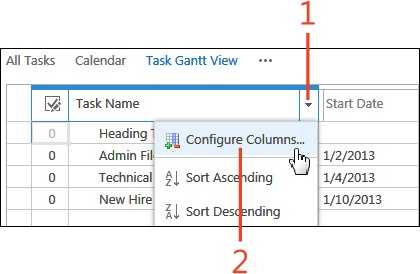
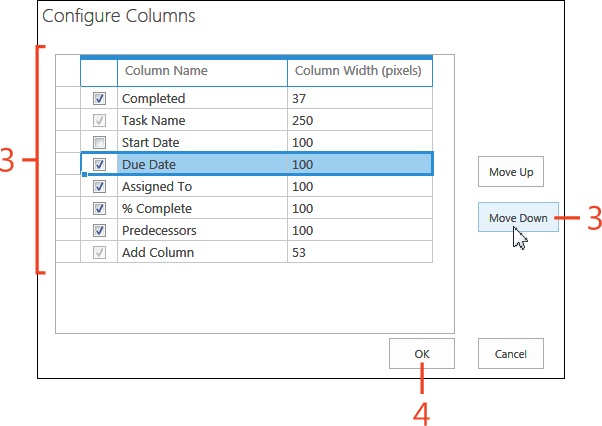
Configure Gantt columns
In a Gantt Chart view, click the drop-down arrow next to any column heading.
On the menu that appears, click Configure Columns.
In the Configure Columns dialog box, you can perform any of the following actions:
Hide or display a column by clearing or selecting the check box next to the column name.
Change the column display order by selecting a column and clicking Move Up or Move Down.
Change the width of a column by modifying the Column Width value.
Click OK to save your changes.
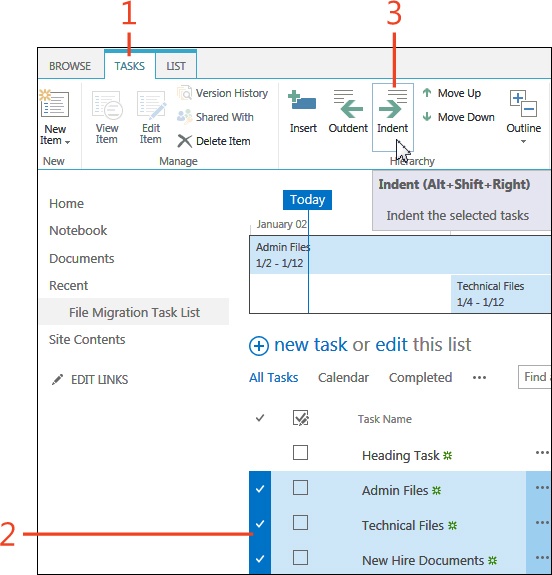
Adding multiple tasks and subtasks
There might be times when you’d like to copy items from Microsoft Excel into a task list, but you don’t want to key them one at a time. With SharePoint 2013, you can add entries quickly in the list view, or you can paste content directly.
After tasks are added, you might want to change the way they are displayed or change tasks to subtasks. You can move tasks up or down, indent or outdent them, or delete a task from a list altogether.
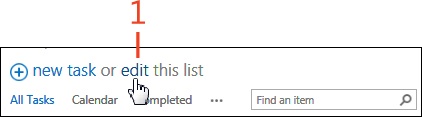
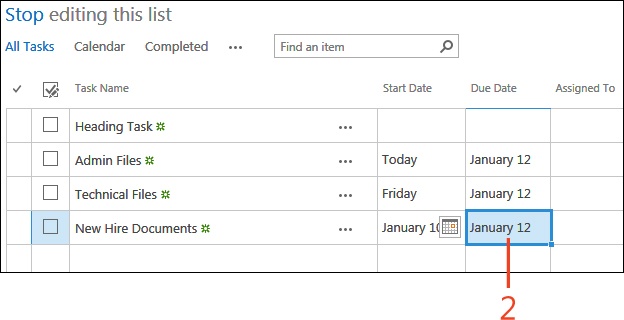
Update multiple tasks in a standard view
On your Task List page, above the column headings, click Edit.
Click a cell to edit its value. Repeat the steps in other cells; changes are saved as soon as you click off the edited row.
Creating a calendar list
SharePoint 2013 calendar lists provide a convenient and visual way for project team members to track project milestones, meetings, and other events. You can display calendar lists in daily, weekly, and monthly views.
Create a calendar list
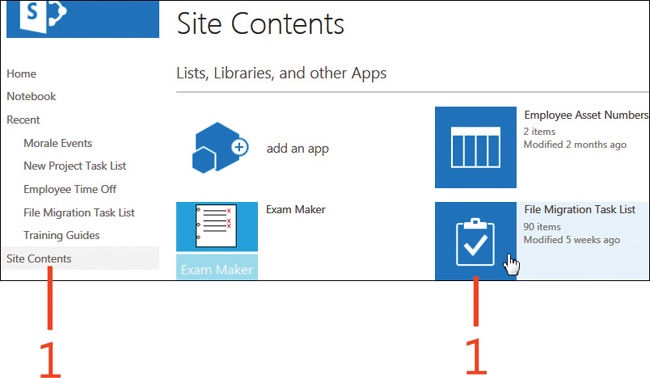
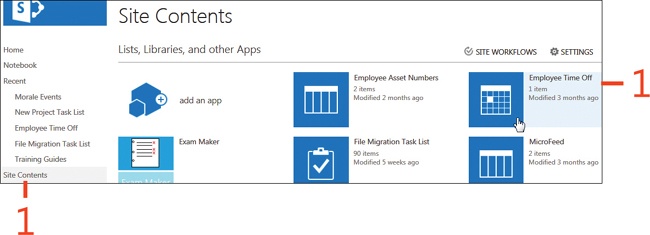
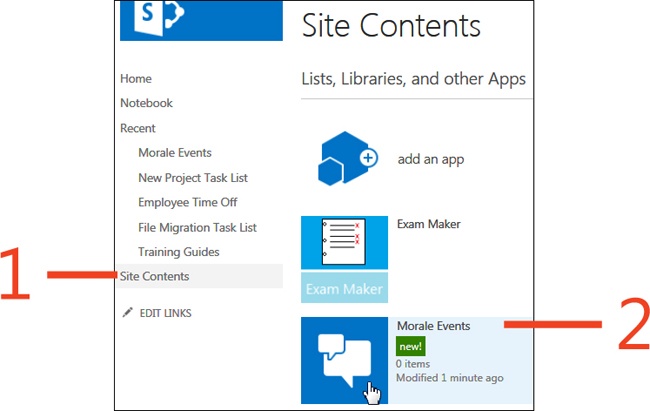
On the Quick Launch bar, click Site Contents.
On the Site Contents page, click Add An App.
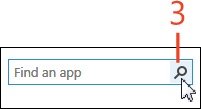
On the Your Apps page, in the Find An App search box, type Calendar and click the search button (the magnifying-glass icon).
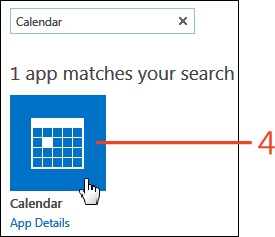
In the search results, click the Calendar icon.
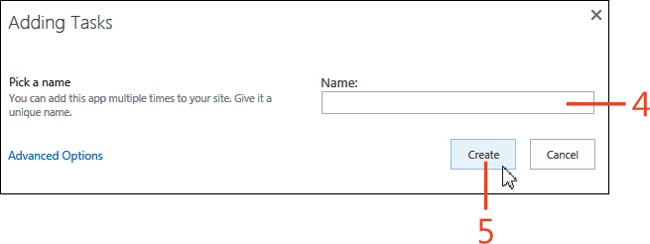
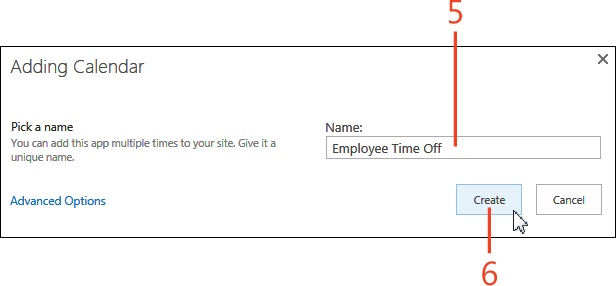
In the Adding Calendar dialog box, enter a name for the new calendar.
Click Create.

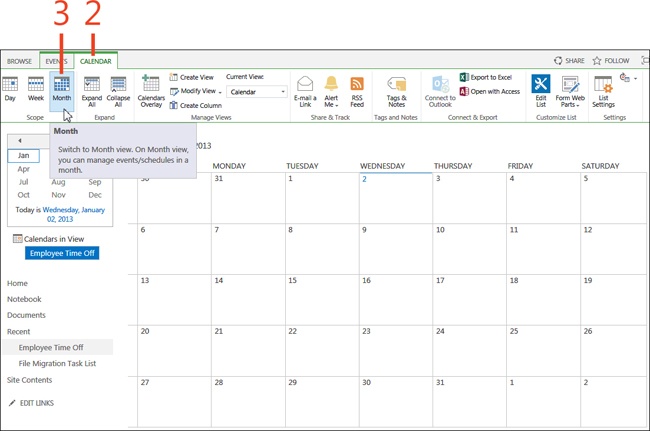
Switch calendar views
On the Quick Launch bar, under Site Contents, click your calendar list.
On the ribbon, click the Calendar tab.
In the Scope group, click any of the following icons to change the calendar view:
To see events for an individual day, click Day.
To see events for an entire week, click Week.
To see events for a calendar month, click Month.
Scheduling events on the calendar
You can add meetings and appointments to a SharePoint 2013 calendar so that all members can see upcoming events, training sessions, or whatever you want to post. You can also view SharePoint calendars side by side with other Microsoft Outlook calendars or even overlaid on one another.
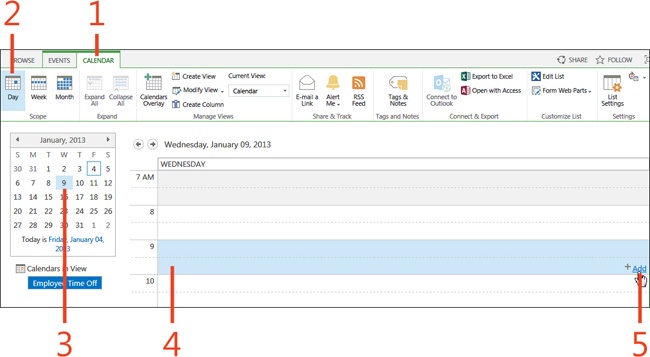
Schedule an event
On the ribbon of your Calendar list, click the Calendar tab.
In the Scope group, click Day.
On the small calendar to the left, click the date for the event.
In the Day pane, drag from the start time to the end time to set the event duration.
In the lower-right corner of the highlighted time, click Add.
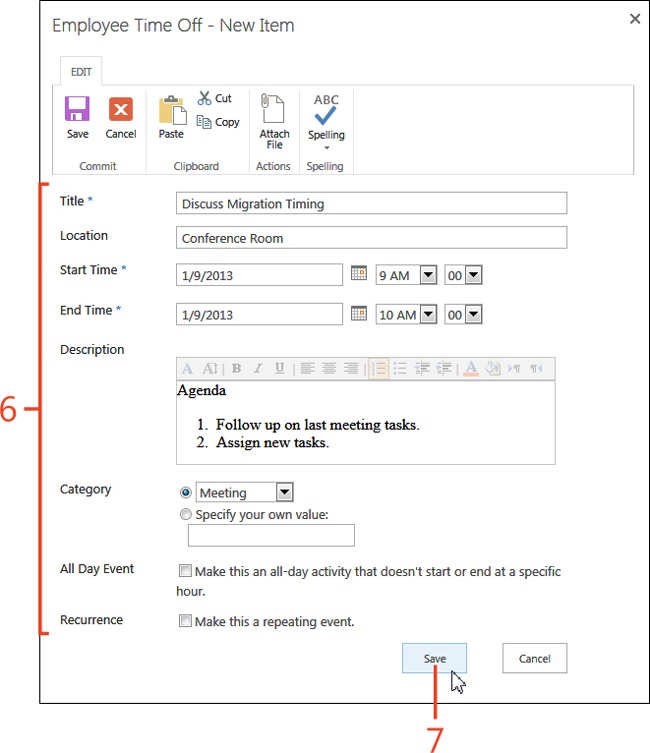
In the New Item dialog box, enter the event details.
Click Save to add the event to the calendar.
Using the issue tracking list
Using an issue tracking list in SharePoint 2013 is an excellent method for monitoring several kinds of issues, such as customer support requests, project tasks, and change-management information. With the issue tracking list, you can relate previous issues to new issues as well as track changes via the appending Comments text box.
Create an issue tracking list
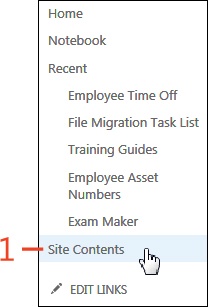
On the Quick Launch bar, click Site Contents.
On the Site Contents page, click Add An App.
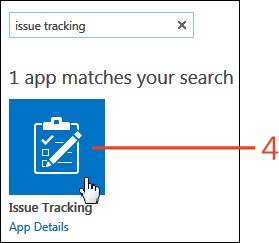
On the Your Apps page, in the Find An App search box, type issue tracking and click the search button (the magnifying-glass icon).
In the search results, click the Issue Tracking icon.
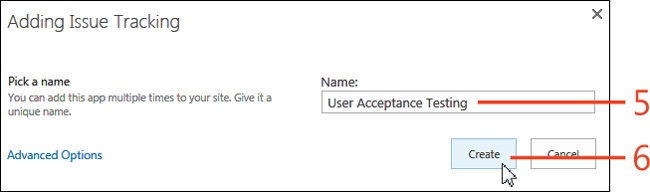
In the Adding Issue Tracking dialog box, enter a name for the new issue tracker.
Click Create.


Creating a discussion board
The discussion board feature in SharePoint 2013 makes it possible for team members to converse in a forum and track all related replies about a specific topic. Participation in discussion boards earn authors achievement points which build their reputation as community members. Reputation statistics like discussions, replies, or best replies are displayed next to the profile name and photo and are added to the newsfeed on the About Me page.
Create a discussion board
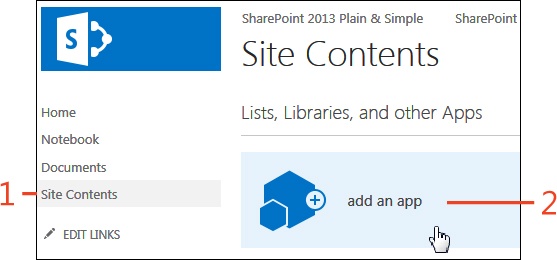
On the Quick Launch bar, click Site Contents.
On the Site Contents page, click Add An App.
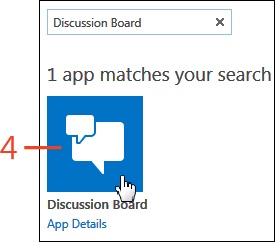
On the Your Apps page, in the Find An App search box, type Discussion Board and click the search button (the magnifying glass icon).
In the search results, click the Discussion Board icon.
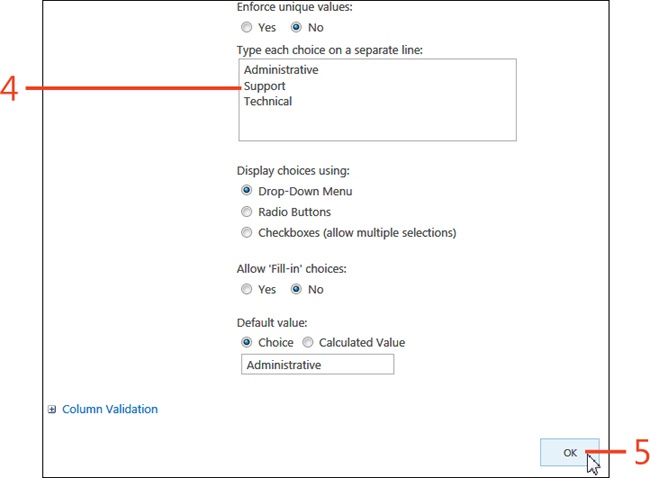
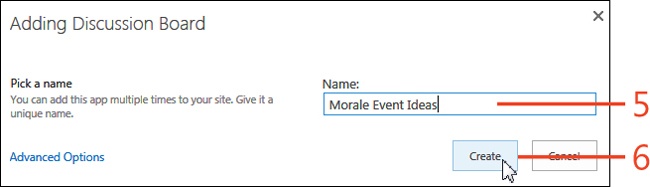
In the Adding Discussion Board dialog box, enter a name for the new Discussion Board.
Click Create.

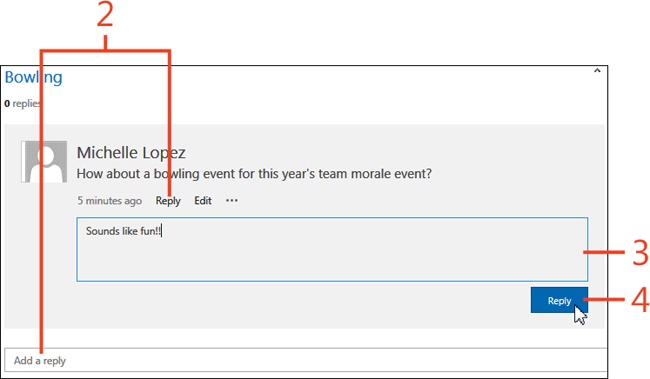
Participating in a discussion
Participating in discussion boards introduces you to other people with similar interests and skill sets. Your followers’ newsfeeds will be notified any time you start a discussion thread or post a reply. You also have the option of turning off the sharing feature in the newsfeed settings of your profile.
Start a discussion thread
On the Quick Launch bar, click Site Contents.
On the Site Contents page, click a Discussion Board.
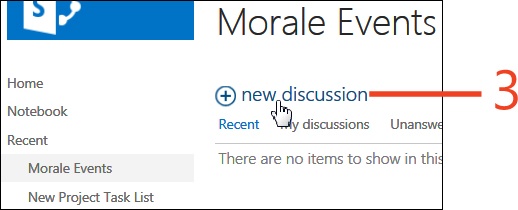
On the Discussion Board page, click New Discussion.
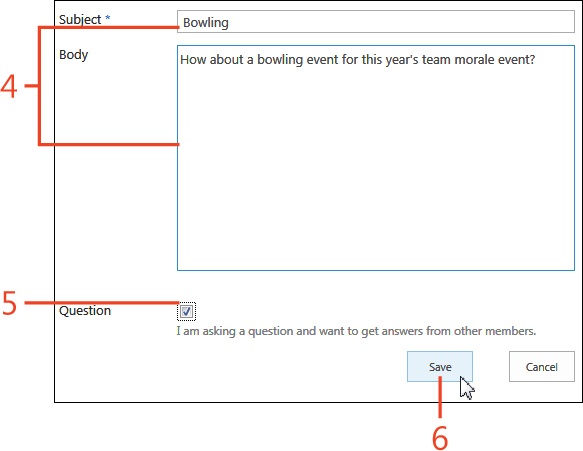
On the Discussion page, add a subject and body for your discussion board.
To request answers from other members, select the Question check box.
Click Save.
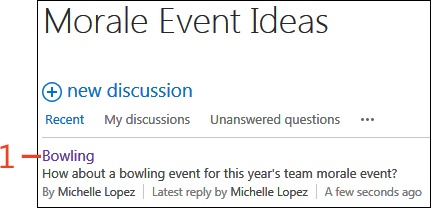
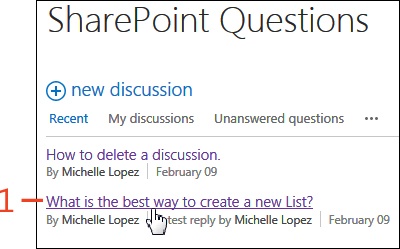
Rating discussions
When you rate a discussion board or a reply, you add to the author’s achievement points and help build their reputation rating. Depending on the site’s community setup, users can award a post a rating of one to five stars or they can like or unlike posts.
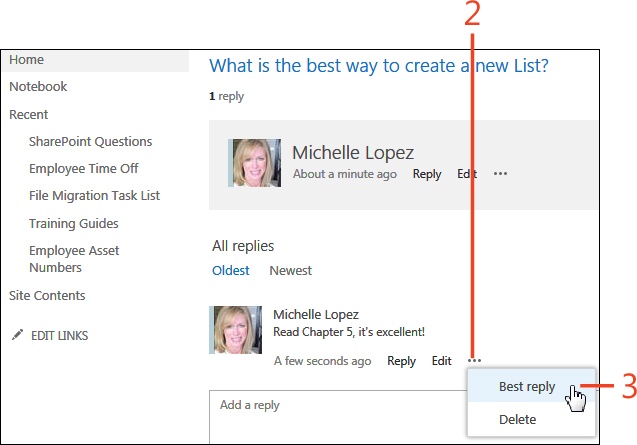
When researching the answer to a question, it’s extremely useful to mark any of the replies in a discussion as the “best reply.” Best replies will display with a check mark and along with the text “Best Reply” to help locate it easily.
Connecting a discussion to Microsoft Outlook
SharePoint 2013 includes a convenient feature with which you can follow discussions in Outlook instead of accessing the discussion thread directly in SharePoint. The discussions appear just like email messages do!
Connect a discussion thread to Outlook
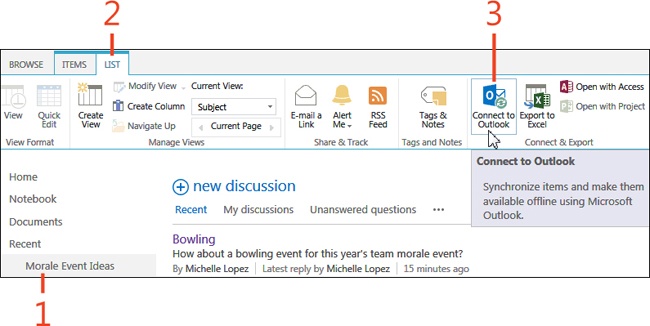
On the Quick Launch bar, click the discussion board.
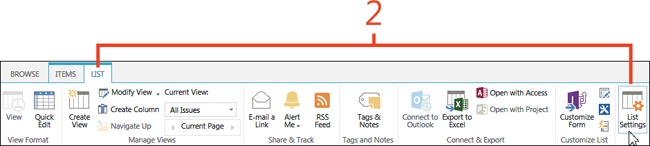
On the ribbon, click the List tab.
In the Connect & Export group, click Connect To Outlook.
In Outlook, in the Folders pane on the left, expand SharePoint Lists.
Click the discussion board name.

Synchronizing project tasks with Microsoft Project
SharePoint 2013 and Microsoft Project integrate so that project schedules can synchronize with SharePoint project task lists and be updated in both locations. Synchronized columns can be customized so that only some, or all, of the project task fields are included in the synchronization. To perform the following steps, you must have Project 2013 installed on your computer.
Synchronize Project with a tasks list
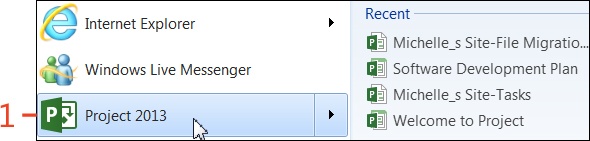
Open a Project file.
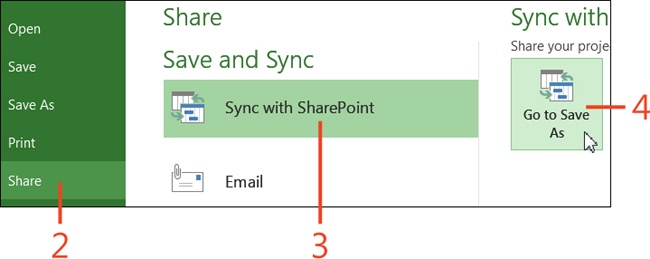
On the ribbon, click the File tab to display the Backstage view and then click Share.
In the Share section, click Sync With SharePoint.
In the Sync With SharePoint Tasks List section, click the Go To Save As button.
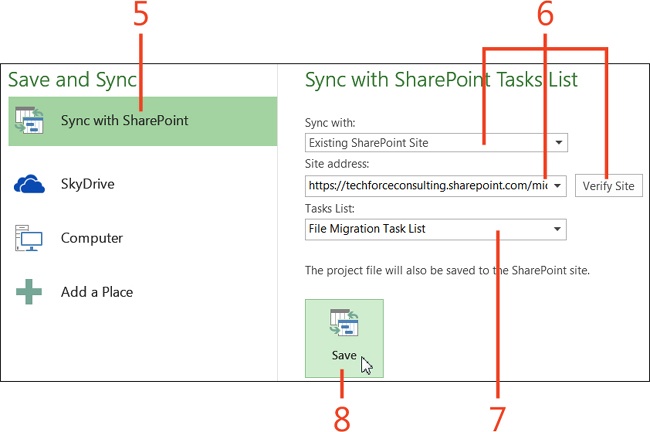
In the Save And Sync section, click Sync With SharePoint.
In the Sync With SharePoint Tasks List section, in the Sync With list box, choose New or Existing SharePoint Site. In the Site Address text box, enter the appropriate URL and then click the Verify Site button.
In the Task List list box, select the list that you want to sync.
Click Save.
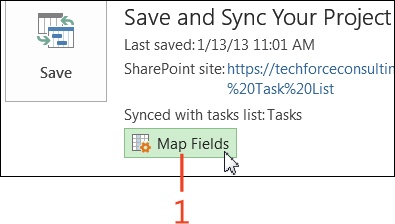
Map synchronization fields
On the ribbon of your Microsoft Project file, click the File tab to display the Backstage view and then click Map Fields.
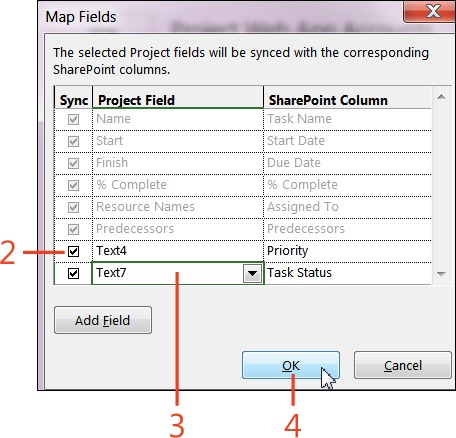
In the Map Fields dialog box, fields that are disabled are required fields and cannot be edited. Select the Sync check box in the SharePoint Field row that you want to synchronize.
Select a Project Field with which to synchronize. Project Field by default includes a number of text fields (numbered Text1 through Text30) that can be used to map to columns in the SharePoint project tasks list.
Click OK.