This book has three Microsoft Dynamics NAV object files, two DLL files, a SQL Server script, and some helper files for the installation. They are as follows:
Chapter2-4.fob: This file contains the squash court examples used in Chapter 2, A Sample Application, Chapter 3, Financial Management, and Chapter 4, Relationship Management.Chapter7-9.fob: This file contains the Storage and Logistics application used in Chapter 7, Storage and Logistics, and the sample interfaces for Chapter 9, Interfacing. We need the additional SQL Server scripts to get the ADO examples to run.Chapter8.fob: This file contains the Job extensions for Chapter 8, Consulting. This chapter also requires the additional DLL files to be installed.RF database.sql: This is the SQL Server script that is used in Chapter 9, Interfacing, to create the RD Database and create the demo data.MSDN.flf: This is the MSDN license we can use to access the custom objects numbered from 123.456.700 to 123.456.799.NavMaps.dllandVEControl.dll: These are the Dynamic Link Library files we need for Chapter 7, Storage and Logistics.Pin1.gif – Pin5.gif: These are the icons displayed on the Bing Map.
To install the objects, first open the Object Designer in the Classic Client by selecting the Object Designer (Shift + F12) option from the Tools menu, as shown in the following screenshot:

When the Object Designer is active, the File menu shows some additional options:

File menu options
We select Import, which opens a file dialog window. Now, select the .fob file you want to import.
If everything is as it should be, the following dialog should appear:

Select Yes and this dialog box confirms the import.
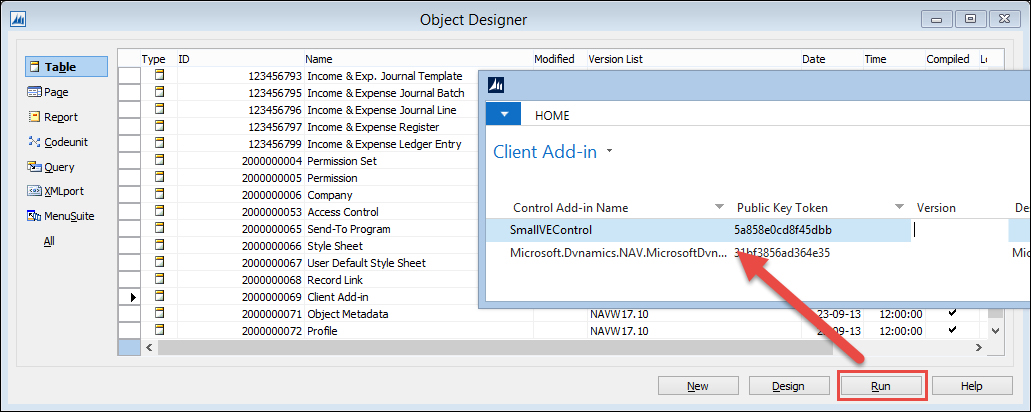
To support the Bing Maps Client Add-in, Geocoding, and the distance calculation we ship the following two DLL files, five GIF files, and some supporting files for the installation:
NavMaps.dllVEControl.dllpin1.gifpin2.gifpin3.gifpin4.gifpin5.gifRegisterDll.bat
These files should now be placed in this folder: