In any information system, for users to access the system, they need to have an account. In JIRA, each user needs to have his/her own user account for him/her to access JIRA, unless JIRA is configured to allow anonymous access. Each user is identified by his/her username, which cannot be changed after account creation.
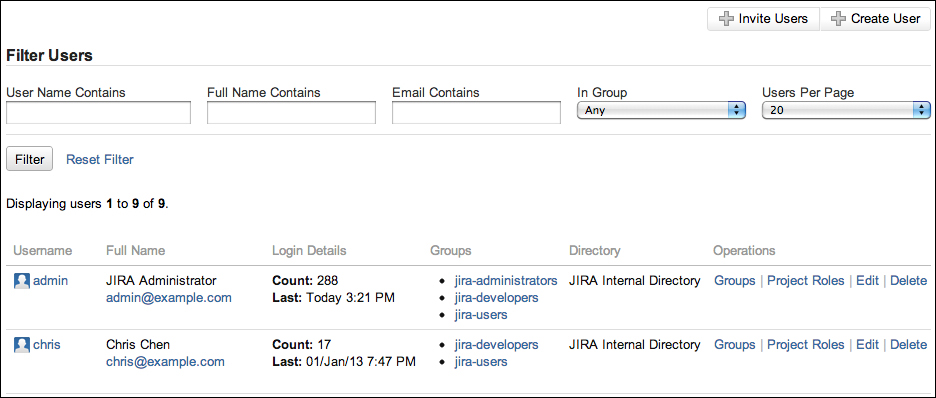
User Browser is where you will be able to see a list of all the users in JIRA, including their usernames, e-mail addresses, last login attempt, and which user directory they belong to. User Browser also provides you with search capabilities. You will be able to search for users that fit the criteria such as username, full name, e-mail address, and group association. Perform the following steps to access the user browser:
- Browse to the JIRA administration console.
- Select Users under the Users section to bring up the User Browser page.
By default, the results will be paginated to show twenty users per page, but you can change this setting to show up to a hundred users per page. When dealing with large deployments having hundreds of users, these options will become very useful to quickly find the users you need to manage.
Other than the ability for you to effectively search for users, User Browser also serves as the portal for you to add new users to JIRA and manage a user's group/role associations:
User accounts can be created directly from JIRA in two ways, and if you are using an external user directory, such as LDAP, then you can also create accounts in LDAP and JIRA will automatically synchronize the new users. The first option is to have centralized management, where only the JIRA administrators can create and maintain user accounts. This option is applicable to the most private JIRA instances designed to be used by an organization's internal users.
The second option is to allow users to sign up for accounts by themselves, and this is most useful when you run a public JIRA instance, where manually creating user accounts is not scalable enough to handle the volume. We will be looking at how to enable public signup options in the later sections. For now, we will first examine how administrators can create user accounts manually:
- Browse to the User Browser page.
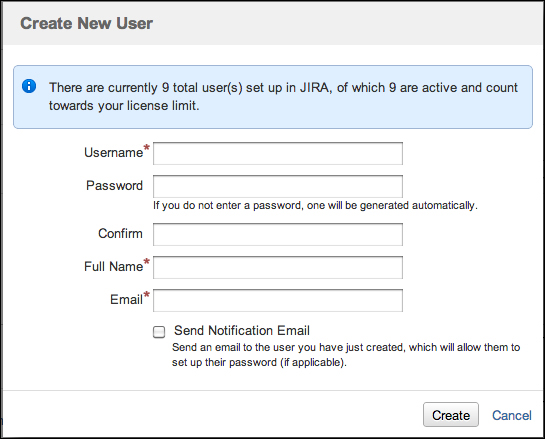
- Click on on the Create User button. This will bring you to the Create New User dialog box.
- Provide a unique username for the new user. The username cannot be changed once it is set.
- Specify the password, full name, and e-mail address for the user.
- Optionally, select the Send Notification Email option if you have an outgoing mail server configured for JIRA (see Chapter 7,). If checked, JIRA will send an e-mail to the user with a link for them to reset their password.
- Click on the Create button to create the new user:
Alternatively, the administrator can also choose to invite users, so that they can create their accounts by themselves. This is different than the public signup option, since only recipients of the invitations will be able to create accounts. For this feature to work, you will need to have an outgoing mail server configured, as the invitations will be sent as e-mails. Perform the following steps to invite users to sign up:
- Browse to the User Browser page.
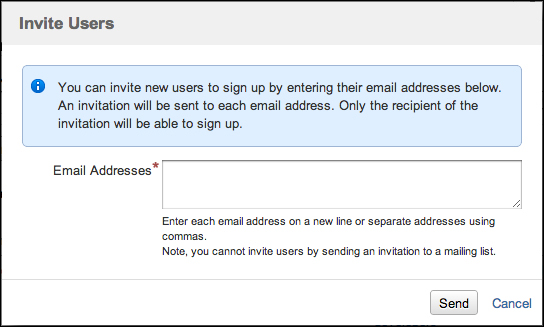
- Click on on the Invite Users button. This will bring you to the Invite Users dialog box.
- Specify the e-mail addresses for the people you wish to invite. You can invite multiple people at once.
- Click on the Send button to send out the invitations:
If your JIRA is public (for example, as a public support system) then creating user accounts individually as explained earlier will become a very demanding job for your administrator. For this type of JIRA setup, you can enable public signup to allow users to create accounts by themselves. Perform the following steps to enable public signup in JIRA:
- Browse to the JIRA administration console.
- Select General Configuration under the System section.
- Click on the Edit Configuration button at bottom of the page.
- Select Public for the Mode field.
- Click on the Update button to apply the setting.
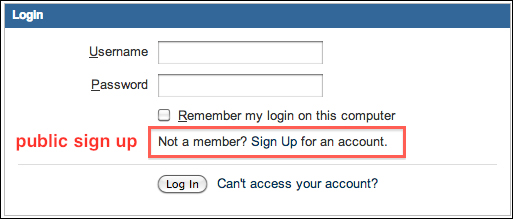
Once you have set JIRA to run in the Public mode, users will be able to sign up and create their own accounts from the login page:
As you will see in the later section Global permissions, once a user signs up for a new account, he/she will automatically join groups with JIRA users global permission. If you have set JIRA to run in the Private mode, then only the administrator will be able to create new accounts.
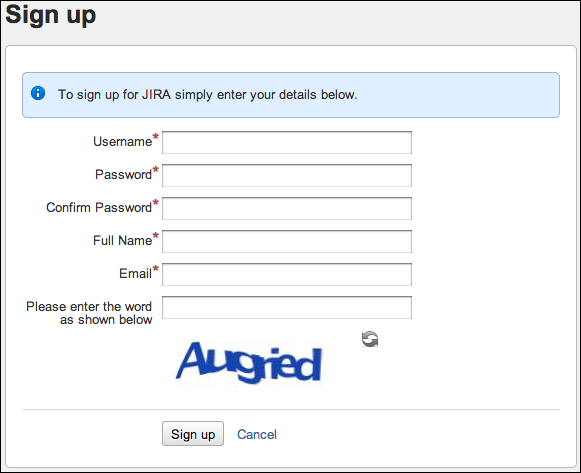
If running JIRA in the Public mode, you run the risk of having automated spam bots creating user accounts on your system. To counter this, JIRA provides the CAPTCHA service, where potential users will be required to type in a word represented in an image into a text field. Perform the following steps to enable the CAPTCHA service:
- Browse to the JIRA administration console.
- Select General Configuration under the System section.
- Click on the Edit Configuration button at the bottom of the page.
- Select On for the CAPTCHA on sign up field.
- Click on the Update button to apply the setting.
Now, when someone tries to sign up for an account, JIRA will present him/her with a CAPTCHA challenge that must be verified before the account is created: