Mathieu Reynès
A Day in the Country
A Day in the Country
BY MATHIEU REYNÈS
Artist, Cartoonist
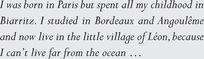
Léon, France
Mathieu Reynès thought the iPhone was too small for consideration as a tool to make art, but is making up for lost time as he makes “Brushes” sing on his iPad.


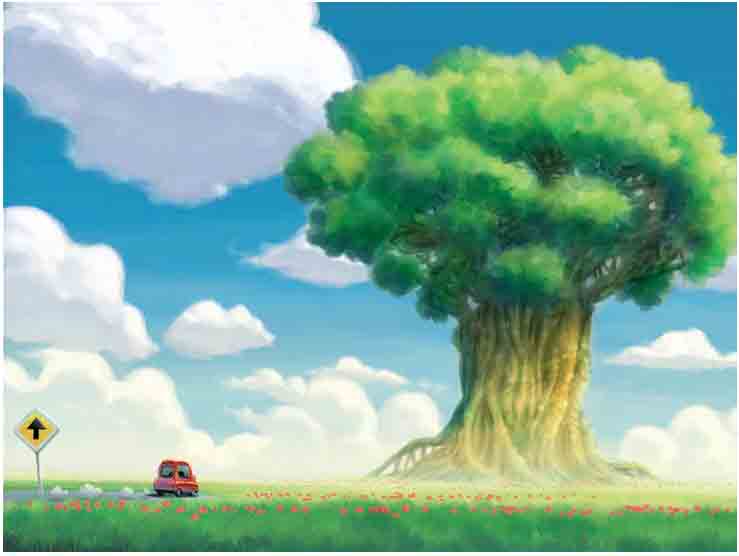
Step 1: The Basic Sketch
As a rule, I start with a rough pencil sketch which I use as a starting point. More often than not, the final picture does not really look like my earliest sketch. The idea behind that picture was to contrast the size of the elements, to oppose what is small to what is large: a big sky and a small piece of land, a gigantic tree and a tiny car. I also felt like creating a very airy, Zen atmosphere.


Step 2: The Background
I start with the sky. For this picture, it will define the general atmosphere, the light, the picture dynamics. I especially love drawing clouds, I find it relaxing … so I start with roughly positioning objects and placing their shadows. Thus I locate my light source. Then I define the horizon by placing a line for the ground. I add a few low-flying clouds and a light mist to add depth. I work on the details to make the clouds more precise and puffy.


Step 3: The Tree
Moving on to the tree, I position the objects: the trunk, boughs, and leaves. I work on several layers to have a variety of boughs and leaves (dark in the background and clearer in the foreground). Afterwards, using the rough sketch as reference, I give volume and detail by positioning shadows and clear lines. I want very dense foliage so I do not hesitate to create a very dark shadow zone. The tree has not been completed yet, but I prefer to move on now to the car and possibly to return to it later, to adjust the colors.


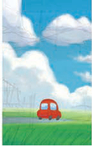


Step 4: The Car
As I did before, I place the objects and define the elements, then I add volume by placing shadows and light. The mist in the distance does not look contrasted enough to me, so I underline its presence by making it more yellow. This makes the picture somewhat warmer and provides an easy transition from the sky to the ground.
Step 5: The Ground
I give volume to the ground by placing shadows and lights. I add more detail to the grass. Again, I use several layers to underline depth (dark hues in the background and clearer ones in the foreground). I make a few flowers grow, and presto! That’s done the trick! The layer depicting the mist is placed on top of all the others, which therefore allows it to influence them all, giving depth to the picture at very little cost.


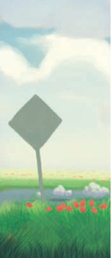
Step 6: The Road Sign
The road sign was not on the initial rough sketch, but the idea blossomed as I was doing my coloring work. The drawing process remains the same: first objects, then details and light.
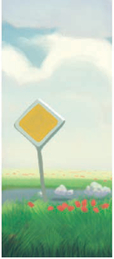

Step 7
A few finishing touches to highlight some contrasts, and my picture is complete … for the time being!