
Valerie Beeby
Background and Texture: City and the Sea
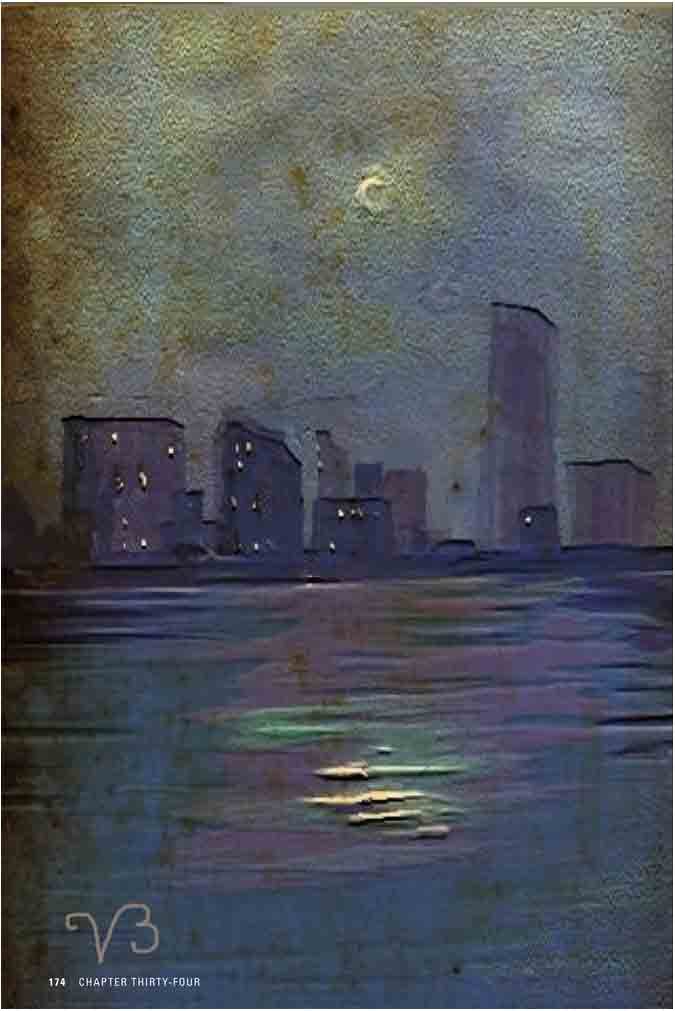
Nocturne
BY VALERIE BEEBY
Artist, Copywriter
London, United Kingdom
With an MA in English Language and Literature from Oxford and many years as a copywriter for British Airways and several large agencies in London and New York, this mobile artist has found a new love. Known on Flickr as ‘The Purple Owl’, she shows her experimental work in many groups featuring mobile digital art.
Valerie Beeby explores the use of texture to arrive at something organic and gritty. These two traits are not usually associated with iPhone and iPad art because the digital toolbox is perceived as technical, orderly and elegant. Now … maybe not.
Step 1
The background to this piece is an out-of-focus closeup photo of my jeans taken with my iPhone. With sky above and earth below it conjures up storm clouds in the driving rain.

Step 2
To create this painting, first I opened this background photo in the app ‘Layers’. I added a new transparent layer and painted the waterfront buildings.

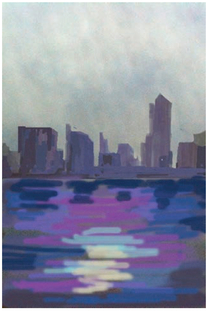
Step 3
Why work in ‘Layers’? This app allows you to blend colours. Perfect for painting water. Opening a third layer, I laid down the sea colours in rough strips at 50 per cent transparency.
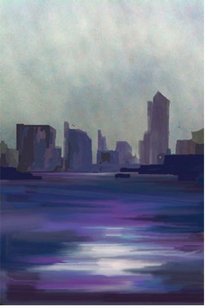
Step 4
Using the blend tool, I smoothed out those crude lines in the water in the previous image. It was wonderful to see how the shimmer of the water appeared at the stroke of a finger. Blending done, the painting could now be exported to the camera roll.

Step 5
From the gallery I opened the painting in ‘Brushes’. The previous layers had been merged by the move, so I painted the moon, waterfront lights and reflections on a new ‘Brushes’ layer.
Step 6
The image was darkened by adding a new, transparent layer filled with a smoky grey. I positioned this layer below the one with the lights. Then I erased patches of the darkened layer to give a glow around the moon and its reflection. Notice how the original texture from Step 1 retains its presence in this version, which was then saved to the camera roll.

Step 7
Finally, in the app “FX Photo Studio”, I opened the image from Step 6 and added texture using the Ancient Canvas setting, followed by the filter Bump Map 1 to get a slight embossed look.