
Opening and Saving PDFs in Preview
PDF files have become a standard document format that almost anyone who uses a computer has seen at some point. Most documents on the Internet are PDF files. Anyone on any computer can open PDFs, whether the computer runs OS X, Windows, or Linux, as long as a PDF reader application, such as Preview or Adobe Reader, is installed.
Preview can open many types of files (see Chapter 12 for a comprehensive list), but this chapter maintains a laser-like focus on PDFs. To open a PDF file in Preview, do the following:
1. From within Finder, choose Go→Applications and then double-click the Preview icon to open the application. You could also launch Preview from Launchpad.
2. The Open window will appear. You have the option of choosing to browse for files that are stored locally or in iCloud (if you have enabled your iCloud account): Click either the iCloud or On My Mac button in the upper left of the window. If the Open window doesn’t appear, choose File→Open or press ![]() +O to display the Open dialog.
+O to display the Open dialog.
3. Browse to the file you want to open, click its icon to highlight it, and then click Open, as shown in Figure 7.1.
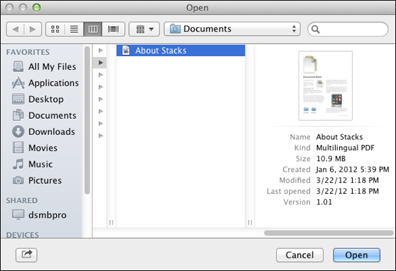
7.1 Choose the file you want to open in Preview.

If the Preview icon is in your Dock (either because it’s already open or because you keep an alias for it there), you can simply drag and drop a PDF file onto the Preview icon to open it.
If you make changes to an open PDF, Preview automatically saves them as versions of the document. This allows you to view the file as it has appeared throughout the time you worked with it. It also eliminates the need to repeatedly save your documents as you make changes.
Preview automatically saves versions of a document you are editing once an hour, but does so more often if you make frequent changes. Preview also saves versions of documents when you open, save, duplicate, lock, or rename them, or when you revert to previous versions. Preview trims the number of saved versions to make them easier to browse and also deletes all saved versions when you delete a document.
Although this process is automatic, you can also save versions of PDFs on your own. If you make changes to a PDF in Preview and want to save those changes, press ![]() +S. You can also choose File→Duplicate.
+S. You can also choose File→Duplicate.
If you make changes to a file but you want to save the changed version under a different name and/or in a different location, follow these steps:
1. Choose File→Duplicate from the menu to create an exact copy of your original document.
2. Press ![]() +S or click the red Close button in the upper-left corner of the document window to open the Save As dialog, shown in Figure 7.2. The Save As dialog will look a little different, depending on which method you choose to open it, but the next step is the same.
+S or click the red Close button in the upper-left corner of the document window to open the Save As dialog, shown in Figure 7.2. The Save As dialog will look a little different, depending on which method you choose to open it, but the next step is the same.
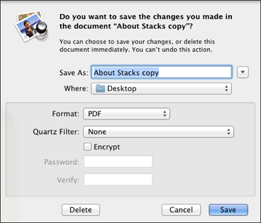
7.2 You can duplicate files and save them under a new name, or in a new location.
3. Type a new name for the file, choose a location in which to save it, and then click Save.
If you can’t find the location in which you want to save your file in the Where pop-up menu, click the square containing the black arrow. This expands the Save As window, allowing you to browse your entire hard drive.
Preview has a really cool way of browsing through the versions of a document. It is very reminiscent of the way Time Machine lets you browse through backed-up files (see Chapter 14 for more info).
To browse through the many different versions of a document and possibly revert to one of them:
1. Open the document of which you want to browse versions.
2. Choose File→Revert to→Browse All Versions from the menu and your screen is transformed into something resembling the latest sci-fi blockbuster, as shown in Figure 7.3.
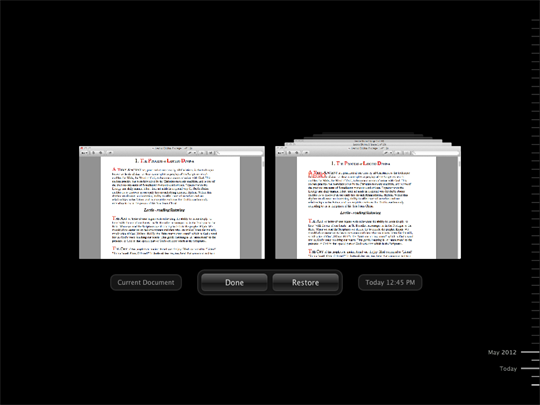
7.3 Soar through space and time to find the version of the document you need.
3. Click the gray tick marks on the right side of the window or drag the slider to find the version you want to see.
4. Perform one of the following tasks:
• To restore the document to a previous state, select the version and click Restore.
• To create a new document from a version of a previous one, select the version, hold down the Option key, and then click Restore a Copy.
• To return to your document without reverting to any previous versions, click Done.
If you’ve ever double-clicked a file to open it, only to have it open in an application you didn’t expect, you’ll love this little nugget. To make a certain file type open only in an application you designate, do the following:
1. Click the file once to highlight it and then press ![]() +I to open its Info window, as shown in Figure 7.4. You can also Control+click (or right-click) the file and select Get Info from the pop-up menu to open the Info window.
+I to open its Info window, as shown in Figure 7.4. You can also Control+click (or right-click) the file and select Get Info from the pop-up menu to open the Info window.

7.4 Get Info on any file by highlighting it and pressing ![]() +I.
+I.
2. If the gray triangle to the left of the Open with section is pointing to the right, click it to expand that section.
3. Click the pop-up menu to choose the application you want to set as the default for opening this file.
4. To make the selected application the system-wide default for opening all files of this type, click Change All.
5. Close the Info window by clicking the red button in the upper-left corner.