316 Tivoli Business Systems Manager Version 2.1: End-to-End Business Impact Management
<Menu> Specifies an existing menu where our submenu should be
placed. The NetView Web console already features a
tools menu like the native GUI. Thus, we specify
name="tools" as the menu entry where our new menu will
reside.
<Separator/> Causes a separator line being inserted into the menu. You
can use it anywhere inside a menu definition.
<Menu> The second menu keyword specifies the name of the
menu being placed under tools. We gave it the name
“TBSM” for IBM Tivoli Business Systems Manager.
<Mnemonic> Again, this specifies a shortcut to the menu name.
<Name> As mentioned, our new menu should appear as TBSM in
the tools submenu.
<MenuItem> The MenuItem keyword specifies the entry in the menu
tree that triggers the action. We gave it the name
"TBSM_BulkUpload". You can specify additional IBM
Tivoli Business Systems Manager–related extensions as
new menu items under the IBM Tivoli Business Systems
Manager submenu.
<ActionRef> This entry is the most important keyword in our menu
definition as it defines the connection to the action
definition. Remember, we named our action ‘launchbu’
and it was stored in the MyActions.xml file. This
information forms the Actionref attribute
xlink:href='MyActions.xml#xpointer(id("launchbu"))'.
To activate the new menu, launch Web Console Security. As we write this book,
there is no other way to activate Web console extensions.
Launch the security console using one of these methods:
? Using the NetView GUI. Select:
Administer -> Security Administration -> Web Console Security
? Using nvsetup. Select:
Configure -> Configure Web Server -> Configure Web Console Security
? Directly issue /usr/OV/bin/launch_securityconsole
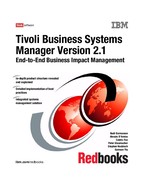
In the console, select Roles, then the role where you want to activate the new
entry. You should be able to see your new created menu in the list of menus, as in
Figure 9-21 on page 317. Be sure you mark the new entry as active for the
wanted role.
Chapter 9. IBM Tivoli NetView integration 317
Figure 9-21 The Roles dialog with the new menu entry
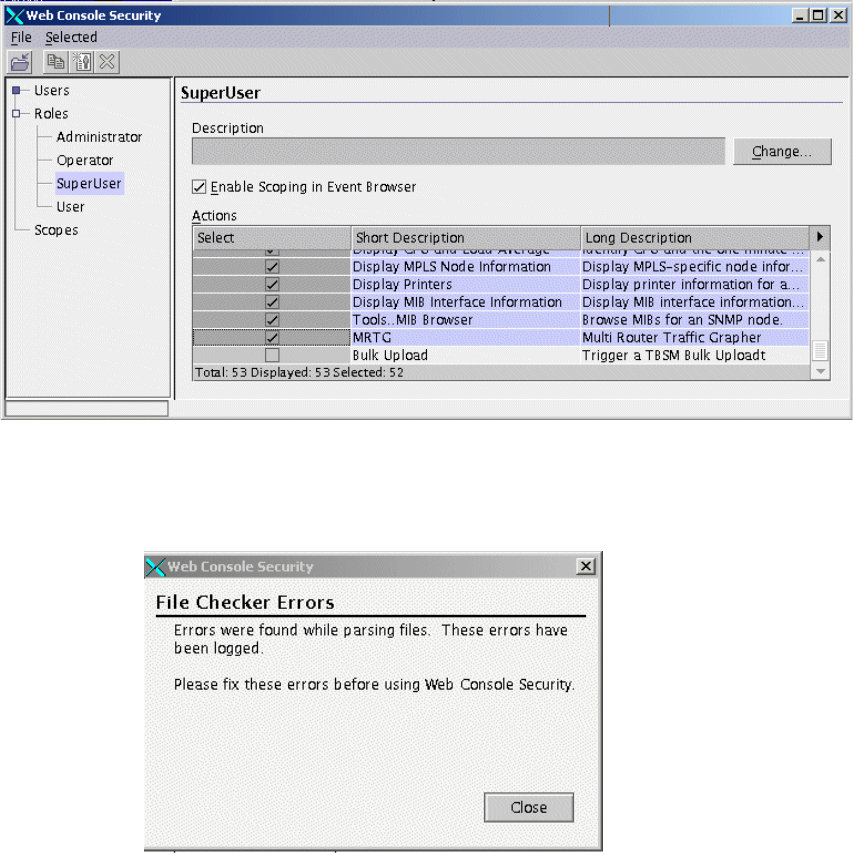
In case either the action or the menu file is malformed, an error dialog as shown
in Figure 9-22 will appear. Review your definitions and correct any errors.
Figure 9-22 Parsing error
You can find additional information in /usr/OV/securityconsole.log. Near the end
of the log file, you will find entries such as the one shown in Example 9-20 on
page 318, which further specifies the type and location of the error.
318 Tivoli Business Systems Manager Version 2.1: End-to-End Business Impact Management
Example 9-20 Parsing errors in securityconsole.log
2002-11-26 13:53:38,762 [Thread-4] ERROR
com.tivoli.netview.securityconsole.server.JDOMHelper -
failed to parse byte stream -- org.jdom.JDOMException:
Error on line 26: The element type "ArgList" must be terminated by the matching
end-tag "</ArgList>".
2002-11-26 13:53:40,283 [AWT-EventQueue-0] ERROR
com.tivoli.netview.securityconsole.server.User -
1.Failed to parse file "/usr/OV/www/webapps/netview/warf/MyActions.xml" --
Error on line 26: The element type "ArgList" must be terminated by the matching
end-tag "</ArgList>".
If the security console is displayed and the menu is activated for all necessary
roles, click File -> Save even if you did not change any entries. Saving will initiate
a Web server restart and a reread of all console defintions.
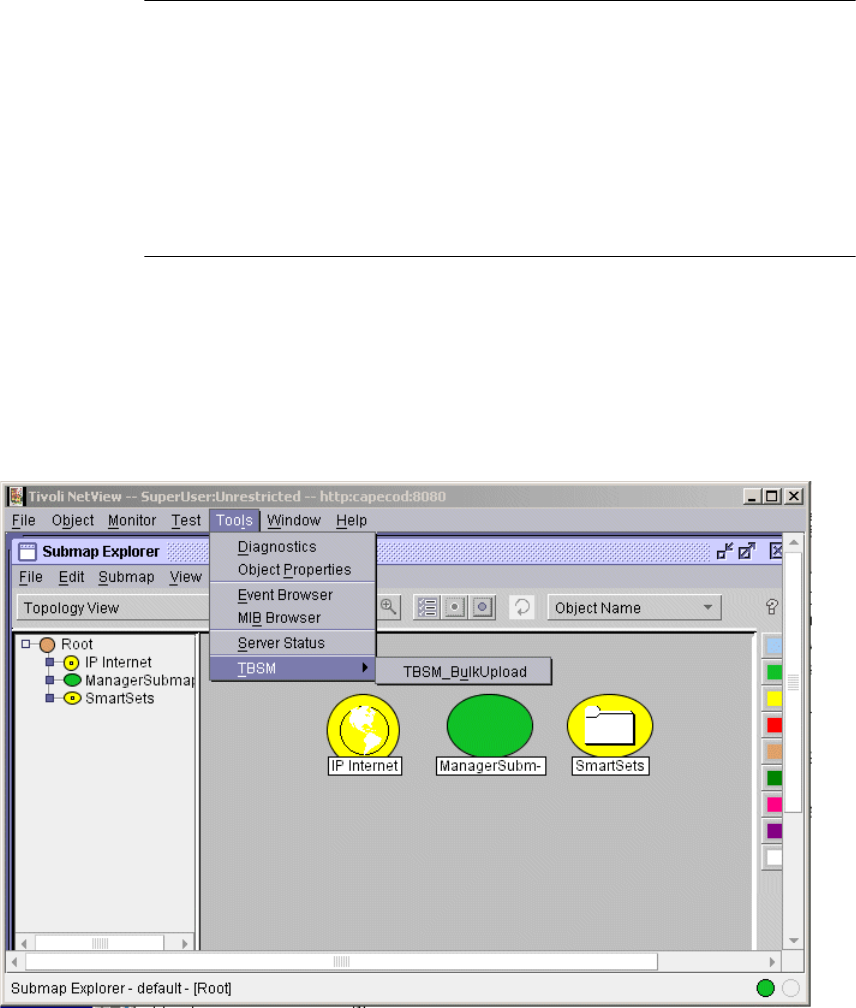
To test the function of the new entry, open the NetView Web console using your
favorite method. Figure 9-23 shows the new submenu in the Tools menu, the
TBSM BulkUpload entry that we defined previously in this section.
Figure 9-23 NetView Web console and the new menu
Chapter 9. IBM Tivoli NetView integration 319
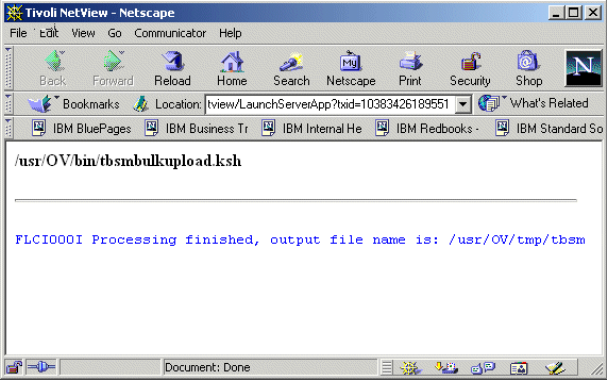
Now you can trigger a bulk upload from the Web console. When you do, a
browser window opens showing the result of the operation, as in Figure 9-24.
Figure 9-24 The resulting output
9.7.2 Extending the TBSM Java console
In 9.7.1, “Extending the NetView Web console” on page 312, we extended the
NetView Web console. The other main tool you use when working with IBM Tivoli
Business Systems Manager is the IBM Tivoli Business Systems Manager Java
console. In working with the NetView interface, the IBM Tivoli Business Systems
Manager Java console gives three menu entries under the Launch Submenu, as
shown in Figure 9-25 on page 320, that you can use against a physical resource
such as a workstation or a router. The entries provide various components of the
NetView Web console:
NetView Console Launches the NetView Web console and displays
the submap where the physical resource resides.
NetView Diagnostics Launches the NetView Web console and displays a
diagnostics screen for the physical resource. In
addition an initial ICMP echo request (ping) is
issued against that resource.
NetView Object Properties Launches the NetView Web console and displays
the object attributes of the resource as they are
defined in the NetView object database.

320 Tivoli Business Systems Manager Version 2.1: End-to-End Business Impact Management
Figure 9-25 The Launch submenu
Each display can be helpful in various situations, but sometimes you would rather
display all the information at once when you launch the NetView Web console.
We now show how this can be done.
How menu data is defined and executed
The menus that appear on the Java console are stored in IBM Tivoli Business
Systems Manager’s object database. For more information about the database
structure, see Chapter 3, “Database structure” on page 77.
In general, all NetView-related launch menu actions are formed and executed
identically. Upon starting the IBM Tivoli Business Systems Manager Java
console, the menu tree and method information are transferred to the local
workstation along with data, regardless of whether a launch menu entry is
available for a given resource.
As soon as you select an entry from the Launch submenu, the launch process is
executed as shown in Figure 9-26 on page 321.
..................Content has been hidden....................
You can't read the all page of ebook, please click here login for view all page.