
32 IBM Enterprise Workload Manager
The wizard suggests that if you do not need the installation wizard any longer, you might
remove the Install directory to save space.
You are now ready to configure the domain manager and associated WebSphere Application
Server instance.
2.4 EWLM configuration in our ITSO environment
After you finish installing the domain manager and managed servers you need to perform
additional configuration tasks. These include configuring the domain manager, the managed
servers and firewall brokers, starting WebSphere Application Server, and starting the EWLM
elements.
In this section, we first go through the configuration steps for our domain manager running on
Linux. After we can log on successfully to the EWLM Control Center, we transfer the EWLM
code to our managed servers running on AIX and Windows and configure each of these. This
is also the order you should follow when setting up your Enterprise Workload Manager
environment.
In Section 2.5, “Installing the domain manager on other operating systems” we guide you
through the differences if your domain manager is running on AIX, Windows or i5/OS. In
Section 2.6, “Configuring managed servers on other operating systems” we provide
information on managed server issues on other operating systems including i5/OS and
Solaris.
We need to complete the following steps to configure EWLM in our environment:
? Configure the domain manager.
? Create users for administrating EWLM.
? Start the WebSphere Application Server instance on the domain manager.
? Configure the managed server.
? Enable ARM services on the operating system.
2.4.1 Configuring domain manager on Linux
Our domain manager runs on Red Hat Enterprise Linux AS 2.1. As part of the installation
process of the Virtualization Engine install, directory /opt/IBM/VE is created. Its size is
approximately 1.3 GB. The EWLM installation creates a subdirectory EWLM; Example 2-1
shows the structure of the subdirectory /opt/IBM/VE/EWLM/bin where EWLM configuration
scripts and associated log files are located. These log files are named after their creation
scripts and provide useful information for debugging events. We go through a detailed
explanation of many of these scripts when we explain the configuration steps for our domain
manager and managed servers.
Example 2-1 Output of EWLM configuration commands on domain manager
# cd /opt/IBM/VE/EWLM/bin
# ls
addusers.jacl config.jar displayDM.sh startDM.sh
admin.jacl configWizardDM.sh displayusers.jacl startWAS.log
application.jacl createDM.log displayWASPorts.jacl startWAS.sh
build.xml createDM.sh removeusers.jacl stopWAS.sh
changeCCapp.sh db2j.log security.jacl trace.jacl
changeCC.log dbconfig.jacl setupapps.sql variable.jacl
changeCC.sh definition.sql setupproperties.sql variables.sh

Chapter 2. Installing and configuring EWLM 33
changeDM.sh deleteDM.sh sslSecurityUpdate.jacl
changeWASPorts.jacl displayCC.sh startDM.log
All of these configuration scripts require the EWLM working directory as a parameter. The
working directory contains information related to EWLM components. For domain manager, it
also contains information associated with the EWLM Control Center and the WebSphere
Application Server instance. If you run more than one instance of a domain manager on your
system you must specify a different working directory for each instance.
If you want to run the WebSphere Application Server instance associated with the domain
manager and the domain manager itself as root user you can skip the next step. If you want
to assign an administration user some of these tasks you need to follow the steps we outline
in the next paragraphs. In this way you can use a non-root user to login to the WebSphere
Application Server administration console. However, you still need to start the WebSphere
Application Server instance and the domain manager as root user. This is due to WebSphere
Application Server requirements. They specify that if you have global security enabled and if
you are using local OS registry, the WebSphere Application Server instance must be started
as root user.
In our ITSO environment we created a user ibmewlm as WAS administration user.
Example 2-2 shows the command sequence we used at our domain manager to create user
ibmewlm belonging to the administration group.
Example 2-2 Creation of administrative user on Red Hat Linux
Create user ibmewlm
# adduser ibmewlm
Assign password to user ibmewlm
# passwd
Changing password for user ibmewlm.
New password:
Retype new password:
passwd: all authentication tokens updated successfully.
Assign user ibmewlm to administration group
# usermod -g root -G root ibmewlm
Check if ibmewlm is associated with administration group
# su - ibmewlm
# id
uid=500(ibmewlm) gid=0(root) groups=0(root)
After successful creation of user ibmewlm we can start configuring our domain manager in the
EWLM environment. We configure the domain manager in our test scenario with the
minimum steps needed, and taking default values only. We assume that no SSL security is
desired and that we have no firewalls implemented in our ITSO environment at this point. (We
present a detailed discussion of security and firewall settings in Chapter 6, “Using a firewall
and securing EWLM” on page 155.)
The first step in setting up the domain manager is to issue the createDM command. The
syntax of this command looks as follows:
createDM <workingDir> -adminUser <userid> -adminPW <password> -wasPorts <port> -jp <port>
-ma <ipaddress> -mp <port> -dn <domainname> -auth [None | ServerSSL | ClientSSL] -sslks
<path> -sslpw <password>
34 IBM Enterprise Workload Manager
In this section we provide information on the most relevant script parameters. For a detailed
explanation of each parameter of the script refer to the IBM eServer information center at:
http://publib.boulder.ibm.com/eserver/
At this point you have the choice between creating the domain manager using a configuration
wizard or the command line. In this section we provide detailed information on both methods,
starting with command line.
Configuring domain manager using command line
We created the domain manager in our ITSO environment using the commands shown in
Example 2-3 on page 34. The command takes a few minutes to complete. You can follow the
process completion on your screen; it will look like the output shown in the second part of the
example.
The createDM command is used to create an instance of the domain manager. Multiple
instances of domain manager, each managing a different EWLM domain, may be
consolidated on a single server. The working directory should not exist before creating the
domain manager. It will be created when running the createDM command. It contains all
information related to EWLM components as well as information associated with the EWLM
Control Center. The working directory must be provided as an absolute path. If you still run
into problems using the createDM command, we suggest you use a subdirectory name rather
than a directory name as your working directory. This is not stated as such in the command
documentation but was helpful in our environment.
Associated with each instance of the domain manager there is a WebSphere Application
Server instance. This instance uses executables of the VE-installed WebSphere but provides
its own directory for configuration files within the EWLM working directory. The -adminUser
parameter specifies the user ibmewlm we created first on our operating system. Alternatively
you can specify the root user. This userid is used as the WebSphere Administrator and
hence must conform with the requirements WebSphere Application Server sets for a
WebSphere Administrator. With the changeCC command you can change the administrator
associated with the WebSphere Application Server instance for an EWLM domain manager
or Single System EWLM.
There are three port numbers you specify when creating your domain manager. Verify that
the ports are not being used beforehand. The -wasPort parameter assigns WebSphere
Application Server ports on the domain manager. The number you specify is the start of a
range of 15 contiguous ports used by the WebSphere Application Server instance. The -jp
port parameter indicates the port used for any communication between the EWLM Control
Center and the domain manager. The -mp parameter indicates the communication port
between the domain manager and the managed servers. In addition, you need to specify the
IP address or hostname of your domain manager and assign a name for the EWLM domain.
This can be any name of your choice and is not to be confused with the domain resolution of
your domain manager. In this setup we use a basic configuration for security encryption,
which means using -auth parameter with value None.
Example 2-3 Creating the domain manager in our ITSO environment
# cd /opt/IBM/VE/EWLM/bin
# ./createDM.sh /opt/EWLMDM -adminUser ibmewlm -adminPW 111111 -wasPorts 20000 -jp 9092 -ma
9.12.4.142 -mp 3333 -dn itsoewlm -auth None
Processing createDM request. Please be patient as this may take a while...
Configuring EWLM Control Center
...processing 20% complete
...processing 30% complete
...processing 40% complete
Chapter 2. Installing and configuring EWLM 35
...processing 50% complete
...processing 70% complete
...processing 80% complete
...Configuration of EWLM Control Center complete
...Ports assigned to EWLM Control Center:
- HTTP 20003
- HTTPS 20004
...Use -changeCC -controlCenterPorts to change these ports if desired.
...Ports assigned to WebSphere Admin Console
- HTTP 20001
- HTTPS 20000
...Use -changeCC -adminConsolePorts to change these ports if desired.
...Port assigned to WebSphere Admin: 20009
...Use -changeCC -adminPort to change this port if desired.
...Configuring EWLM Domain Manager
...processing 90% complete
PROCESSING COMPLETE
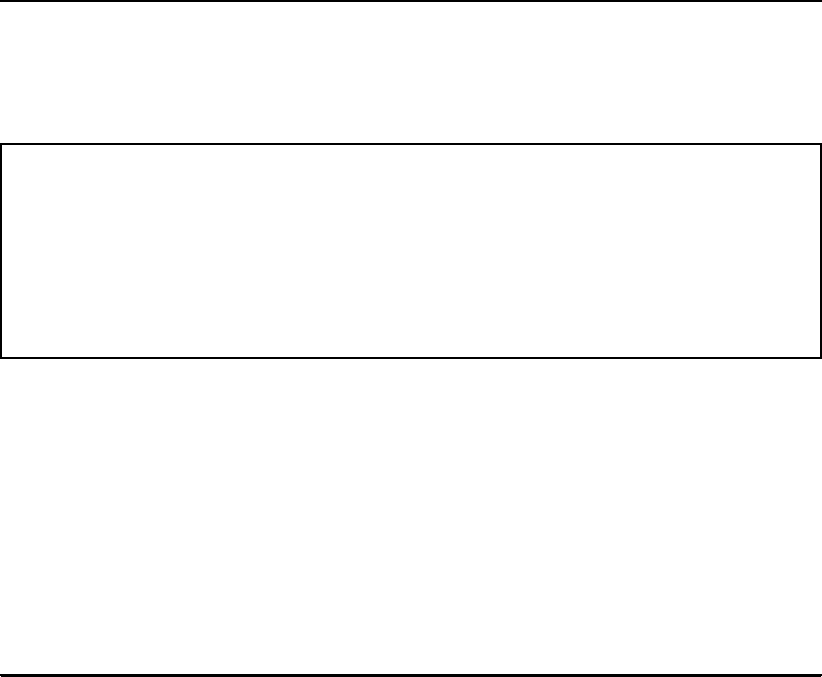
As a result of the createDM command, the domain manager working directory is created. The
domain manager stores some information in the local file system of the server that it runs on,
as shown in Figure 2-12.
Figure 2-12 Domain manager local file system
Even though we have created the domain manager successfully, at this stage the EWLM
Control Center is not working yet. We need to first add users to the operating system and the
EWLM Control Center, then start the WebSphere Application Server, and then we can start
the domain manager. First we want to view the properties of the domain manager; this can be
done by issuing the displayDM command as shown in Example 2-4 on page 35. Your output
should look similar to the one we accumulated on our domain manager running on Red Hat
Enterprise Linux. If there is anything set up incorrectly on your domain manager you can run
the changeDM or even the deleteDM command and reconfigure your domain manager at this
stage.
Example 2-4 Output of the displayDM command to view domain manager properties
# cd /opt/IBM/VE/EWLM/bin
# ./displayDM.sh /opt/EWLMDM
Processing displayDM request. Please be patient as this may take a while...
WLMConfig - configurable property settings:
ViaProxyPort/vp(null)
TracePlugin/tlog(Off)
InterBrokerPort/dp(null)
InterBrokerAddress/da(null)
JmxPort/jp(9092)
FirewallBrokerList/fb(null)
ReportingTrace/rt(250)
EWLM Working Directory (created at Configuration time)
- EWLMData
• PolicyDB ---> contains the deployed domain policies
• PropertiesDB ---> contains the customization settings
• ReportingDB ---> contains temporary performance statistics
• ServerDB ---> contains the management domain configuration
- Diagnostics ---> contains logs, dumps and traces
- Interfaces ---> contains control information for programming interfaces

36 IBM Enterprise Workload Manager
ViaProxyHost/va(null)
DomainName/dn(itsoewlm)
JniTrace/jt(250)
SSLKeystore/sslks(null)
ComponentTrace/ct(250)
DomainManagerPort/mp(3333)
MessageLog/ml(250)
CommunicationTrace/nt(250)
TraceDistHubBroker/tcomm(0)
SocksPort/sp(null)
FirewallBrokerPort/fp(null)
FailureLimit/fl(50)
SSLKeystorePassword/sslpw(password suppressed)
DomainManagerAddress/ma(9.12.4.142)
AuthorityLevel/auth(None)
ProcessMode/mode(DomainManager)
LBPublicPort/lbp(Off)
LBSecurePort/lbs(Off)
EventTrace/et(250)
TraceLevel/tl(Min)
TestComponent/t(null)
DumpRetentionQuantity/dpn(25)
DumpRetentionAge/dpa(30)
SocksHost/sa(null)
WLMConfig - non-configurable property settings:
ManagedServerFailureTime(null)
ManagedServerIdentity(b05b63dad0404b3a5f460829852701c6)
ManagedServerId(-1)
StatisticsInterval(10)
DomainManagerIdentity(null)
PROCESSING COMPLETE
Creating users for administrating EWLM
The next step is to map users or groups to corresponding EWLM application roles. These are
needed to sign in to the EWLM Control Center with different identification and correspond to
the three valid roles
Administrator, Operator and Monitor. In our environment we created a
user called ewlmadm as the Control Center administrator, ewlmops for operator tasks, and
ewlmmon as the Control Center monitor. But before doing this we needed to create those three
users in our operating system and assign them passwords. On our Linux domain manager we
issued the adduser and passwd commands as before when creating the ibmewlm user.
To map these users to specific EWLM Control Center roles we ran the changeCC command as
shown in Example 2-5. The working directory /opt/EWLMDM already exists; it was created
with the createDM command. After a successful creation and mapping of these users we
received the PROCESSING COMPLETE message.
Example 2-5 Creation and mapping of users for EWLM Control Center
# cd /opt/IBM/VE/EWLM/bin
# ./changeCC.sh -addUser /opt/EWLMDM -adminUser ibmewlm -adminPW 111111 -roleUser ewlmadm
-role Administrator
# ./changeCC.sh -addUser /opt/EWLMDM -adminUser ibmewlm -adminPW 111111 -roleUser ewlmops
-role Operator
# ./changeCC.sh -addUser /opt/EWLMDM -adminUser ibmewlm -adminPW 111111 -roleUser ewlmmon
-role Monitor
..................Content has been hidden....................
You can't read the all page of ebook, please click here login for view all page.