
The WordPress menu feature allows us to create a custom navigation menu for our site. By default, WordPress creates navigation links for each new page, but we are able to create a custom menu that also includes post categories and links to other websites.
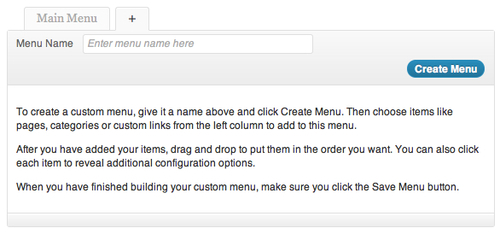
To create a menu, form the WordPress dashboard, hover over the Appearance tab in the left sidebar and choose the Menus tab. Enter a name for the menu and click on the blue Create Menu button.
Select the pages to add to the menu within the Pages box on the left side of the screen and click on the Add to Menu button. Because this menu will most likely be replacing the site's default navigation it is a good idea to select all of the pages.
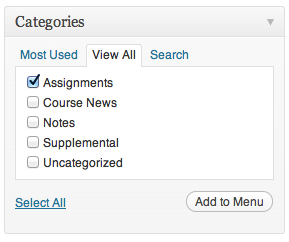
To add a post category to the navigation menu, click on the appropriate checkbox within the Categories box and click on the Add to Menu button. In the case of our course site, adding the Assignment category will give our students quick access to all assignment posts on the site.
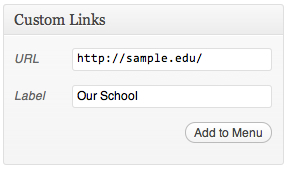
To add outside links, such as a department or school website, enter the site's URL and title within the Custom Links box and click on the Add to Menu button.
Once the menu is complete, choose the menu name within the Theme Locations drop-down box and click on the Save button.

We may rearrange the menu items within the main area of the screen by dragging the navigation elements into the desired order. Once the menu is complete, click on the blue Save Menu button.
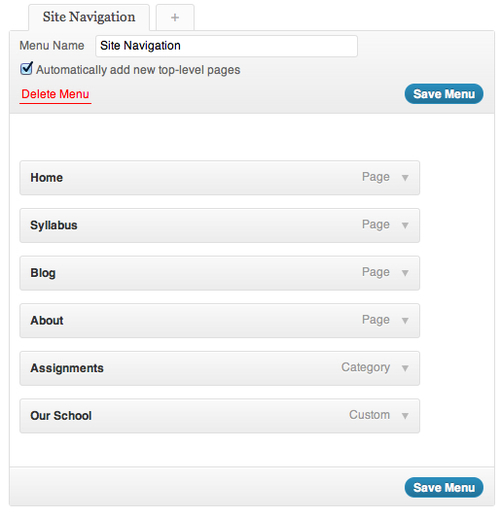
Our custom menu as it appears on our site will look like the following screenshot: