
Installing BizTalk Server 2002
Now that you have all the supporting software installed, in the correct order and configured correctly, it's time to put in the BizTalk Server 2002 CD and launch the setup program. A screen-by-screen instruction set for installing BizTalk Server follows. Assuming that all the preceding instructions have been adhered to, the installation will go smoothly. If any of the required prerequisite components are not installed, the installation will fail.
After you have either inserted the CD or double-clicked the BizTalk Server installation MSI file, the Setup Wizard begins (see Figure 20.6).
Figure 20.6. BizTalk Server 2002 Setup Wizard.

The next screen, as shown in Figure 20.7, is the always-present license agreement. You must accept this agreement for installation to continue.
Figure 20.7. License agreement.

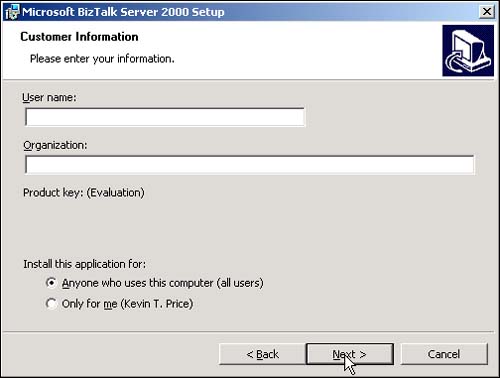
The following screen requires that you enter some user information. Make sure to select the Anyone Who Uses This Computer option (see Figure 20.8).
Figure 20.8. Customer information.
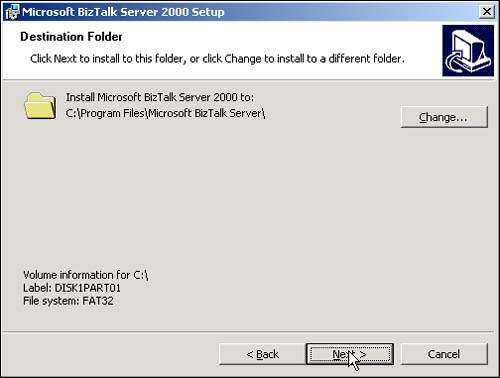
The next dialog, as shown in Figure 20.9, allows you to change the installation directory for BizTalk. Installing BizTalk to a partition other than your C: drive is fine, as long as you have administrative rights to that partition.
Figure 20.9. Destination Folder dialog.
After you select the installation directory, you are prompted to select the installation type. To remain efficient for development purposes, select the Complete option, as shown in Figure 20.10, to have the install program copy everything possible from the CD to the hard drive.
Figure 20.10. Setup Type dialog.

As with many Microsoft servers, BizTalk Server has the option to install just the administrative tools as well. The tools installation enables you to perform a complete installation of the BizTalk Server 2002 tools, including BizTalk Orchestration Designer, BizTalk Document Tracking, BizTalk Editor, and BizTalk Mapper. The BizTalk Server 2002 parser, serializer, correlation, and runtime binaries are not installed. The tools will run on the following operating systems:
Microsoft Windows 2000 Server
Microsoft Windows 2000 Advanced Server
Microsoft Windows 2000 Professional with the NTFS file system and Service Pack 1
The next screen prompts you to create a group that can administer BizTalk Server. You can change this to an existing local/domain group, or accept the default as shown in Figure 20.11.
Figure 20.11. Configure BizTalk Server Administrative Access dialog.

Following the administrative group selection is the service account selection. Based on the previous instructions, set this to use that account (see Figure 20.12).
Figure 20.12. Service Logon Properties dialog.

The next screen, as shown in Figure 20.13, displays your selected install information and a warning about having Visio installed. If you have Visio installed, you can ignore this warning. If you do not have Visio installed, now would be a good time to cancel installation and install Visio 2000 (SR-1A). This is your last chance to cancel installing BizTalk Server before files actually start getting written to the hard drive.
Figure 20.13. Ready to Install dialog.

A series of progress bars appears as BizTalk Server 2002 is installed, as shown in Figure 20.14.
Figure 20.14. Installation status dialog.

After BizTalk Server is installed, it launches the database setup wizards. The first of these is the Messaging Database Setup Wizard (see Figure 20.15).
Figure 20.15. Messaging Database Setup Wizard dialog.

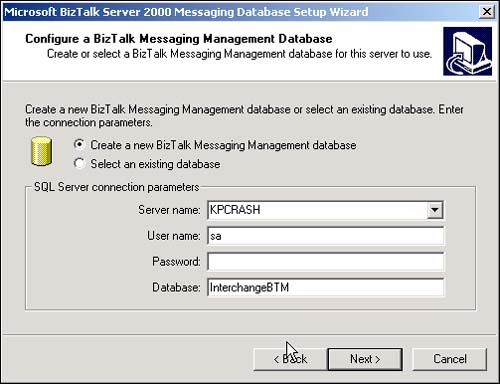
In the configuration dialog for the Messaging database, as shown in Figure 20.16, make sure that the SQL Server login parameters are correct and click Next.
Figure 20.16. Configure a BizTalk Messaging Management Database dialog.
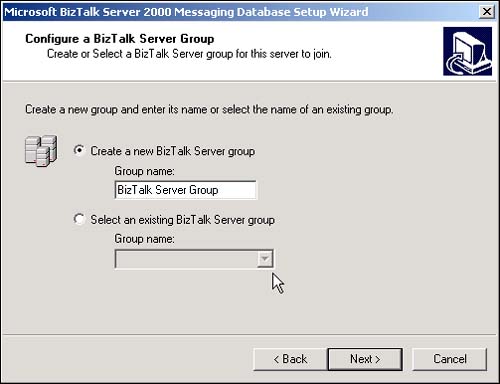
The next screen prompts you to either create a new BizTalk Server group to store the BizTalk Server database servers or add it to an existing group. Because this example is based on an initial install, accept the default, as shown in Figure 20.17.
Figure 20.17. Configuring a BizTalk Server Group dialog.
Should you want to add BizTalk Server to an existing group, keep in mind that you must have administrative rights on the central BizTalk Server. Also, you need to have an account to use to set up the now Shared Queue database. Assuming you have these accounts, use the Select an Existing BizTalk Server Group dialog and select a name from the Group Name list.
The next database to be created is the Tracking database (see Figure 20.18). As stated before, make sure that the SQL Server login parameters are correct and then click Next.
Figure 20.18. Configure a Tracking Database dialog.

The final part of the messaging database is the Shared Queue database (see Figure 20.19). Again, in this dialog, simply make sure that the SQL Server login credentials are correct and then click Next.
Figure 20.19. Configure a Shared Queue Database dialog.

After the Shared Queue configuration is complete, you see a dialog (as shown in Figure 20.20) confirming all the information collected and created in generating the BizTalk Server Group.
Figure 20.20. Messaging Database Setup Wizard dialog.

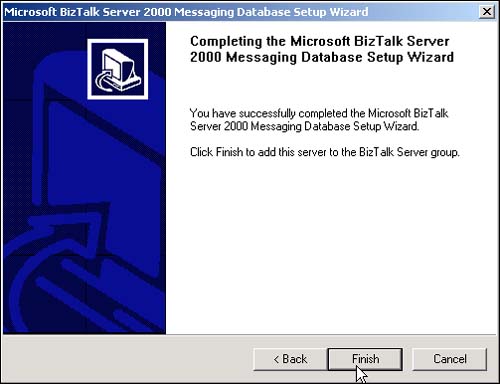
When complete, you see a dialog letting you know that the installation and configuration of the messaging database is complete, as shown in Figure 20.21.
Figure 20.21. Messaging Database Setup Wizard Complete dialog.
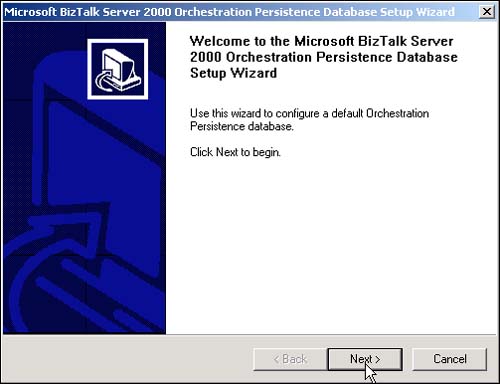
Next, the Orchestration Persistence Database Wizard launches (see Figure 20.22). This is similar to the Messaging Database Setup Wizard.
Figure 20.22. Orchestration Persistence Database Setup Wizard dialog.
On the following screen, as shown in Figure 20.23, you are given the option of selecting a different server to install the Orchestration Persistence database. This is recommended on systems that will require high-performance. For this example, though, keep everything on one machine.
Figure 20.23. Orchestration Persistence Database Configuration dialog.

Finally, after the Orchestration Persistence database creation is complete, you get a confirmation dialog notifying you that the BizTalk Server installation is complete (see Figure 20.24).
Figure 20.24. BizTalk Server Installation Wizard Complete dialog.
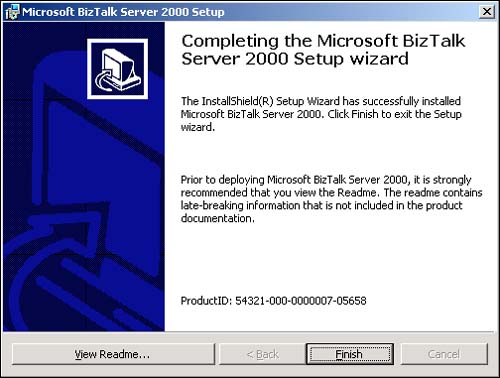
Click Finish to complete the installation. Microsoft BizTalk Server 2002 is now installed on your server.
Installing BizTalk Server Client Tools
The BizTalk Server Client Tools can be installed on a workstation or other server to allow for remote management of different BizTalk Servers. The main difference between installing the server and installing the tools is that during the install, you select Tools Only on the installation type selection screen.
Note
To dramatically increase the performance of BizTalk Orchestration Services, in Windows Explorer, browse to Program FilesCommon FilesSystemado and then double-click adofre15.reg, or right-click the file and select Merge. In the confirmation dialog box, click Yes; then click OK. This procedure changes the ADO threading model from Apartment Threaded to Both and may affect other applications that use ADO.