Creating a Data Flow in ER/Studio
Now let’s put the pieces together by creating a data flow. The Data Flow organizes and encapsulates one data transformation and the source tables and columns used in the transformation to produce the target data. To create a data flow, click on the Data Lineage tab on the bottom of the Explorer pane (as shown in Figure 12.11).
Figure 12.11 Data Lineage tab from Explorer pane

If there are not yet any data lineages defined, the pop up in Figure 12.12 will appear.
Figure 12.12 Data Lineage pop up

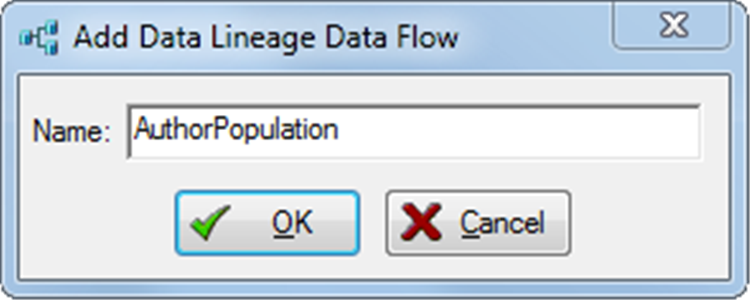
You are then prompted to enter the name of the new data lineage. See Figure 12.13. I entered AuthorPopulation. Click <OK>.
Figure 12.13 Enter data lineage flow name
You will notice the new data flow now appears in the Data Flows folder.
To add a data lineage after one is already added, click on the Data Lineage tab, and then choose the following command:
|
Menu |
Toolbar |
Explorer |
Shortcut Key |
Shortcut Menu |
|
n/a |
n/a |
Right-click the Data Flows node and then select Create Data Flow |
n/a |
n/a |
So now that we created a data flow, we can create a complete mapping in ER/Studio including transformations. Click on the AuthorPopulation data flow and the data flow view appears in the Data Model Window.
Let’s start by clicking and dragging the Person entity from the Other Sources folder on the Lineage tab to the Data Model Window.
ER/Studio contains our target entities in the Local Models subfolder on the Lineage tab. Find Author, and click and drag Author to the Data Model Window, which is our target entity.
Then create a transformation object:
|
Menu |
Toolbar |
Explorer |
Shortcut Key |
Shortcut Menu |
|
Insert > Transformation |
Modeling toolbar: |
Right-click on data flow, Create Transformation |
<ALT + I>, then <T> |
Click on white space, Insert Transformation |

Click anywhere in the Data Model Window to create the transformation object.
Now let’s “connect the dots”. That is, create a line (called a “data stream”), from the source entity to the transformation, and then from the transformation to the target entity. To create a data stream, choose one of these commands:
|
Menu |
Toolbar |
Explorer |
Shortcut Key |
Shortcut Menu |
|
Insert > Data Stream |
Modeling toolbar: |
n/a |
<ALT + I>, then <D> |
Click on white space, Insert Data Stream |
Click on the source entity, Person, and then click on the transformation entity. This creates a data stream into the transformation. Next click on the transformation entity and then click on Author. This creates a second data stream from the transformation to the target entity.
Next, double click on the transformation object to bring up the Transformation Editor. See Figure 12.14.
Figure 12.14 Transformation Editor

Enter a name for the transformation (I chose PersonToAuthorCreate), and select a type of transformation from the Type: drop down list. The type is the high level function of the transformation, such as a direct map or lookup. If you are unsure of the type, you can leave it unspecified.
There are four tabs on this screen:
|
Tab |
Here’s what you need to know: |
|
Columns |
Define the input and output columns. Click the rectangle with the three dots for both input and output to add the columns. |
|
Definition |
Describe the transformation. There is also a text file to capture the actual transformation code. |
|
Data Movement Rules |
Choose one of the data movement rules that were previously defined. You can use the arrow key to move the rule to the right pane, and then customize the rule, if needed, by entering actual values. (Double click in the values cell and a window will appear where you can enter the values.) |
|
Attachments |
Bind an external piece of information, such as an MS Word document or PDF file, to the transformation. Very useful for requirements documents, user stories, etc. |
Click <OK> to exit the editor, and now you have completed your first data flow!