
Comparing Models and Submodels in ER/Studio
Using the Compare and Merge Utility, you can compare two models, two submodels, or a model with a submodel and merge any differences found, if required. You can also report on the differences, and if you want, synchronize your source model with another model or update the source or target models selectively.
Open the first model (or submodel) to be synchronized. We can call this model the “source”, although “source” and “target” names are arbitrary, and enter one of these commands:
|
Menu |
Toolbar |
Explorer |
Shortcut Key |
Shortcut Menu |
|
Model > Compare and Merge Utility… |
Application toolbar: |
Right-click on source model (or submodel), Compare and Merge Utility… |
<ALT + M>, then <M> |
Right-click on white space, Compare and Merge Utility… |

The first page of a five page wizard appears, as shown in Figure 16.1.
Figure 16.1 Compare and Merge Utility Page 1 of 5

On this screen, you can select what you would like to compare your data model to, as well as load Quick Launch settings from a prior compare and merge operation. I decided to compare my model to another ER/Studio model, so I selected the second option and clicked on the yellow folder to bring up the browse window, to select the target model. Click <Next> to move on to the second page, as shown in Figure 16.2.
On this screen, we can pick the subset of the target file to compare with. There is one logical data model and two physical data models, and I chose the one logical data model. I could have also refined the comparison to a submodel in the target model.
Figure 16.2 Compare and Merge Utility Page 2 of 5

Click <Next> to move on to the third page, as shown in Figure 16.3.
Figure 16.3 Compare and Merge Utility Page 3 of 5
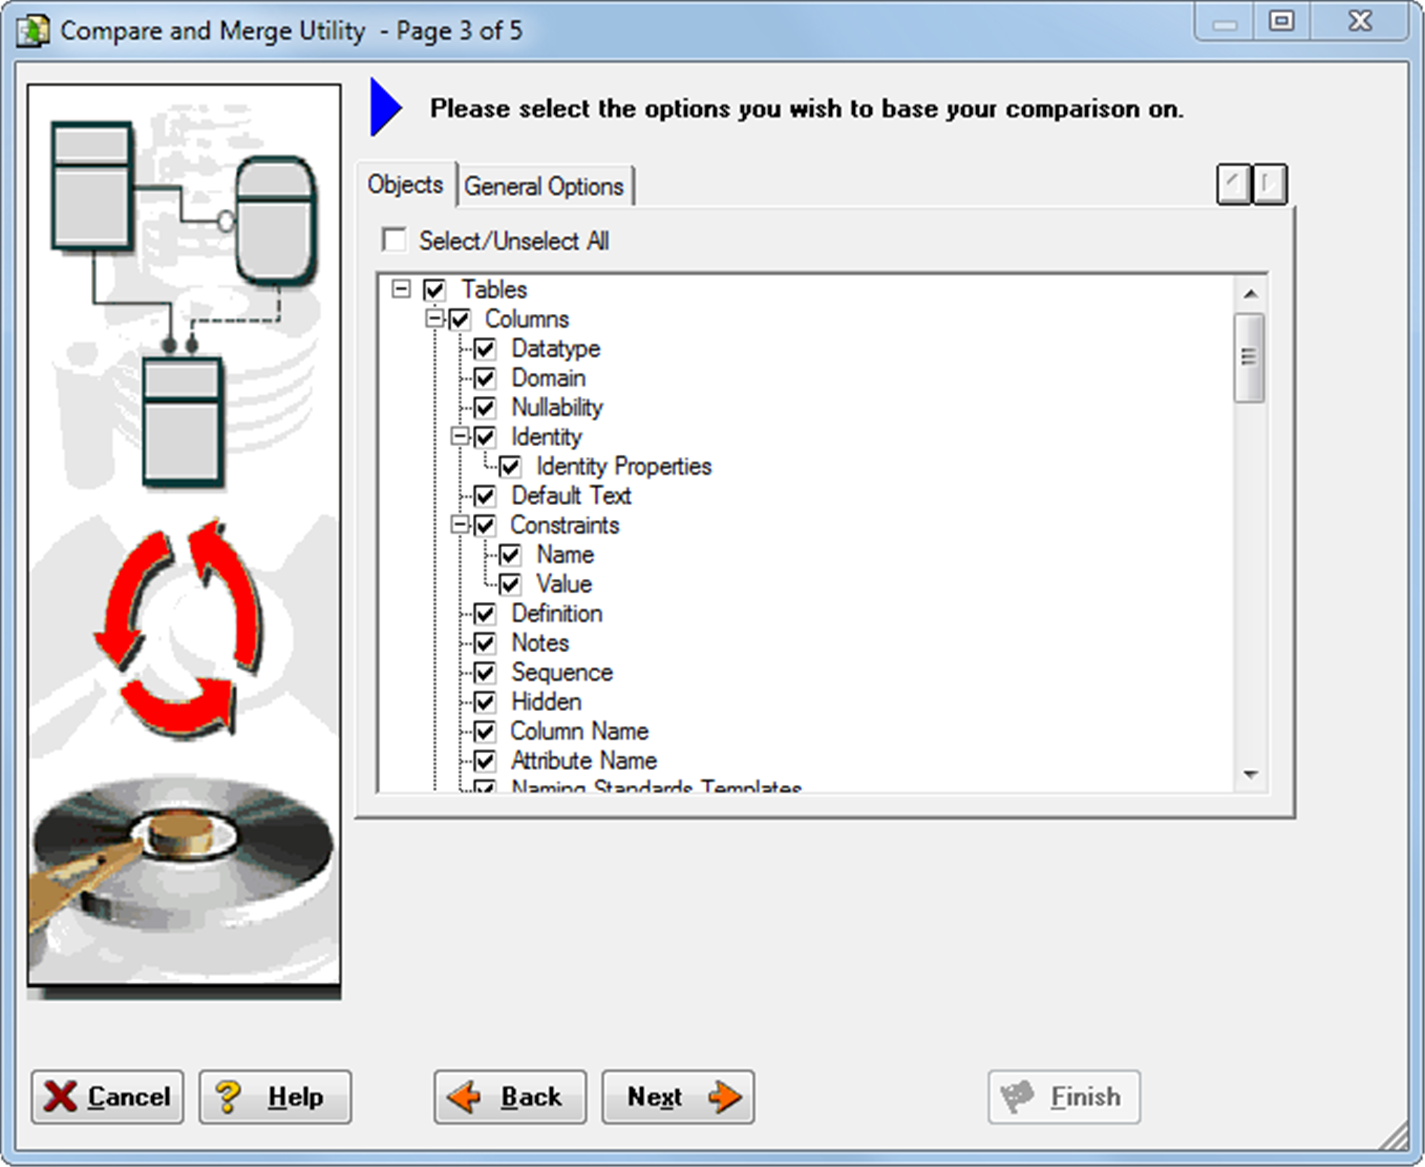
On this screen, you can select the types of metadata to be compared between the two models. By default, everything is selected. The General Options tab contains more advanced settings such as whether to ignore case when comparing names, and whether to exclude definitions from the comparison when dealing with new physical structures. Click <Next> to move on to the fourth page, as shown in Figure 16.4.
Figure 16.4 Compare and Merge Utility Page 4 of 5

On this screen, you can select the specific objects for comparison, including entities, views, users, roles, and shapes. Optionally, you can also save your settings for a future compare and merge operation. Click <Next> to move on to the fifth page, as shown in Figure 16.5.
This screen contains the results of the compare and merge. Under the Filter Results drop down, you can show a subset of the merge operation to make the exercise easier for comparison. If you click on one of the resolution values, such as Ignore, you will notice that a drop down appears and provides you with several actions, including ignore the difference between the two models, delete from the current (also known as source) model, or merge into the target model. You are also given the option to produce a report in RTF or HTML format by clicking on <Report>. When you are done, click <Finish> to exit the wizard. You will be prompted to save the models that have been changed.
Figure 16.5 Compare and Merge Utility Page 5 of 5
