
Excel can open, import, and export XML data in any structure. To open a list that has been saved in XML, click File, Open—just as you would to open an ordinary Excel workbook. With the Open dialog box set to display all Excel files, your XML files are included. But if you have trouble finding the file you want (because of all the other Excel files in the same folder), select XML Files in the list beside the File Name box.
When you open your file, Excel presents the Open XML dialog box, shown in Figure 24-9.
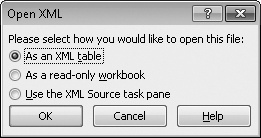
Figure 24-9. When you open an XML data file, Excel presents this dialog box. Choose the first option to open all elements of the XML structure or the third option to work only with particular elements.
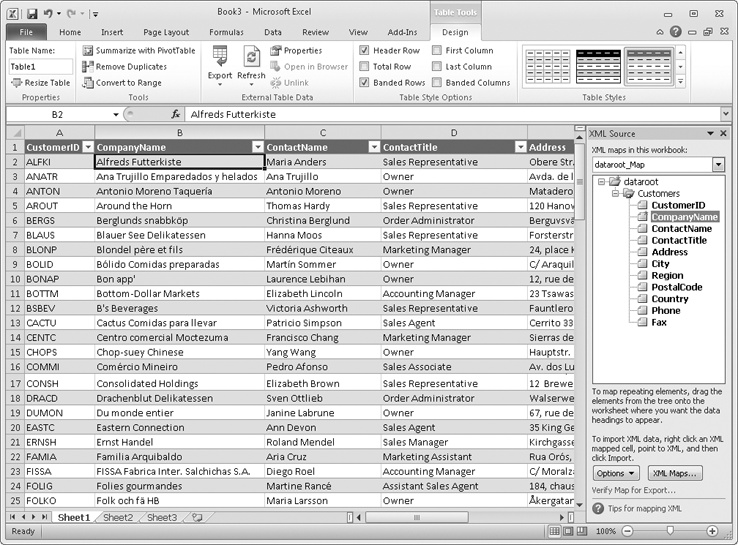
As Figure 24-10 shows, the result of opening an XML file using the As An XML Table option is a table that presents each element of the source file, in order, as a table column. All records in the source file are included in the resulting list.
TROUBLESHOOTING
Excel reports a problem with the specified XML or schema source.
When you open an XML file, Excel looks for an associated schema file, which defines the structure of the XML data. If it doesn’t find one, or if it finds errors in the associated schema file, Excel displays an error message. If you click OK, Excel infers the structure from the data it sees. In many cases, particularly with files that are not particularly complex, this works out fine. You can forget about the error message after you click OK. If Excel can’t infer the structure of your file, you need to fix the schema (or provide one).
After Excel opens the XML file, it can display an XML Source task pane, which shows how the elements of the source file map to columns in the table. If the task pane isn’t visible and you want to see it, right-click a cell in the table, click XML, and then click XML Source.
Opening an XML file by the method just described creates a new workbook. If you want to create an XML table on an existing worksheet, click the Data tab, click From Other Sources (in the Get External Data group), and click From XML Data Import. After you select your file in the ensuing dialog box, Excel asks you where to put the incoming data.
You can refresh an XML table the same way you would an imported text or Access table. For details, see Setting Refresh Options on page 817.
Opening an XML file using the As An XML Table option (see Figure 24-9) might be fine for a relatively simple XML structure. But if your structure is not simple, it’s likely you’ll be interested in only certain portions of the XML data. In such cases, it’s usually more effective to open the file using the third option, Use The XML Source Task Pane. When you do this, Excel presents the XML structure in the XML Source task pane without creating a table—as shown in Figure 24-11.
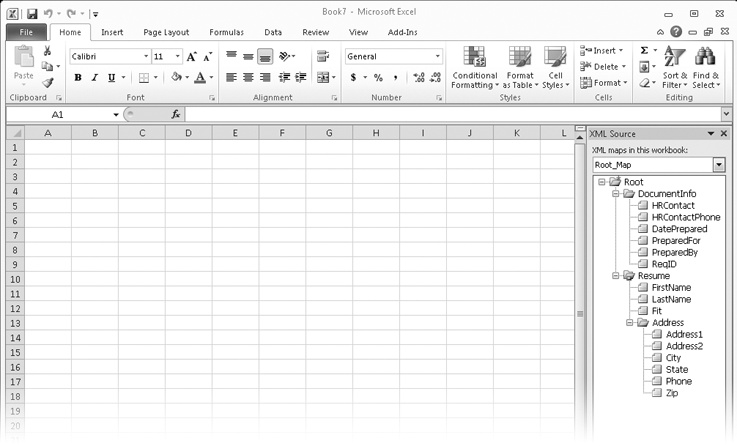
Figure 24-11. When you open an XML file using the XML Source task pane to map elements to table columns, no data appears until you drag XML elements from the task pane to the worksheet and then refresh.
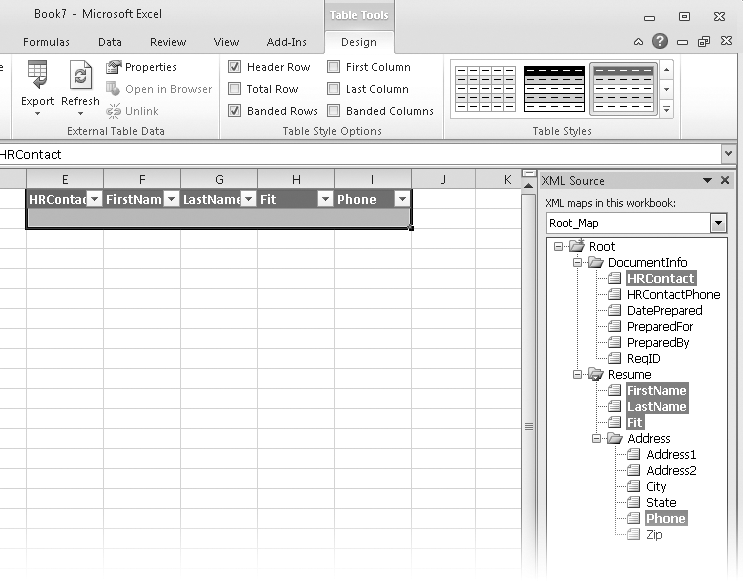
In the example shown in Figure 24-11, the data file consists of ratings and contact data for a set of job applicants, along with contact information about the human-resources person who conducted each interview. If you’re reviewing this data, you might be interested in only the HRContact field from the DocumentInfo element, the LastName and FirstName fields from the Resume element, and perhaps some additional fields pertaining to individual applicants. To create a table on your worksheet that displays only the fields you care about, you can Ctrl+click the headings of interest in the XML Source task pane and then drag the selected set onto the worksheet. (Excel calls this process of associating XML elements with table headings mapping.) The result might look like Figure 24-12.
To populate the table after you structure it, click a cell in the table header row, click the Data tab (or Design tab), and then click Refresh All. (If you have other tables open and you want to refresh only this one, click the small arrow beneath Refresh All, and then click Refresh.)
Populating the table by clicking Refresh All, as just described, brings in data from the file whose structure you imported into the XML Source task pane. As an alternative, you can right-click a cell in the table header, click XML, and then click Import. You’re then prompted for the name of an XML data file.
The Import command lets you bring in records from any file whose structure is reflected in the XML Source task pane. Importing is particularly useful when you have a number of identically structured XML files. For example, if each member of your human-resources staff created a separate file of interviewee data with each file built on the same XML schema, you could examine each one in turn with the help of the Import command.