
Although the Excel graphics toolbox is overflowing with ways to create impressive objects from scratch, you can also employ several methods to insert ready-made graphics from other programs, to insert pictures, and to insert other types of graphic content onto your worksheets.
If you don’t have the time or inclination to create your own artwork, you can instantly call on the talents of numerous professional illustrators using the Clip Art button on the Insert tab. You can resize and reposition artwork, add borders, and sometimes even add fills and patterns to clip art objects. Click the Clip Art button to display the Clip Art task pane, shown in Figure 10-21.
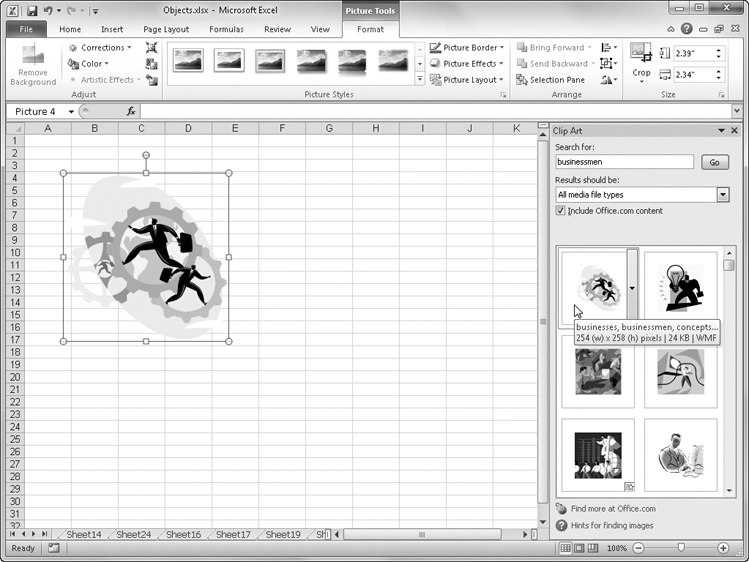
Figure 10-21. Use the Clip Art task pane to add not only art but also photos, movies, and sounds to your worksheets.
To quickly find appropriate pieces of clip art, provide some criteria in the Search For text box in the Clip Art task pane. Select the Include Office.com Content check box to increase the quantity of available clip art exponentially. A wealth of graphic content is available online—far more than ships with the program. Clicking Find More At Office.com at the bottom of the task pane opens your Web browser, and you can download as much clip art as you want. If you use the check box option, the task pane presents thumbnails of the available clip art without opening the browser and only downloads the piece or art you want when you click it.
Figure 10-21 shows a piece of clip art inserted on the worksheet, which was accomplished by simply clicking the thumbnail image in the task pane. When you rest the pointer on a thumbnail image, a ScreenTip reveals information about the item, including its size, three-character file type designation, and some of the keywords associated with it.
The Clip Art task pane lets you search for and insert not only clip art but also photos, movies, and sound files. You can specify the type of media you want using the Results Should Be drop-down list in the task pane, which ordinarily displays the words All media file types.
When you rest the pointer on a clip in the task pane, a bar with an arrow appears to the right, as shown in Figure 10-22. Click the bar to display a menu with additional options you can apply to the selected clip. Several commands on this menu benefit from some additional explanation:
Copy/Move To Collection Lets you add or relocate the selected clip to one of your own collections by displaying the Copy To Collection dialog box. You can create a new collection or add to an existing personal collection.
Delete From Clip Organizer Removes the selected piece of art from your computer and from all collections to which it belongs. You cannot delete items that originate from the Web.
Make Available Offline Displays a dialog box that lets you add clips found on the Web to one of the collections installed on your computer or to a new collection you create. This command does not appear if a clip is already installed.
Edit Keywords Displays a dialog box where you can add or modify any keywords associated with the selected clip.
Preview/Properties Displays the Preview/Properties dialog box, which lists all the pertinent information about the clip. This is a handy way to find out the format of the clip, the keywords associated with it, and more.

The Picture button on the Insert tab lets you insert graphics that have been saved in a variety of file formats. Clicking Picture displays a dialog box that is functionally identical to the Open dialog box, which you can use to find image files in any location to which your computer has access. The File Type drop-down list to the right of the File Name text box lets you zero in on a particular file type but is set to All Pictures by default. You can choose different ways to look at files by clicking the Views button; Thumbnail view is the default.
Note
For more information about the Open dialog box, see Opening Files on page 61.
You can also paste pictures into Excel from other programs that produce files compatible with the Clipboard. Simply copy the image in the source program; then, on the Home tab in Excel, click the Paste menu, and then click Paste Special, which allows you to select from several options, as shown in Figure 10-23. The options available in this dialog box depend on the type of picture you are working with.

Figure 10-23. Images copied from other programs can usually be pasted in more than one format using Paste Special.
The image used in Figure 10-23 was copied from the Paint program and pasted in bitmap format. If the program used to create the graphic you want to import into Excel supports linking, you might also be able to establish a link between the source file and the graphic, allowing the graphic to be automatically updated in your workbook whenever you make changes to the original using the source program. The Paste Link option becomes available in the Paste Special dialog box if and when linking is possible.
Note
For more information about linking, see Chapter 31.
The Object button on the Insert tab gives you direct access to other programs you can use to create objects. The difference between inserting a picture and inserting an object is that a picture is always static and cannot be directly edited, whereas an inserted object retains a connection to its source program and is said to be embedded on a worksheet. You can open an embedded object for editing by double-clicking it.
When you click the Object button, a dialog box appears with two tabs—Create New and Create From File. The Create New tab, shown in Figure 10-24, starts the program selected in the Object Type list, allowing you to create the object directly in the program. The contents of this list vary depending on the configuration of your system and the programs you have installed.

Figure 10-24. You can use the Create New tab of the Object dialog box to simultaneously insert an object and start the program used to create it.
When you select an item in the Object Type list, a small frame is inserted in the current worksheet at the location of the active cell, and the program needed to create or edit that object type is started. For example, if you select Bitmap Image in the Object Type list, Paint starts, and you can begin creating a new image, as you can see in Figure 10-25. When you are finished editing, close the object-editing program, and your new object appears on the worksheet.
Figure 10-26 shows the Create From File tab in the Object dialog box. You can use this tab to insert an existing file as an embedded object rather than create a new object with the Create New tab. Again, the object types you can embed depend on the programs installed on your computer.
Although the Link To File option on the Create From File tab isn’t selected by default, you can still open the object in its source program by double-clicking it. If you do select the Link To File option, the object is updated automatically whenever the source file changes. The Display As Icon option embeds the selected file in your workbook as an icon. This option is particularly convenient if an embedded object is long, large, or more easily viewed in its source program. However, if you distribute the workbook to other users, be sure the same program is available on their computers, or they will not be able to open the embedded icon for viewing.
To make changes to any embedded object, double-click the object. The source program starts, and the object file opens, allowing you to make modifications.

