
Microsoft Word includes a mail-merge feature that facilitates the batch creation of letters, e-mail messages, envelopes, mailing labels, and directories. You can use Excel ranges (as well as many other types of data sources) to supply names, addresses, phone numbers, and so on for mail-merge use.
Before you merge data from Excel into the mail-merge feature in Word, be sure your Excel worksheet is well structured for this purpose. Your table should meet the following criteria:
Each column in the first row should be a field name, such as Title, Salutation, First Name, Middle Name, Last Name, Address, and so on.
Each field name should be unique.
Every piece of information that you want to manipulate separately in your merge document should be recorded in a separate field. In a form letter, for example, you probably want to work with first and last names separately so you can use both of them in an address block but then use the last name only (with a salutation or title) at the beginning of the letter. Therefore, your Excel table should have separate fields for first and last names.
Each row should provide information about a particular item. In a mailing list, for example, each row should include information about a particular recipient.
Your table should have no blank rows.
Note
See Practical Text Manipulation on page 548 for a trick you can use to parse combined first and last names into separate cells. “Practical Concatenation” on page 478 shows the opposite trick: combining names stored in separate cells into a single cell.
To use the mail-merge feature, follow these steps:
On the Mailings tab in Word, click the Start Mail Merge command, and then click Step By Step Mail Merge Wizard.
The Mail Merge task pane appears and consists of six steps. If you’re going to create a mail-merge letter or e-mail message, the third step is the one that involves Excel. When you get there, the Mail Merge task pane will look like the one shown in Figure 32-12.
To use an Excel table as your data source, select Use An Existing List. Then click Browse. When you browse to your Excel file and click Open, the Select Table dialog box that appears (see Figure 32-13) displays an entry for each worksheet. Specify the worksheet that contains the records you want to merge, and then click OK.
The Mail Merge Recipients dialog box appears (see Figure 32-14), letting you sort and filter the data source. Initially, the check box to the left of each record is selected, which means all records will be included in your merge. To remove particular items, clear their check boxes.
You can use the arrows to the right of each field name for easy filtering. These function like their counterparts in an Excel table. For formulaic filtering—for example, to restrict the list to ZIP codes greater than 90000—click the arrow next to any field (it doesn’t matter which), click Advanced, and then fill out the Filter And Sort dialog box shown in Figure 32-15.
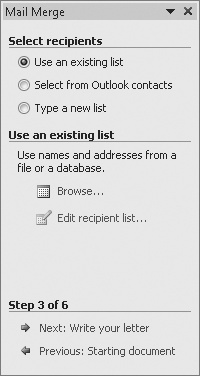


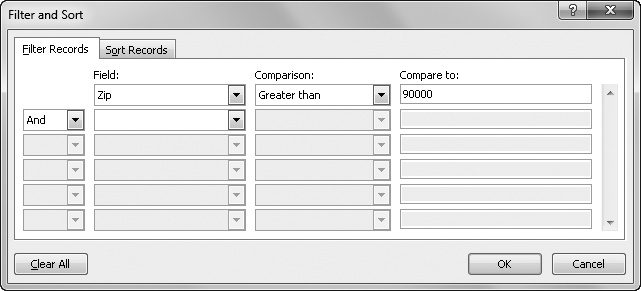
Figure 32-15. We’ve used the Filter And Sort dialog box to limit our list to ZIP codes that start with 9.
Click the arrow in the Field box, and then select the field for your filtering criterion. Next, click the arrow in the Comparison field to select a comparison operation, and in the Compare To field specify a comparison value. If you need more than one filtering criterion, select And or Or by clicking the arrow at the start of the second line, and then continue with more field names, operators, and comparison values.
You can use the Sort Records tab to change the order in which your data will be fed to the mail-merge mechanism. If you’re sorting by one field only, however, you’ll find it simpler to click the field heading in the Mail Merge Recipients dialog box (refer to Figure 32-14). Click a heading to generate an ascending sort by that heading; a second click turns it into a descending sort.
When you have your data as you want it, click OK to return to the Mail Merge task pane. In the remaining steps, you can create your merge document (the document that uses your data records), preview the results, and then carry out the merge.