
Suppose you’ve created a workbook like the one shown in Figure 7-5. You might want to monitor the cells on the summary worksheet while working on one of the other worksheets in the workbook. On the other hand, if you have a large worksheet, you might want to keep an eye on more than one area of the same worksheet at the same time. To perform either of these tasks, you can open a second window for the workbook by clicking New Window on the View tab.
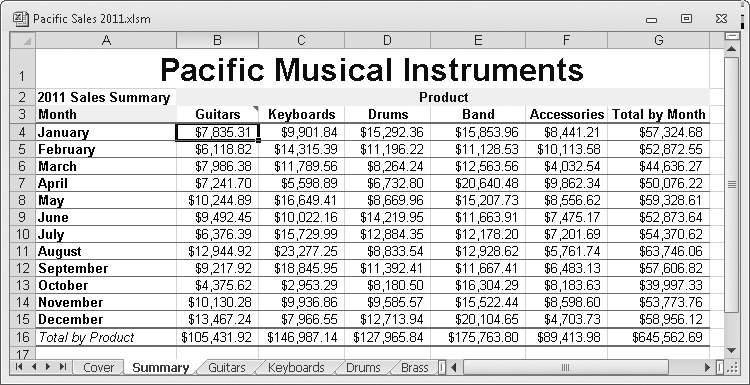
Figure 7-5. We want to work on the summary worksheet while viewing a supporting worksheet in the same workbook.
To view both windows on your screen, click View, Arrange All, and then select any of the Arrange options except Cascade. If you select the Cascade option, you’ll be able to view only the top worksheet in the stack. If you select the Horizontal option, your screen looks similar to the one in Figure 7-6.

Figure 7-6. After clicking the New Window button to open a second window for the same workbook, select an Arrange option to fit both windows on the screen simultaneously.
You might notice that Excel assigned the name Pacific Sales 2011.xlsm:2 to the new workbook window. In addition, it changed the name of the original workbook window to Pacific Sales 2011.xlsm:1. Pacific Sales 2011.xlsm:2 now becomes the active window, and as such, it’s positioned on top, as indicated by the presence of scroll bars.
Note
Again, if other workbooks are open, but you want to view only the windows of the active workbook, select the Windows Of Active Workbook check box in the Arrange Windows dialog box.
You can view any part of the workbook in any window associated with that workbook. In Figure 7-6, Pacific Sales 2011.xlsm:2 originally displayed the summary worksheet when we first created it, because that was the active worksheet when we clicked the New Window button. Then we clicked the Brass tab in the new window, leaving the summary worksheet visible in Pacific Sales 2011.xlsm:1.
When you create multiple windows of the same workbook, anything you do in one window happens in all windows—almost. New entries; formatting changes; inserting or deleting rows, columns, or worksheets; and just about any other editing changes are reflected in the windows. Display characteristics—or views—are not. This means that you can zoom in or out and change anything in the Workbook Views and Zoom groups on the View tab as well as use the Split and Freeze Panes commands. View adjustments affect only the active window. You can also click the File tab, click Options, select the Advanced category, and then change the settings in the two Display Options sections: Display Options For This Workbook and Display Options For This Worksheet. You can apply these options differently to windows of the same workbook. Just select the name of the window you want to change in the drop-down list, as shown in Figure 7-7.

Figure 7-8 shows a somewhat exaggerated example of worksheet auditing. In Pacific Sales 2011.xlsm:1, formulas are displayed; the worksheet is zoomed in; and scroll bars, row and column headings, and gridlines are removed—all in an effort to review the formulas in the summary worksheet to make sure they refer to the proper cells. You can use this technique to audit your worksheets.

Figure 7-8. You can radically change view options in one window while maintaining a regular view of the same worksheet in another window.
If you create a view like Pacific Sales 2011.xlsm:1 in Figure 7-8 and want to be able to recreate it in the future, click the Custom Views button in the Workbook Views group on the View tab to save it. If you want to be able to re-create the entire workspace, including additional windows and their view settings, click the Save Workspace button in the Window group on the View tab.
Note
For more information about custom views, see Using Custom Views on page 169. For more information about saving workspaces, see Saving the Entire Workspace on page 60. For more information about the auditing features in Excel, see Auditing and Documenting Worksheets on page 261. For more information about formulas, see Chapter 12.
Tip
INSIDE OUT Close the Default Settings Window Last
When you have two windows open in the same workbook and then close one of them, the “number” of the open window isn’t important, but the view settings are. In the example shown in Figure 7-8, if we finish our work and close Pacific Sales 2011.xlsm:2, the modified view settings in Pacific Sales 2011.xlsm:1 become the active view for the workbook. If we then save the workbook, we also save the modified view settings. Be sure you close the windows with view settings you don’t want to keep before you close the one with the settings you want to use as the default—don’t worry about the window number.