
Chapter 15
Using Document Sets
Document Sets is a new feature offered as part of the standard version of Office SharePoint Server 2010. While it is touted as a separate feature, in fact it is just a specialized content type. Document Sets are useful when you have a group of documents that you want to treat as one item, such as in workflows and audit policies.
As an example, suppose you have a document library used to store documents for IT projects. An IT project can contain documents built at different times. Imagine that you have a PowerPoint presentation to show your idea to colleagues, a Word document for requirements, an Excel spreadsheet for budget and schedule, and so forth. You may want to apply a workflow to these documents. Perhaps the package needs management approval. You may want to apply a content expiration date so that the documents are deleted after a year. In these cases, and many others, you won't want to apply separate policies or workflows to the presentation, the requirements document, and the project plan. You will want to treat them as one unit. Enter Document Sets.
Create a Document Set Content Type
A Document Set is a feature that is scoped at the site collection level. In order to activate it you will have to be at the top-level site of a site collection. Go to the Site Settings page and under the Site Collection Administration page click the Site Collection Features link, shown in Figure 15.1.

On the Features page activate the Document Sets feature, shown in Figure 15.2.
Now you can use the Document Set content type anywhere within the site collection. The Try It section walks you through creating and adding documents to a Document Set.
In this walkthrough, you will be creating a Document Set. Once it is created, you will add several items to it to see the functionality.
Lesson Requirements
In order to complete this lesson you'll need a SharePoint site with at least the Office SharePoint Service Standard license.
Hints
Follow the steps given in the previous section to activate the Document Set feature before performing the walkthrough.
Step-by-Step
1. Open a document library on your SharePoint site or create a new one. In this example, our document library is called Document Set Enabled Library. (Catchy, isn't it?)
2. Browse to the Settings page of the document library. Click Advanced Settings, as shown in Figure 15.3.
3. In the Content Types section of the Advanced Settings page, Select Yes for the radio button option. Scroll to the bottom of the screen and click OK. This will return you to the Settings page. Figure 15.4 shows how this option appears on the page.

4. On the Settings page, in the Content Types section, click the Add from existing site content types link, as shown in Figure 15.5.

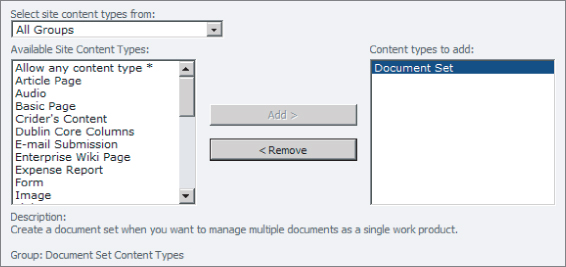
5. On the Add Content Types page, select All Groups in the Select site content types from the drop-down control, and then select the Document Set content type from the list box and click Add to indicate you would like to add it to the available content types in the library. Click OK. Figure 15.6 shows this dialog.
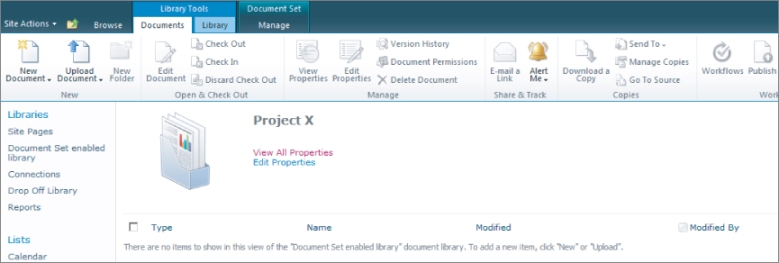
6. Browse to the document library's main page. In the Library Tools section of the ribbon, select Documents and then click the dropdown arrow from the New Document button. Select Document Set from the list of drop-down choices. When the dialog box appears, type a name and option description for the Document Set. Figure 15.7 shows how this looks in the ribbon.

7. The Document Set has modified the toolbar choices slightly. To add a document to the Document Set, use the New Document or Upload Document toolbar button, as shown in Figure 15.8.
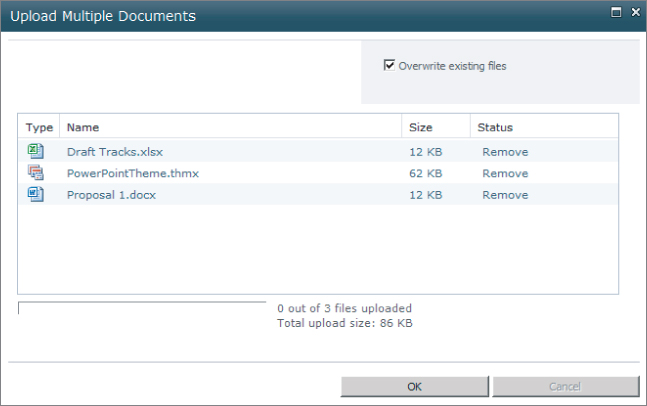
8. We are going to use the Upload Document button, and specifically the Upload Multiple Documents option, to upload several different types of document. In the ribbon, you should see the Library Tools section. Select the Documents tab from the Library Tools section. Both options are shown in Figure 15.9. Select any three or four items you have available of different types. Then click OK. After the files have uploaded, select Done.
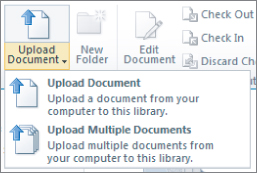
Figure 15.10 shows the dialog after you have selected the files.
9. Click the library to see the “All Documents” view. (This is the default view of any SharePoint library or list). You will see that the item listed has the name you gave your Document Set (Figure 15.11), not that of any of the individual items you added to it. You can manipulate this Document Set as though it were a single document. Click it and you will return to the Document Set page from Step 7, where you can individually work with your documents.

Please select Lesson 15 on the DVD or visit www.wrox.com/go/sp2010-24 to view the video that accompanies this lesson.