
Chapter 3
Changing a Site's Look and Feel
On the Site Settings page is a heading titled Look and Feel. Under this heading are several links that are used to alter aspects of the SharePoint site's user interface. The Look and Feel commands give users with Site Owner or Designer permissions the ability to make some basic branding and navigation changes. In this lesson we examine these options. In Lesson 4 we discuss creating custom themes.
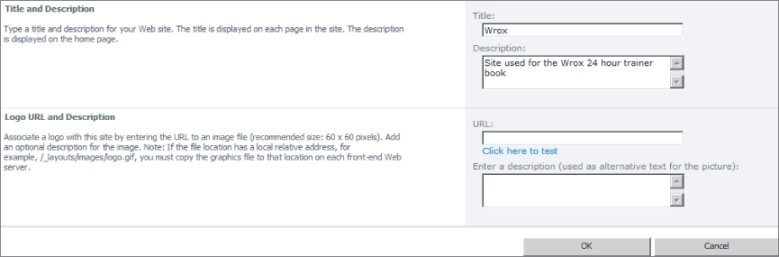
Clicking on the Title, Description, and Icon link under the Look and Feel heading takes you to the Title, Description, and Icon screen. This screen enables you to upload a custom logo to add some branding to your site. The title and description are displayed to the right of the logo. Figure 3.1 shows where the icon, title, and description elements are positioned on the page in the upper left corner of the screen.

A SharePoint site has two main navigation sections, a top link bar that usually displays sites below the current site and a left-side navigation element that is commonly referred to as the Quick Launch section. The Quick Launch section is normally used to display elements in the site, such as lists, document libraries, or web pages that have been created. Both menus are fully customizable by site administrators, and you can put links to anything you like on either the top bar or the Quick Launch section.
Figure 3.2 shows the menu for modifying the Quick Launch and Top Link bar navigation elements.
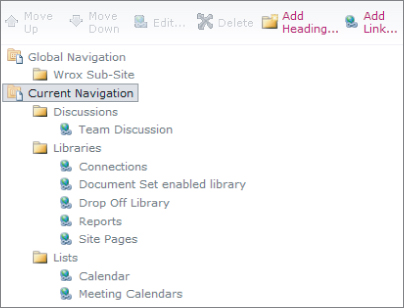
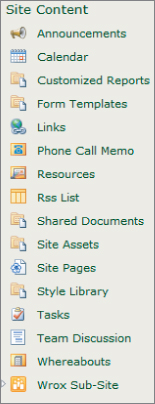
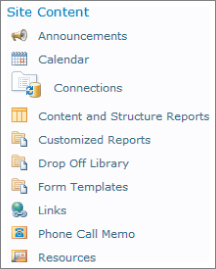
The tree view option shows the various lists, libraries, and sub-sites along the left side of the screen. This view can be used along with or in place of the Quick Launch menu. Unlike the Quick Launch menu, the tree view cannot be customized on the Site Settings screen. Figure 3.3 shows the tree view of a sample site. Notice that the last link is to a sub-site.
In this Try It, we will examine and configure the options available in the Look and Feel menu on the Site Settings page.
Lesson Requirements
To perform this lesson, you will need the following:
- Access to a SharePoint site
- Administrator or Designer rights to the site
Hints
This lesson is a survey of the Site Administration menu. It covers only the most common elements among all SharePoint sites. A lot of the links you see that are not covered in this lesson are related to optional features, some of which are covered in other lessons in this book.
Step-by-Step
1. Navigate to the Site Settings page and find the Look and Feel heading. Click the Title link, description, and icon. On the Title, Description, and Icon page (see Figure 3.4), enter a value for the title, the description, and a URL that is a link to an image that you want to place on the screen on your site. It is common to store the image you want to use on your site in a library on the site itself.
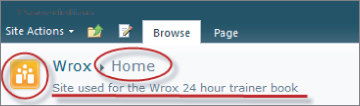
2. Figure 3.5 shows how the changes to the Title field, the Description field, and the Logo URL will show on the page. The Title field is circled. The description is underlined, and the logo is circled. One important thing to keep in mind is that if the URL you choose for your logo is not accessible to a visitor to your site, the visitor will not see the site logo. In this case, she will see whatever you place in the description field below it, or a red X if you leave this field blank.
3. On the Site Settings page, under the Look and Feel heading, the Tree View link enables you to select navigation options for the left side of the screen. Enabling the Quick Launch option will show the Quick Launch links, which can be added for each element that you add to a site, such as a list, library, or picture. Enabling the Tree View option shows a collapsible view of every site element, grouped by type of content. Select the Tree View checkbox and return to the home page of your site to see how the selection affects the navigation. See Figure 3.6 for a screenshot of the tree view.
Please select Lesson 3 on the DVD or visit www.wrox.com/go/sp2010-24 to view the video that accompanies this lesson.