As you have seen, you can plan and track your marketing efforts with campaigns in Microsoft Dynamics CRM. But sometimes you might want to simply distribute a campaign activity (such as a letter, phone call, or e-mail) to an ad-hoc list without the extra overhead and tracking of a full campaign. A quick campaign is a simplified version of a campaign in Microsoft Dynamics CRM that allows you to distribute a single campaign activity to a group of accounts, contacts, leads, or marketing lists.
In this exercise, you will create a quick campaign to track follow-up tasks for a group of leads.
Note
BE SURE TO use the Internet Explorer Web browser to navigate to your Microsoft Dynamics CRM Web site, if necessary, and have multiple lead records already created and available before beginning this exercise.
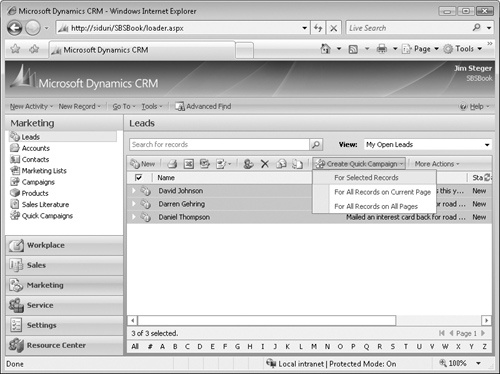
In the Marketing area, click Leads.
Select a few lead records.
In the grid toolbar, click the Create Quick Campaign button, and then select For Selected Records from the submenu.
The Create Quick Campaign Wizard form opens. The first step of the Create Quick Campaign Wizard describes the steps you are about to take.
Click Next to continue.
The next step asks you to enter a name for the quick campaign.
In the Name field, enter Our First Lead Quick Campaign, and then click Next.
Now you will need to choose an activity type and user to whom the resulting activities should be assigned. If you choose to do an e-mail activity, you also have the option of automatically sending and closing the e-mail activity.
In the Activity Type box, select Phone Call, and for the Assign these activities to option, select Me.
Click Next.
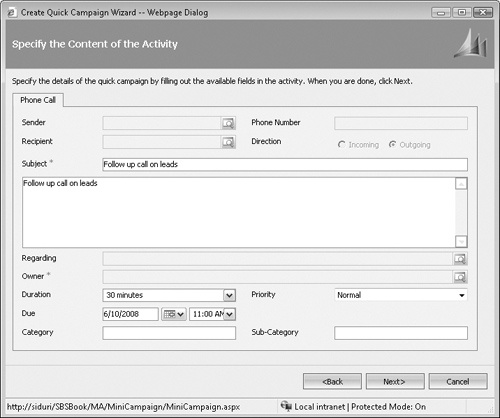
The next step allows you to enter the content for the activity chosen in the previous step. Since you chose Phone Call, you will see the Phone Call form displayed.
In the Subject and Description fields, enter Follow up call on leads. In the Due field, select the date you want the activity to be completed.
Click Next.
The final step summarizes the choices made in the previous steps.
If everything is correct, click Create to complete the quick campaign.
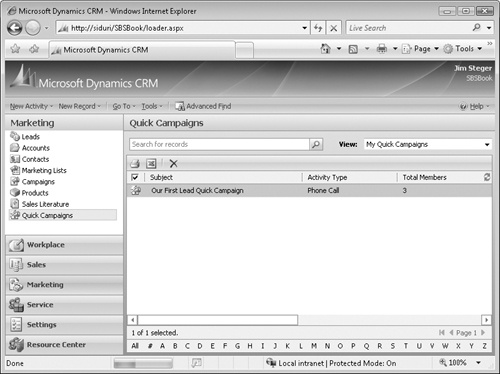
After completion, view your new quick campaign by clicking Quick Campaigns in the Marketing area.
Double-click the Our First Lead Quick Campaign record to see your quick campaign details, including the phone call activities created.