
Modifying Menu Buttons 501
The preview window replaces the iDVD window, the iDVD remote control
appears, and the show begins playing, using the audio and transition that
you set. You can use the Pause button on the remote to stop the show, and
the left and right arrow buttons to move among the slides. When the slide-
show finishes, the main menu of the DVD appears, still in preview mode.
10 Click exit on the remote control window. The main menu of the iDVD
project appears.
NOTE
If you click exit before the slideshow ends, you see the slideshow
editor instead of the main menu. To get back to the main menu of the
DVD, at the right of the slideshow editor toolbar, click Return.
11 Choose File > Save (Command-S).
You can also add a slideshow created in iPhoto to a DVD by
choosing Share > Send to iDVD from within iPhoto. The iPhoto slide-
show is added not as still pictures but as another movie to the DVD.
Modifying Menu Buttons
Next you’ll change the way that the menu buttons on the main menu display
highlights.
1 In the main menu, choose Edit > Select All Buttons, and at the lower right
of the iDVD window, click Buttons.

502 Making a DVD
The Buttons palette appears in the window’s right pane. You can use the
menu above the palette to change what the palette displays. The items
above the line in the menu provide choices suitable for text menu buttons.
The items below the line add motion graphics in frames to the buttons.
2 If it isn’t already chosen, choose Text from the pop-up menu at the top of
the pane.
In this set of choices, the graphical items appear with the selected buttons
only when the buttons are highlighted; you can select the topmost item in
the palette to remove any highlight graphic currently associated with the
selected buttons.
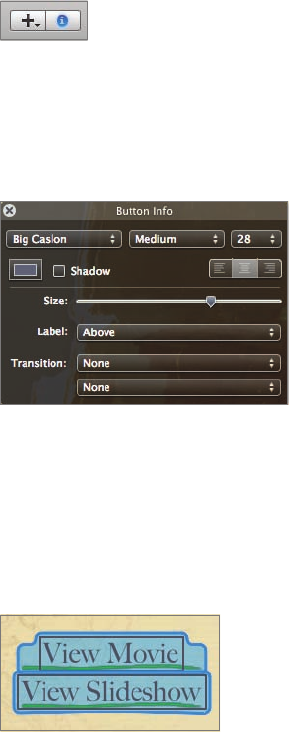
3 Click the only available line in the palette.
This highlight line appears beneath both selected buttons in the highlight
color you previously selected in this lesson.
Modifying Menu Buttons 503
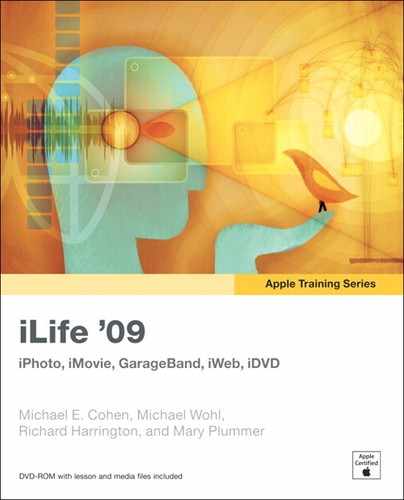
4 At the lower left of the iDVD window, click the Inspector button.
The Inspector window opens. It shows the options for changing buttons,
because buttons are the items that are selected on the main menu. The
iDVD Inspector window is context-sensitive, showing only the options for
the currently selected objects.
5 In the Inspector window, move the Size slider to the right to increase the
size of the highlight line.
The Size slider affects the highlight line, not the text, which can be
changed by adjusting its type size with the pop-up menu in the Inspector
window’s upper right.
6 Choose Edit > Select None. The highlight lines disappear, because they’re
visible only when a button is highlighted.
You’re almost ready to put your DVD into production.
..................Content has been hidden....................
You can't read the all page of ebook, please click here login for view all page.