Sharing Photos in MobileMe Gallery 119
Put your pointer over the information icon at the right of each
size that’s offered to see technical details about the video file that the
export creates for that size.
2 In the dialog, select Medium, and then click Export.
iPhoto presents a standard file-saving dialog so you can pick the folder
where the movie is to be saved. The default is the iPhoto Slideshows folder
in the Pictures folder in your home folder.
3 Click OK.
The export begins. A progress indicator (a moving bar) shows the status
of the export. How long the export takes depends on the size of the slide-
show and how many sizes you have chosen to export. A one-minute
slideshow in a single size typically takes just a couple of minutes.
When the export is complete, a Finder window opens to show you where
the slideshow movie has been saved. If you’ve also chosen to send the
slideshow to iTunes, iTunes opens up instead and shows you the movie
listed in the iTunes window.
Sharing Photos in MobileMe Gallery
Sharing photos on a local network, as you saw earlier, is easy, but the world is
much larger than your local network. If you want to share your photos with
a bigger audience, iPhoto and a MobileMe account can make your pictures
available worldwide.

120 Sharing Your Photos
NOTE
A MobileMe account costs $99 a year, and in addition to
iPhoto MobileMe Gallery albums, it provides you with 20 gigabytes of
online storage, email, software, and a bunch of other features. Most
iLife applications can make use of a MobileMe account. If you don’t
have a MobileMe account and want to try it out, you can sign up for a
free 60-day trial account. Otherwise, just read through this exercise to see
how MobileMe Gallery works.
For this trip into the world of MobileMe Gallery, you’ll share your Soccer
action album.
1 In the Source list, open the Soccer Albums folder, click the Soccer action
album, and then click the MobileMe button in the iPhoto viewing area’s
toolbar.
You can also create a MobileMe Gallery by choosing Share >
MobileMe Gallery, or by choosing File > New Album from Selection
and then clicking MobileMe in the dialog that appears. It’s good to
have choices.
NOTE
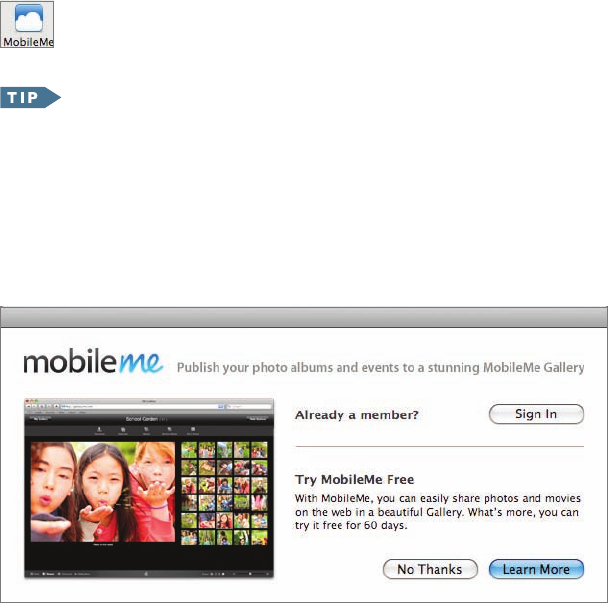
If you don’t have a MobileMe account, or haven’t signed into
it on your Mac, iPhoto gives you a chance to rectify that problem.

Sharing Photos in MobileMe Gallery 121
When you create a MobileMe Gallery, a dialog appears with options you
can select to control who has access to the MobileMe Gallery, how it
appears, and what visitors to it can do. For example, by making a choice
from the “Album Viewable by” pop-up menu, you can make the Gallery’s
photos available to yourself only, to everyone, or to one or more specific
individuals. In this exercise, you’ll share the photos with the world.
2 In the dialog, click to select all of the checkboxes and then click Publish.
When you select “Adding of photos via email,” the final checkbox,
“Email address for uploading photos,” becomes available, so be sure
to click it, too.
NOTE
If you have an iPhone, be sure to select “Adding of photos via
email.” This option allows you to send photos to the Gallery directly from
your iPhone with a single tap. If you don’t have an iPhone, you can add
photos to your Gallery from any computer just by emailing the photo to
your Gallery’s email address.
As soon as you click Publish, the photos that belong to your new MobileMe
Gallery appear in the viewing area, and iPhoto begins uploading them to
your MobileMe account. A progress indicator appears in the viewing area’s
title bar. Also, a MobileMe Gallery heading appears in the iPhoto Source

122 Sharing Your Photos
list with the name of the new Gallery album beneath it. A circular prog-
ress gauge appears beside the album’s name in the Source list, so you can
switch to some other activity in iPhoto and still keep tabs on the upload’s
progress.
When the upload is done, the MobileMe Gallery’s title bar changes. At the
left is the address of the new Gallery album followed by a circular arrow
link icon that you can click to view the Gallery in your web browser. If you
have chosen to allow email uploads to the Gallery, the email address of the
Gallery appears at the right side of the title bar.
3 Click the circular link icon to the right of the album’s web address in the
title bar.
Your web browser (typically Safari unless you’ve chosen a different default
browser on your Mac) opens and displays the album.
..................Content has been hidden....................
You can't read the all page of ebook, please click here login for view all page.
