
12 Importing and Organizing Your Photos
Connecting Your Camera to iPhoto
Once you’ve shot some photos, you need to move them from your camera into
iPhoto on your Mac. Connecting a camera is a simple process that actually
takes more time to describe than it does to perform. iPhoto can work with the
vast majority of digital cameras, including phone cameras like the one in the
iPhone, without any other software required.
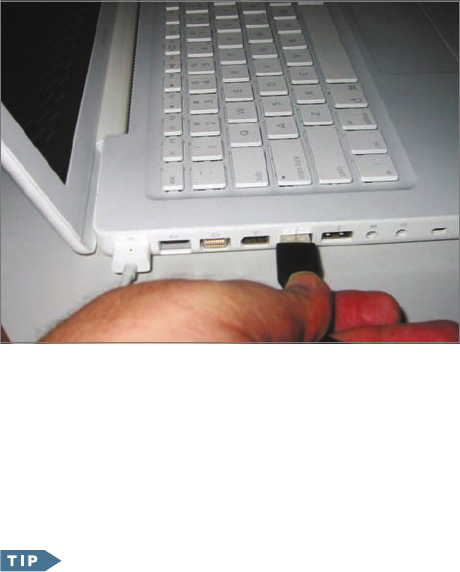
To connect your camera to your Mac, you need the cable that came with your
camera and a free USB port on your Mac. You also should consult the camera
manual for the steps you should follow when you connect the camera to a
computer. Usually, those steps should be as follows:
1 Turn off your camera and set it in display mode.
Typically, digital cameras have two main modes: a display, or playback,
mode in which you use the camera screen to view pictures you’ve already
taken; and a photography mode that you use when taking pictures. Some
cameras have three modes: automatic photography, manual photography,
and display; or photography, display, and video. Others may have no modes
at all and automatically set themselves up properly when connected to
your Mac, such as the camera in an iPhone.
2 Connect the cable that came with the camera to its connector on the camera.
Importing Photos from a Camera or Card 13
3 Connect the other end of the camera’s cable to a free USB port on your Mac.
4 Turn your camera on and iPhoto will prepare to import the camera’s
stored photos. If iPhoto was closed, it will open automatically when you
connect a camera.
That’s it. iPhoto is ready to import the photos stored in your camera.
To avoid problems, make sure that your camera is fully charged,
or is connected to an external power source, before you connect it to your
Mac. You don’t want your camera to turn off because of low power while
it’s in the middle of sending pictures to iPhoto.
Importing Photos from a Camera or Card
When you connect a camera to your Mac, iPhoto lists the camera in its Source
list at the left of the iPhoto window under the Devices heading. It also displays
small versions (called thumbnails) of the photos currently stored in the camera
in the main viewing area on the right.

14 Importing and Organizing Your Photos
To import all the photos stored in the camera, do the following:
1 Click the Import All button in the lower-right corner of the iPhoto window.
iPhoto imports the pictures, displaying each picture as it imports it.
A dialog appears, asking you if you want to keep the original photos in the
camera after you import them.
Importing Selected Photos 15
2 In the dialog, click either Delete Photos or Keep Photos.
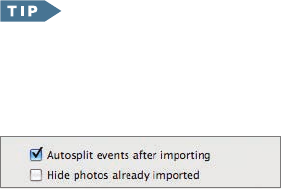
If you select Keep Photos when you import, you can protect your-
self from accidentally importing the same photos again the next time you
connect your camera by selecting the “Hide photos already imported”
checkbox in the lower-left corner of the iPhoto viewing area.
3 Turn off your camera and disconnect it from your Mac.
NOTE
Some cameras can appear on your desktop as a disk drive as
well as in iPhoto. If the camera appears on your desktop when you con-
nect it, you must eject the camera in the Finder before turning it off and
disconnecting.
The photos are added to your iPhoto library.
Importing Selected Photos
As you may have noticed, iPhoto gives you the option of importing either all
of the photos in your camera or just a selected group of photos. Here’s how
you import selected photos from your camera:
1 Connect your camera to your Mac and turn the camera on.
If iPhoto doesn’t open automatically, open it.
2 In iPhoto’s viewing area, click the first photo you want to import.
3 To select a range of photos, hold down the Shift key and click the last
photo you want to import. To select individual photos, hold down the
Command key as you click the photos you want to import.
Shift-clicking selects the first and the last photo you clicked and all of the
photos in between. Command-clicking adds each photo you click to the
selection. The selected photos have a yellow outline.
..................Content has been hidden....................
You can't read the all page of ebook, please click here login for view all page.