Word gives you several ways to view your document as you work on it, and you’ll find that your efficiency increases and your work becomes easier when you use the optimal view for the task at hand. You can use either the View tab on the Ribbon or any of the five view buttons at the bottom-left of the window to change your view.
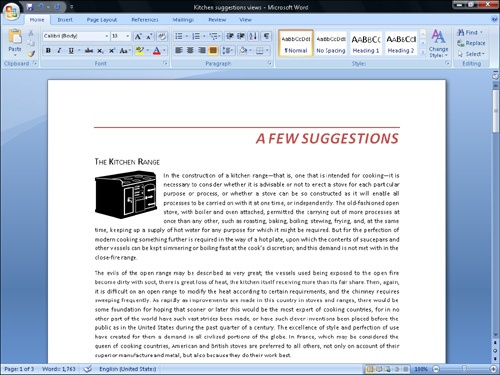
The standard working view for print documents, Print Layout view shows you how your document will look when it’s printed—the page and line breaks, the placement of pictures, the way text wraps around pictures or other items, the arrangement of columns, the distance of the text from the edge of the page, and so on.
Full Screen Reading view makes it easy to read documents on your screen. The text is laid out in long vertical pages (or screens), just like those you see in most books. If you increase the size of the text for better readability, the content simply flows from one screen to the next. To maximize the area of the screen that’s available for the document’s content, the elements you normally see in the other views—the tabs, the Ribbon, and the status bar, for example—are no longer visible.

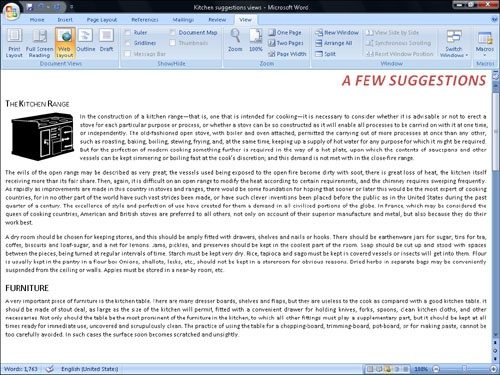
Web Layout view is exclusively for working with online documents as if they were Web pages. That is, all the elements are displayed, but font size, line length, and page length all adjust to fit the window, just as they do on many Web pages.
Although the six views shown on these two pages are the ones you’ll probably use most often, there are other views and options that are useful in various circumstances: Thumbnails, Document Map, draft font, picture placeholders, and more. You’ll find information about many of these items elsewhere in this book, in the discussions of the tasks and procedures where their use is the most relevant.
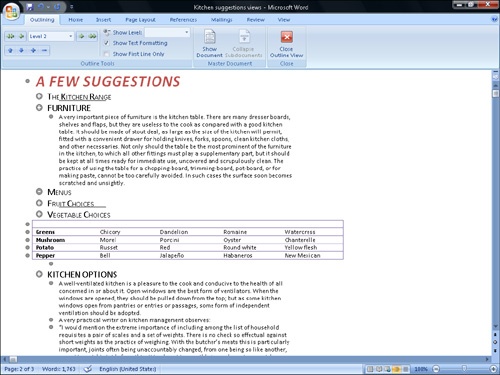
Outline view displays your document as an outline, with the paragraph formatting defining the levels of the outline. By default, Word’s standard heading styles have corresponding outline levels—Heading 1 is level one, Heading 2 is level two, and so on—and other paragraph styles, such as Normal, are treated as regular text. You can use Outline view to organize your topics before you start writing, or you can use it to reorganize an existing document.
Draft view is designed for speed of entry and editing. It’s based on the commercial publishing technique of creating galleys. You place the text and other elements in one long, continuous column that flows from one page to the next, and you deal with the placement of elements after you’ve ironed out any content problems. (Draft view was called Normal view in earlier versions of Word.)

Print Preview is designed to show you just how your document will look when you print it. You can see a close-up view, one page at a time, or two or more pages at once. Use Print Preview to make sure your document’s layout is exactly the way you want before you go ahead and print it. Unlike Word’s other views, you switch to this view by pointing to Print on the Office menu and choosing Print Preview from the gallery that appears.
