
Installing SQL Server for Lync
As noted earlier, for an Enterprise Edition pool, SQL Server 2008 R2 and SQL Server 2012 are the supported Back End database platforms. Since it is the most recent database release, this section provides step-by-step procedures for installing SQL 2012 in preparation for hosting the Lync Server 2013 Back End databases. However, installation of SQL 2008 R2 for Lync involves very similar steps. To install SQL Server 2012 in preparation for Lync Enterprise Edition, perform the following steps:
1. Double-click setup.exe on the SQL 2012 DVD.
2. If the .NET Framework is not already present, an installation prompt appears. Click OK to enable installation of the .NET Framework Core.
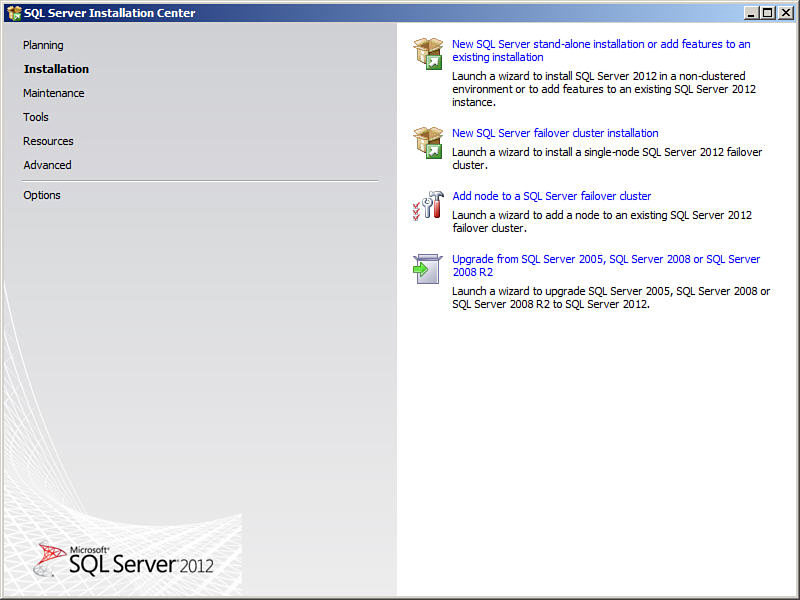
3. When the SQL Server Installation Center displays, as shown in Figure 11.11, click Installation in the left pane, and then click New SQL Server Stand-Alone Installation or Add Features to an Existing Installation.
4. A first round of setup support rule checks now runs automatically, identifying any problems that might need to be corrected before the installation continues. If any failures occur, click the status for additional information and follow the recommended steps to remediate the problem. After all rule checks pass successfully, click OK.
5. At this point the setup files are installed, followed by a second set of setup support rule checks. If any failures occur, click the status for additional information and follow the recommended steps to remediate the problem. After all rule checks pass successfully, click Next.
6. At the Product Key screen, enter your product key and click Next.
7. Read the licensing terms. If you agree, select I Accept the License Terms and then click Next.
8. When the Setup Role screen appears, choose SQL Server Feature Installation and click Next.
9. The Feature Selection screen now appears, as shown in Figure 11.12. For a Lync Enterprise Edition installation, Database Engine Services is the only feature that is required. However, Management Tools - Basic is recommended for maintenance and troubleshooting purposes, and SQL Server Replication should be installed if SQL mirroring will be used for high-availability. Other features can be installed if desired. After selecting the features to be installed, either keep the default installation paths for SQL shared features or enter an alternative path for these files, and click Next.

10. Installation rules are now checked to identify any problems that block installation. If any failures occur, click the status for additional information and follow the recommended steps to remediate the problem. After all rule checks pass successfully, click Next.
11. At the Instance Configuration screen, select the option for Default Instance, and keep the default settings for Instance ID and Instance root directory. Click Next.
12. At the Disk Space Requirements screen, review the disk space usage summary and click Next.
13. The Server Configuration screen now appears, as shown in Figure 11.13. For Lync, the default configuration of using built-in service accounts will suffice; however, dedicated domain-based accounts can be chosen if these have been configured. If dedicated accounts will be used, enter the account names and passwords for each service. Leave the startup types at their default values, and click Next.

14. At the Database Engine Configuration screen, select the Authentication Mode for the server, either the default setting of Windows Authentication Mode or Mixed Mode, which allows both SQL and Windows accounts to be used. If Mixed Mode is selected, enter the initial password for the SQL system administrator (sa) account.
Windows authentication is generally considered to be the more secure authentication method for SQL. However, mixed mode does provide an additional method of connecting to SQL in the event that there are problems communicating with Active Directory, which can be useful for troubleshooting purposes. The decision of which authentication mode to use should therefore be made based on the security policy of the organization.
15. Still on the Database Engine Configuration screen, at the bottom of the screen click Add, and then use the object picker to select the administrative groups and users that will be granted unrestricted access to the database engine. For many organizations, the built-in Administrators group on the local server will be added here, as shown in Figure 11.14. click Next.

16. Still on the Database Engine Configuration screen, click the Data Directories tab to view the default locations for the data root directory, user database directory, temp database directory, backup directory, and the user and temp database log file directories. Either keep the default locations on the C: volume for each of these, or, if dedicated volumes have been created in advance, edit the locations to reflect these alternative locations. When finished, click Next.
17. At the Error Reporting screen, select whether Windows and SQL Server Error Reports will be sent to Microsoft, and then click Next.
18. Installation configuration rules are now checked to identify any problems that block installation. If any failures occur, click the status for additional information and follow the recommended steps to remediate the problem. After all rule checks have passed successfully, click Next.
19. At the Ready to Install screen, review the configuration summary to verify that the correct selections have been made. When finished, click Install to proceed with the installation.
20. When the installation is completed, click Close.
Tip
After the SQL installation is complete, use Windows Update to search for SQL-related updates.