Filling Out a Form
How the end user fills out a form depends on how the form was published. For example, if the form is connected to a database and published to a shared network location, the user opens the form template file to generate a copy of the form, fills in the form data, and clicks the Submit button to add his or her information to the database.
The process works a bit differently for forms not connected to a database. For a form that is published to a shared network location, each user should double-click the template file in the network folder or choose the File ![]() Fill Out a Form command in InfoPath to open an XML file instance of the form. The user should then fill in the form, choose File
Fill Out a Form command in InfoPath to open an XML file instance of the form. The user should then fill in the form, choose File ![]() Save to save it under a unique name, and then close the file. The user can also submit the filled-in form by choosing the File
Save to save it under a unique name, and then close the file. The user can also submit the filled-in form by choosing the File ![]() Send to Mail Recipient command in InfoPath.
Send to Mail Recipient command in InfoPath.
If the recipient receives the form via e-mail in Outlook, he or she can open the message, click Reply, fill in the form contents as shown in Figure 39-15, and then click Send.

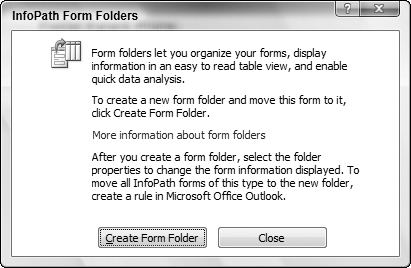
Note that the first time you fill out a form in Outlook, it asks you to confirm that you want to set up an InfoPath folder to store the form results, as shown in Figure 39-16. Click Create Form Folder to do so. Received form responses are placed in that folder automatically for your viewing, as shown in Figure 39-17.
Figure 39-16. Creating an InfoPath Form folder in Outlook sets up a location for received form responses.